Archives: Moteus

Improving the moteus update rate, part 1

The moteus brushless controller I’ve developed for the force controlled quadruped uses an RS485 based command-response communication protocol.  To complete a full control cycle, the controlling computer needs to send new commands to each servo and read the current state back from each of them.  While I designed the system to be capable of high rate all-system updates, my initial implementation took a lot of shortcuts.  The result being that for all my testing so far, the outgoing update rate has been 100Hz, but state read back from the servos has been more at like 10Hz.  Here I’ll cover my work to get that rate both symmetric, and higher.
Revisiting machining the sun gear holder

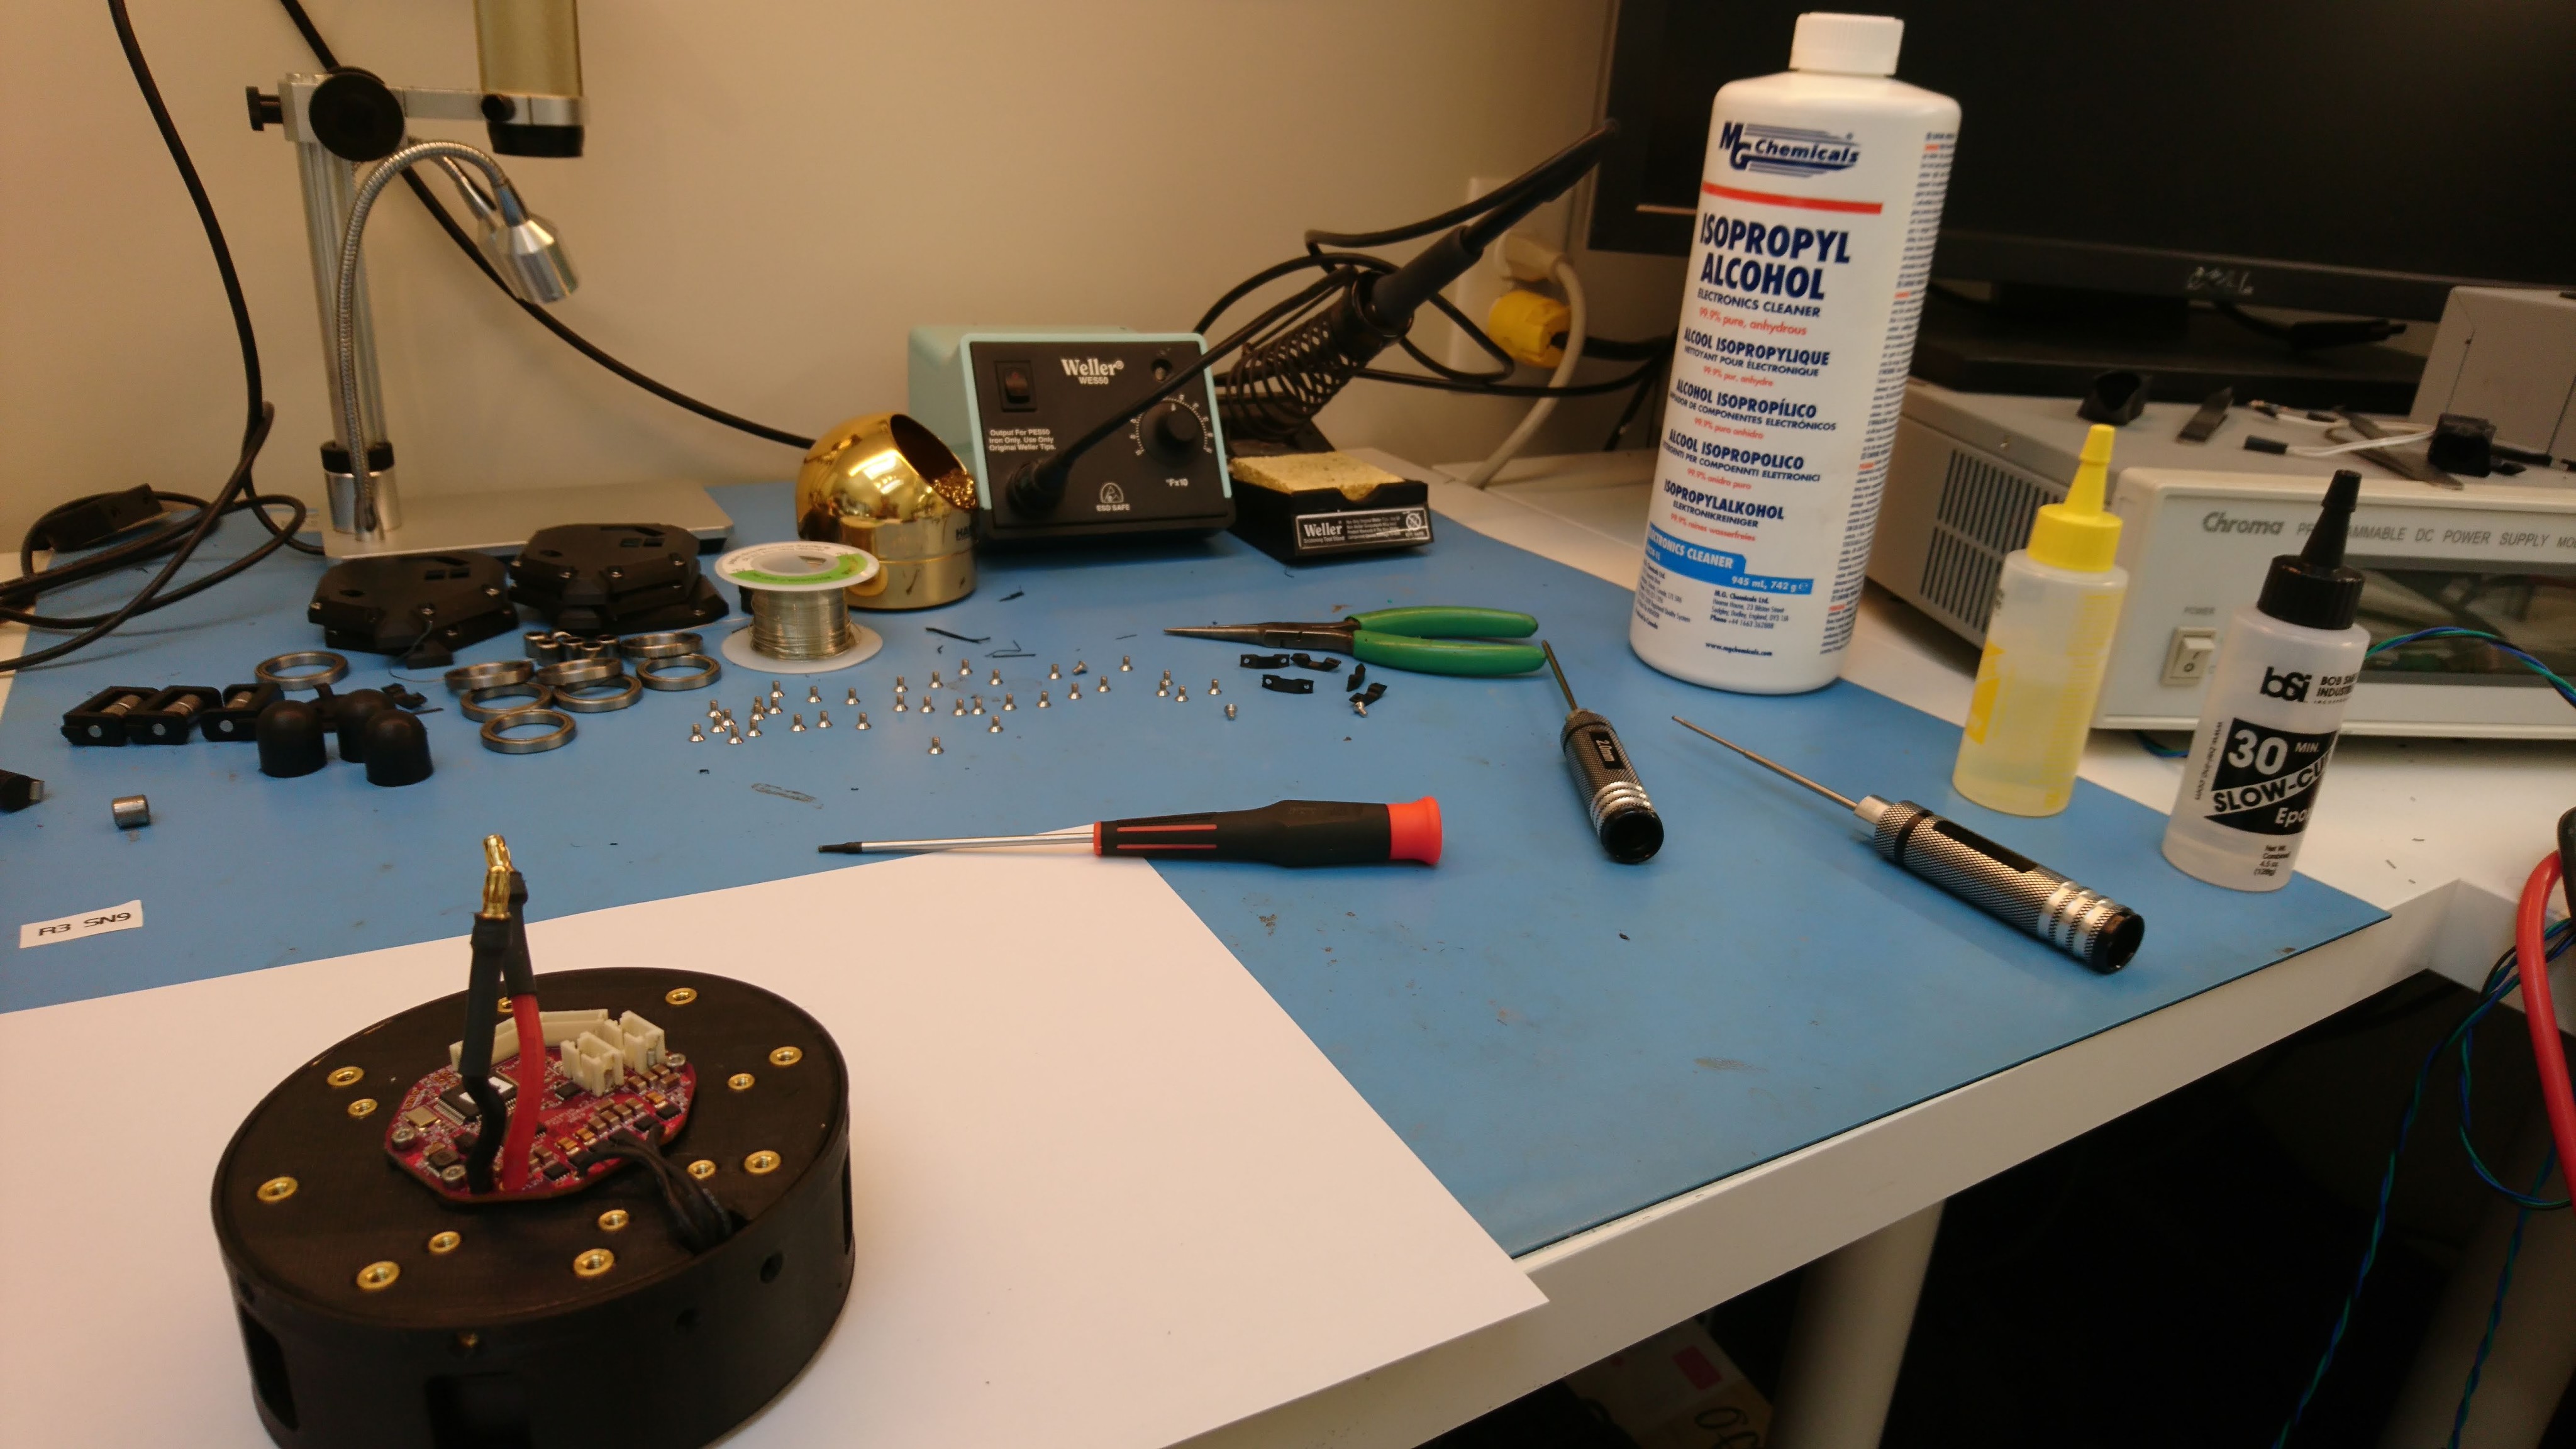
My very first sun gear holder I machined myself was something of an artistic feat.  Each operation was re-run many times, and as a result the part was largely a one-off.  The final part properties were not really indicative of the final program.  My next step in my learning adventure was to up my Pocket NC game and get to a single reproducible program that would emit a part that I could use, then be able to run it over and over again.

First quadruped jump!

To demonstrate the dynamic capability of the full rotation quadruped, I figured I would start by doing some full machine jump tests to a relatively low height, just to show that it was capable.

Thus, I rigged up an open loop script which squatted a small fraction of the available distance, and then powered up at a relatively small fraction of the available maximum speed.  I don’t have the telemetry yet to extrapolate how high this will be able to go at maximum, but I think it should be a fair amount higher.  For now, I want to do some more instrumentation and walking testing (and have more spares) before I manage to break things by jumping really high.

First walking on the full rotation quad

Last time, I had finished physically assembling all the motors for the updated quadruped with legs that can rotate freely 360 degrees.  After the long summer break, I powered up and configured all the servos.  Then, after setting up the gait engine for the new configuration (for which there are still a TODOs when the lateral shoulder offset is non-trivial as in this configuration), I was able to achieve some amount of walking.  Here is one of the first videos I took, without much in the way of tuning or work.  The control is a little wobbly still, but so far there are no signs of any mechanical failures as with the older design.

Machining a sun gear holder on the Pocket NC v2-50

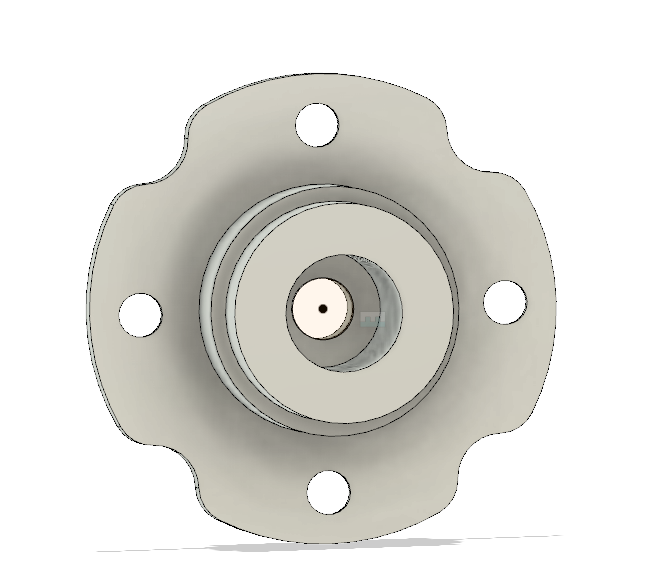
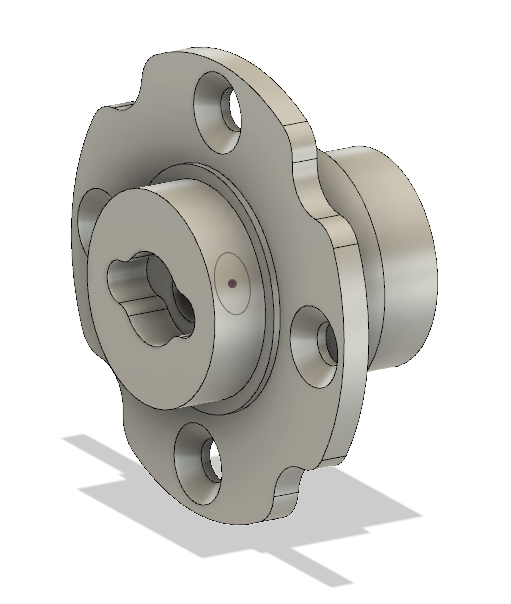
After doing my first cuts in aluminum, I wanted to actually try and make a real part, to prove that the Pocket NC v2-50 was capable of making things that I can actually use.  My first attempt, was the same part I did my first aluminum cuts in, the sun gear holder from the BE8108 planetary gearbox.

This part attaches to the rotor, the sun gear, the position sense magnet, and has bearing interfaces to the planet input and the back housing.  While not terribly big, the number of features and mating surfaces is relatively large.

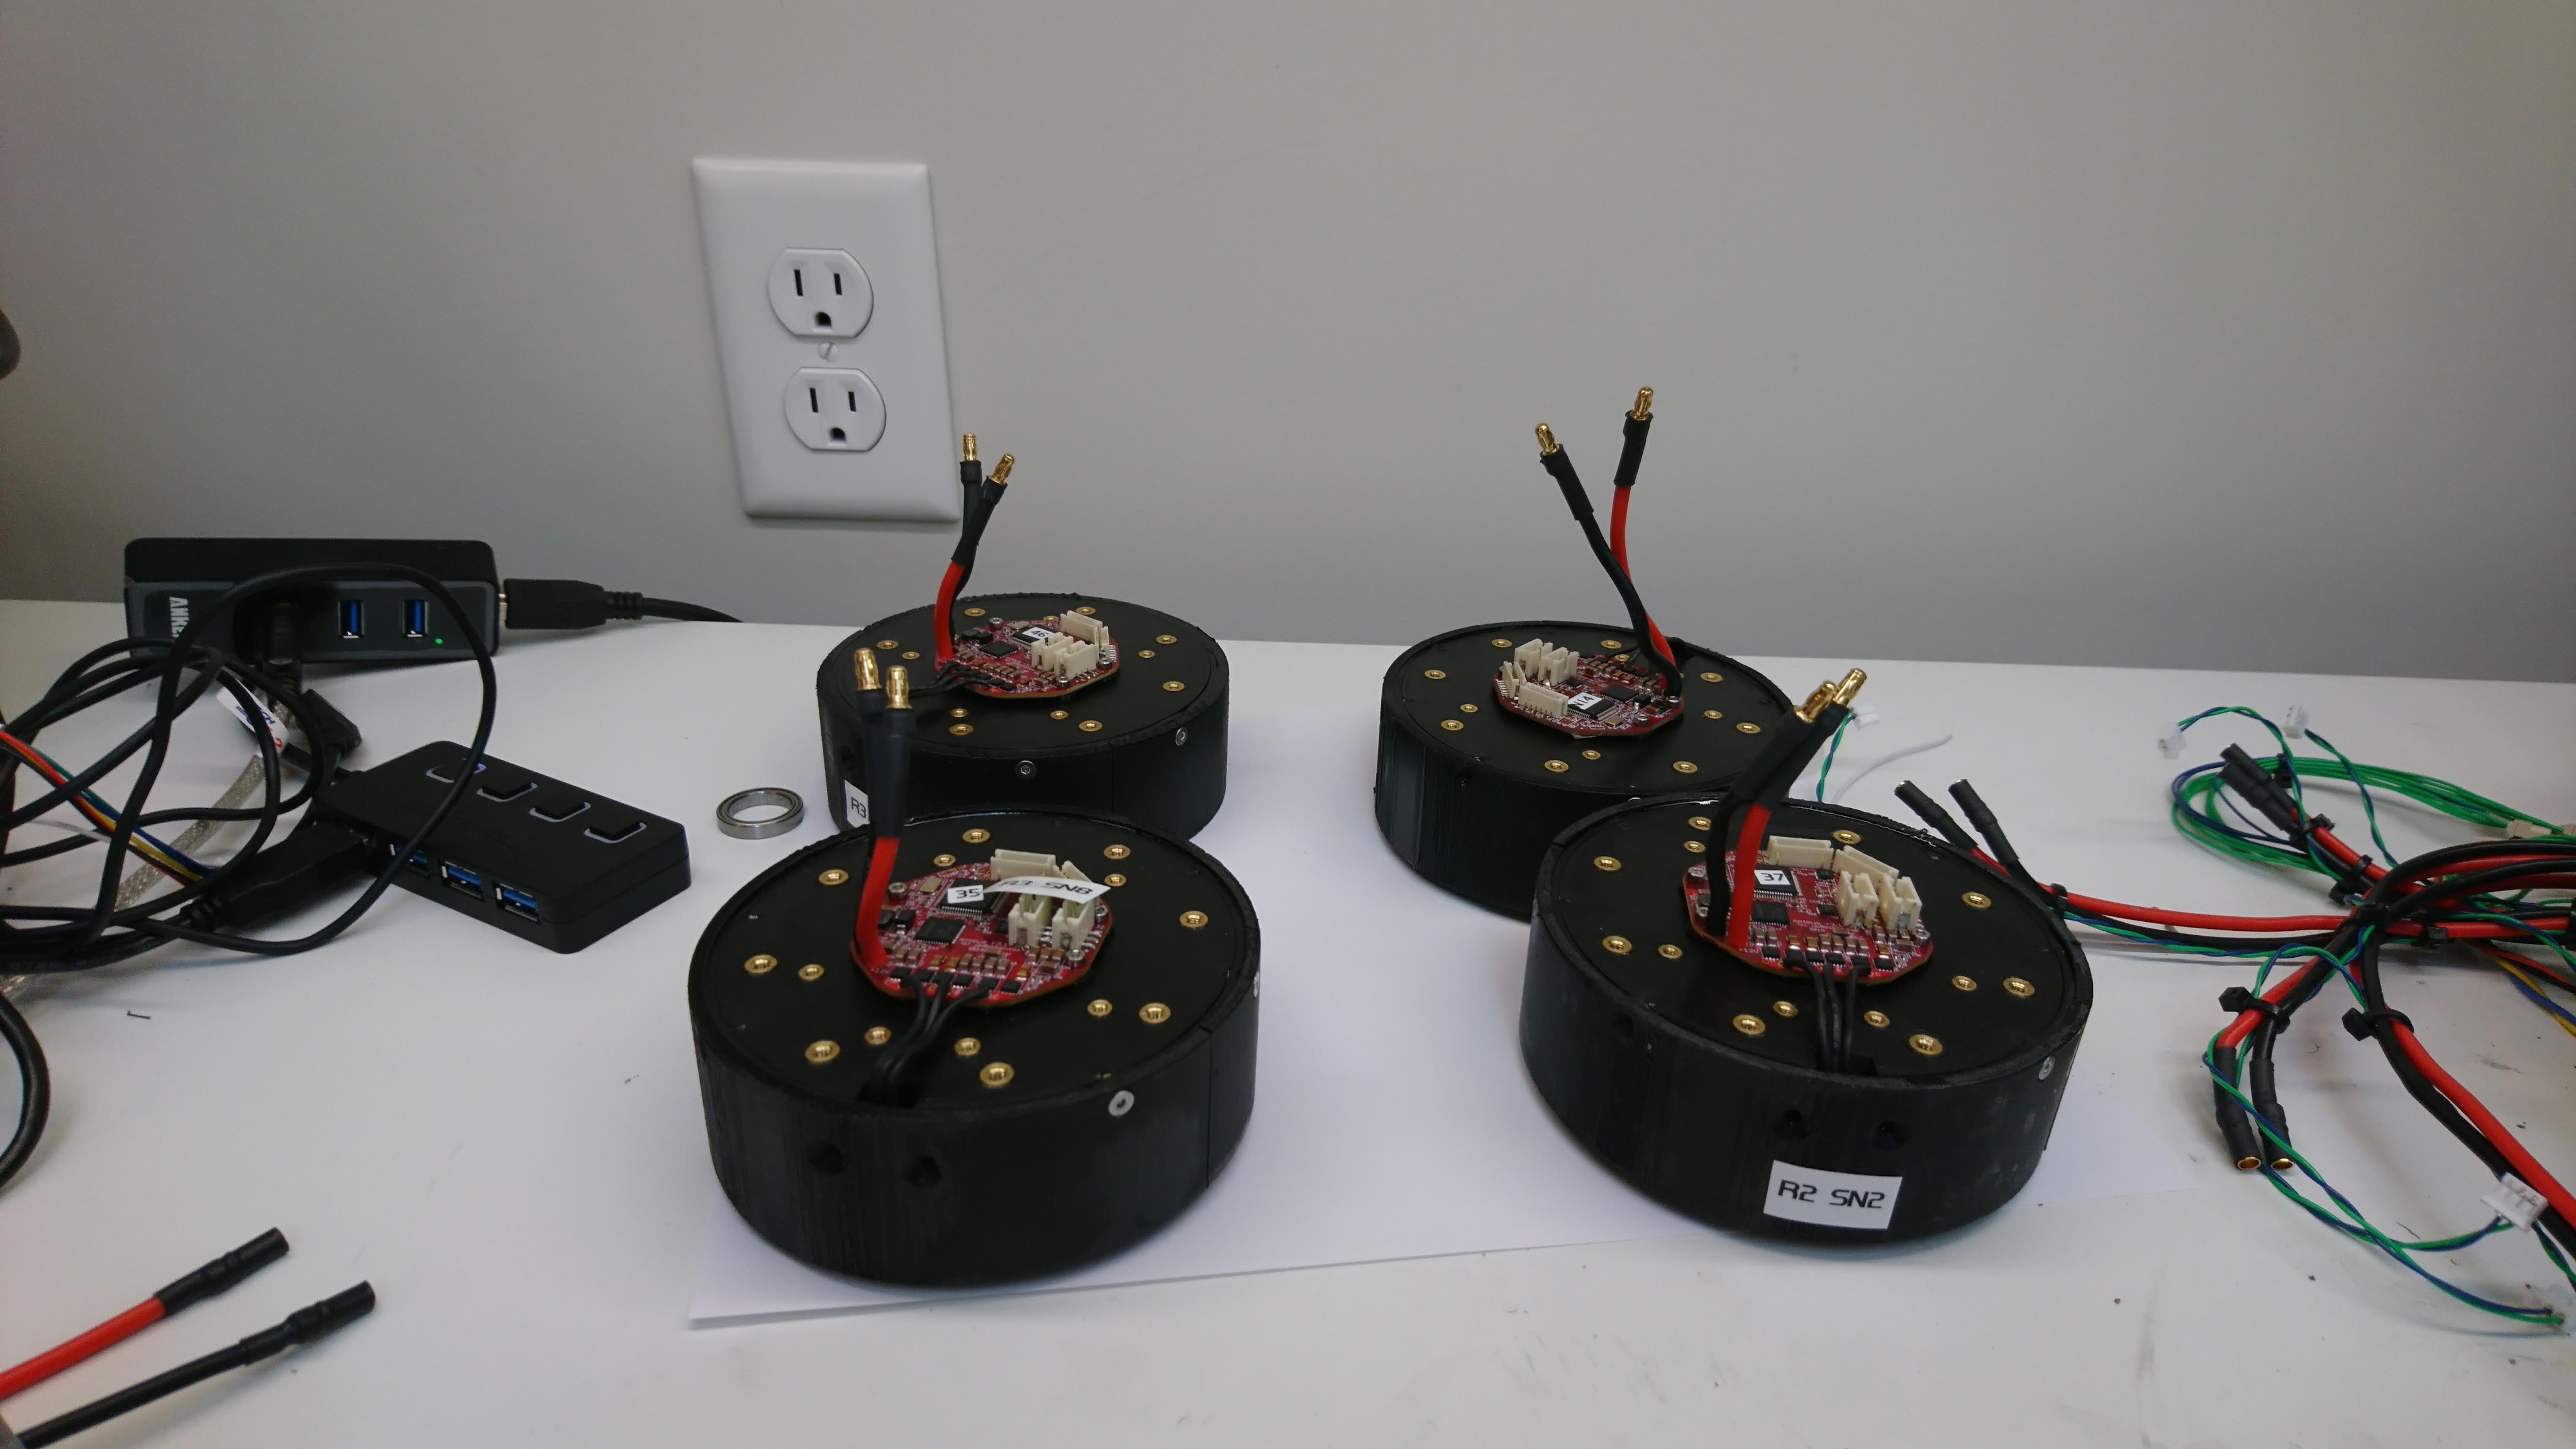
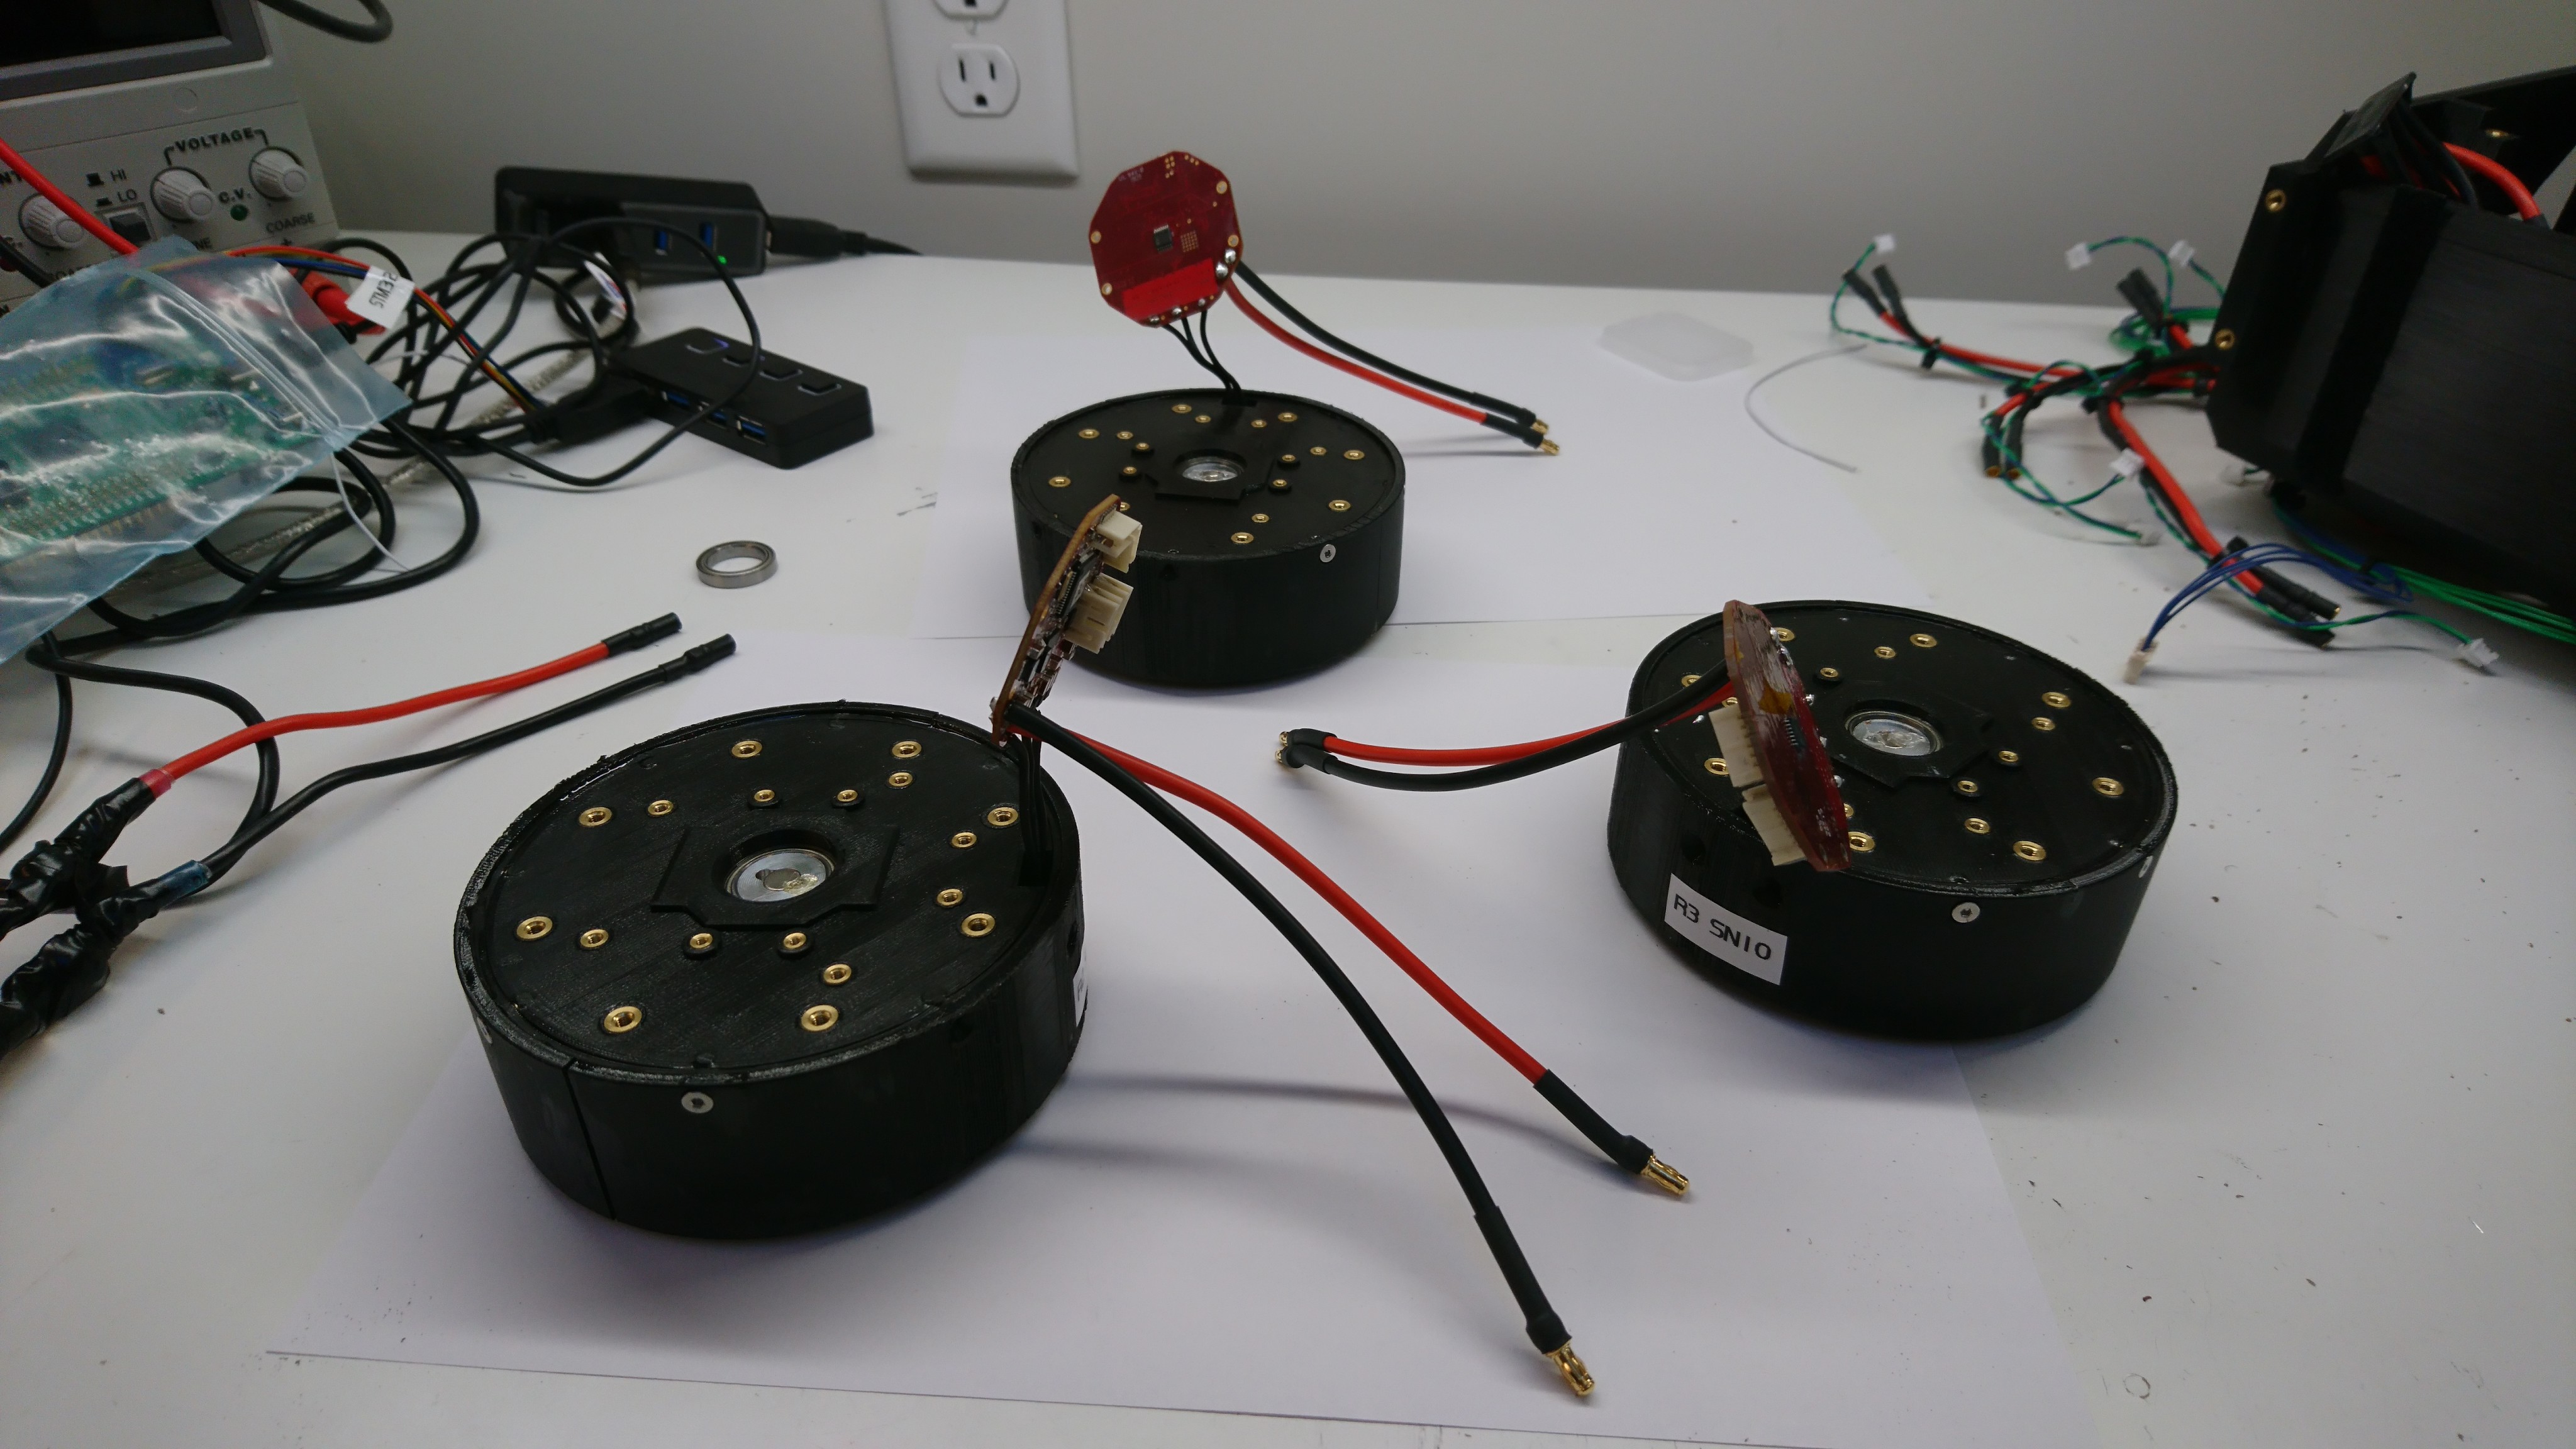
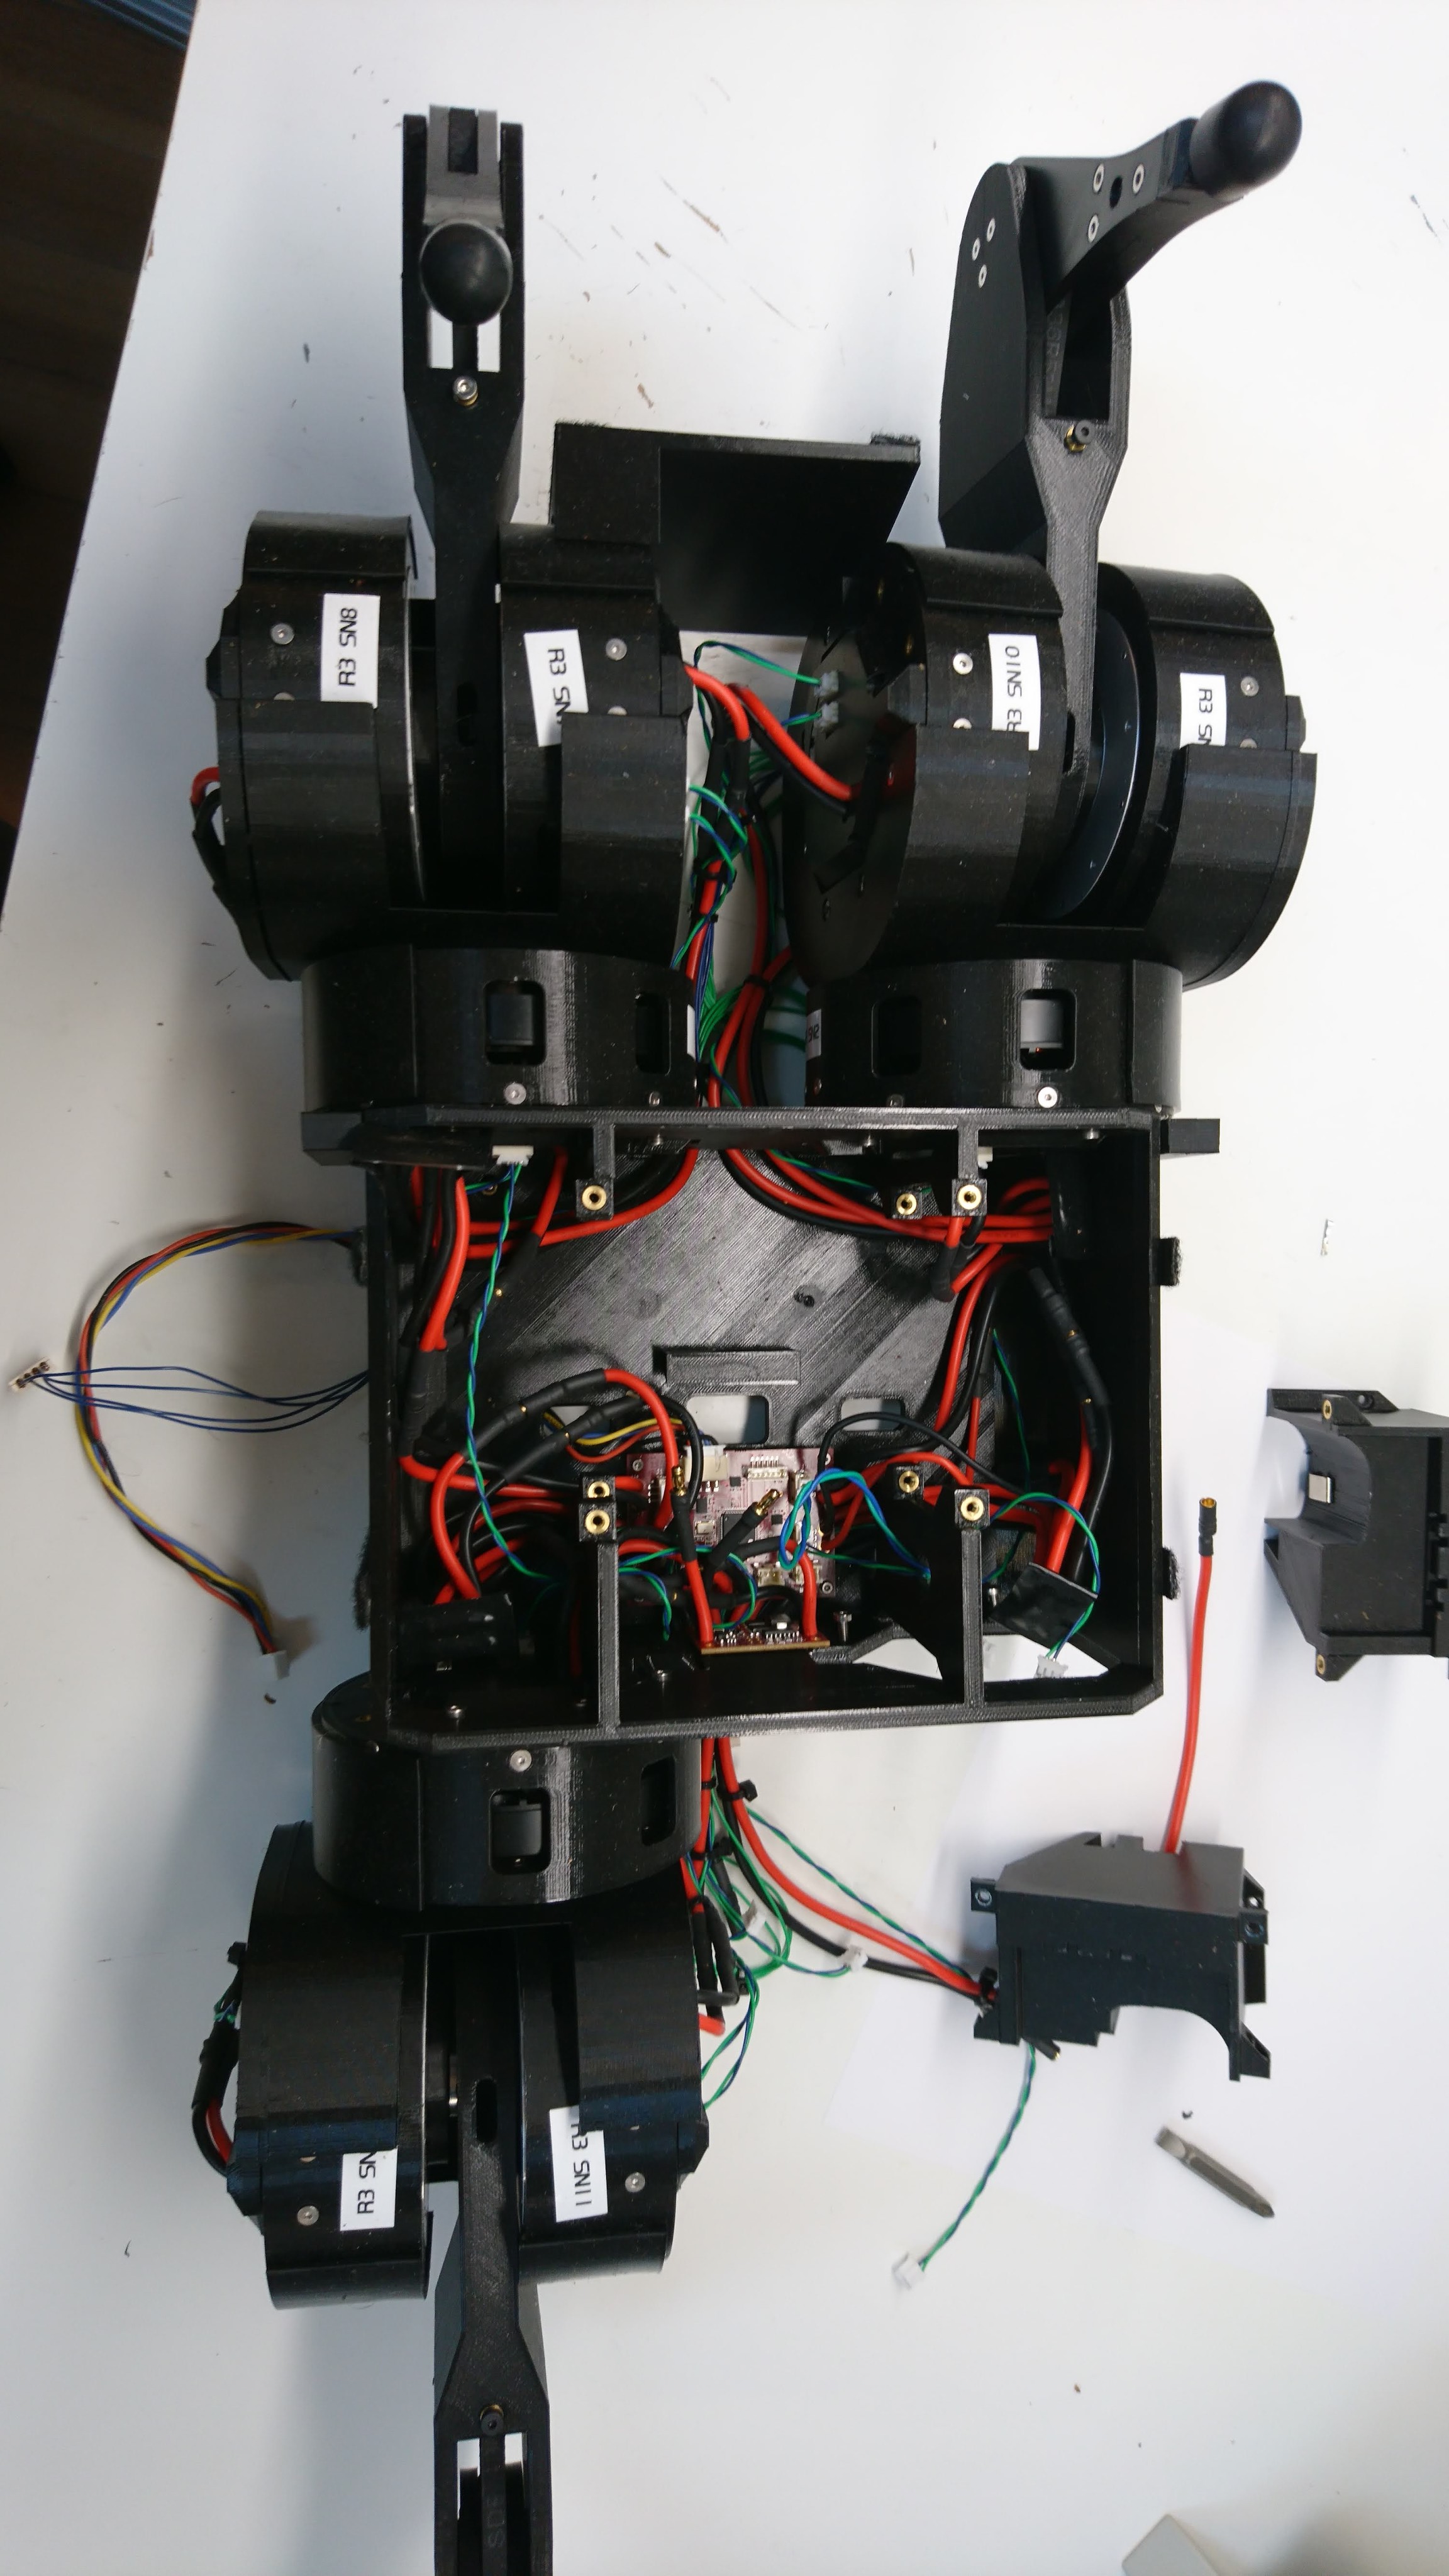
Stripping the coaxial quadruped for parts

To switch to the full rotation gear design, I needed to get all my gearbox motors, some bearings, and a lot of other bits and pieces disassembled and ready for re-use.

The remaining 3 non-broken legs from Maker Faire

The remaining 3 non-broken legs from Maker Faire

Taking everything apart took a surprising amount of time, nearly a full day.  Each leg resulted in quite a collection of fasteners.  Seeing them all in one place made me realize how complex this has become!

Working around motor shroud failures

As seen at Mech Warfare 2019, the existing gearbox motor shroud isn’t really up to the task of supporting the weight of a 20lb robot.  While I work on a more comprehensive redesign, I’ve got a short term fix in the form of another 3D print.  This is just a simple reinforcing ring, printed at 3mm thick, with the layer lines oriented so that layer separation will not be the primary failure mode.  It is attached to the outer housing via a thin layer of epoxy.

Making things walk - and failing

Now that I could stand up and sit down, I needed to be able to walk reliably for the length of a match.  This wasn’t going to be easy because the direct drive motors were always a bit marginal in their power output to support the full robot, so I had my work cut out for me.

The short story is, I tried many things, spent about a day examining high speed video of walking, and made some improvements:

Standing up and sitting down

Before SMMB could function in the Mech Warfare event it needed to be able to start and stop unattended.  That meant standing up and sitting down on its own.  Being that hack that this was, I went for a two pronged approach.

The direct direct servos I have for the upper and lower legs are somewhat underpowered for this size of robot.  Especially so when the machine is fully squatting down.  Also, the servos aren’t really encapsulated at all, and there are plenty of leg configurations that can self-intersect resulting in robot harm.