Archives: Quad

Primitive derived fields in tplot2

One of the features that I wanted to get working in the newer tplot2 is some facility for rendering values which are calculated from the things in the log, even if not directly logged there. Straightforward simple cases would be things like the lengths of vectors, unit conversions, or quaternion to euler angles. You could imagine needing arbitrarily complex values plotted after the fact.

In past systems I’ve designed, I built in a generic scripting interface to allow arbitrary things to be plotted. I’d like to do that here as well eventually, but in the short term I had a need to plot the total normal force exerted on the ground by all stance legs. And I didn’t want to spend a lot of time designing a generic mechanism. Thus, I rigged up a very primitive C++ only mechanism, where a function can be registered which returns an arbitrary serializable structure. That is then rendered in the tplot2 tree view in a dedicated area, and has a pretty “hacky” way of getting its values on the plot if necessary.

Video and telemetry synchronization (diagnostics part 8)

This is part of a continuing series on updated diagnostic tools for the mjbots quad A1 robot.  Previous editions are in 1, 2, 3, 4, 5, 6, and 7.  Here I’ll be looking at one of the last pieces of the puzzle, synchronizing the video with the rest of the telemetry.

As mentioned previously, recording video of a robot running is an easy, cheap, and fast way to provide ground truth information on all of the sensors and actuators.  However, it is only truly useful if it can be accurately synchronized in time to the other telemetry streams for the robot.

3D rendering in tplot (diagnostics part 7)

In previous posts of this series, I covered some diagnostics improvements I’ve made to help work on more advanced gaits for the mjbots quad A1 (1, 2, 3, 4, 5, 6).  This post will cover the last major new piece of diagnostics I added to tplot2, 3d rendering of telemetry data.

3D rendering

While it should be obvious, I’ll give a little exposition.  tplot2 in its state prior to this could show a “tree view” of all data logged in numeric form.  It had a “plot view” which let you plot any single floating point scalar vs time.  As of recently, it could also render video associated with a given point in time in the log.  However, as anyone who has ever tried to debug a 3d dimensional software application, much less a 3d dimensional robot, can attest, debugging with scalar numbers and time plots is only productive for a very limited range of problems.

Updated serialization library (diagnostics part 1)

Now that I have the qdd100 servo in beta phase, the IMU working at full rate, and the quad A1 is moving around I’m getting closer to actually working to improve the gaits that the machine can execute.  To date, the gaits I have used completely ignore the IMU and only use the feedback from the joints in order to maintain force in 3D.  With tuning and on controlled surfaces this can work well, but if you go outside the happy regime, then it can undergo significant pitch and roll movements during the leg swing phase, which at best results in a janky walk, and at worst results in oscillation or outright instability.

Quad feet construction fixture

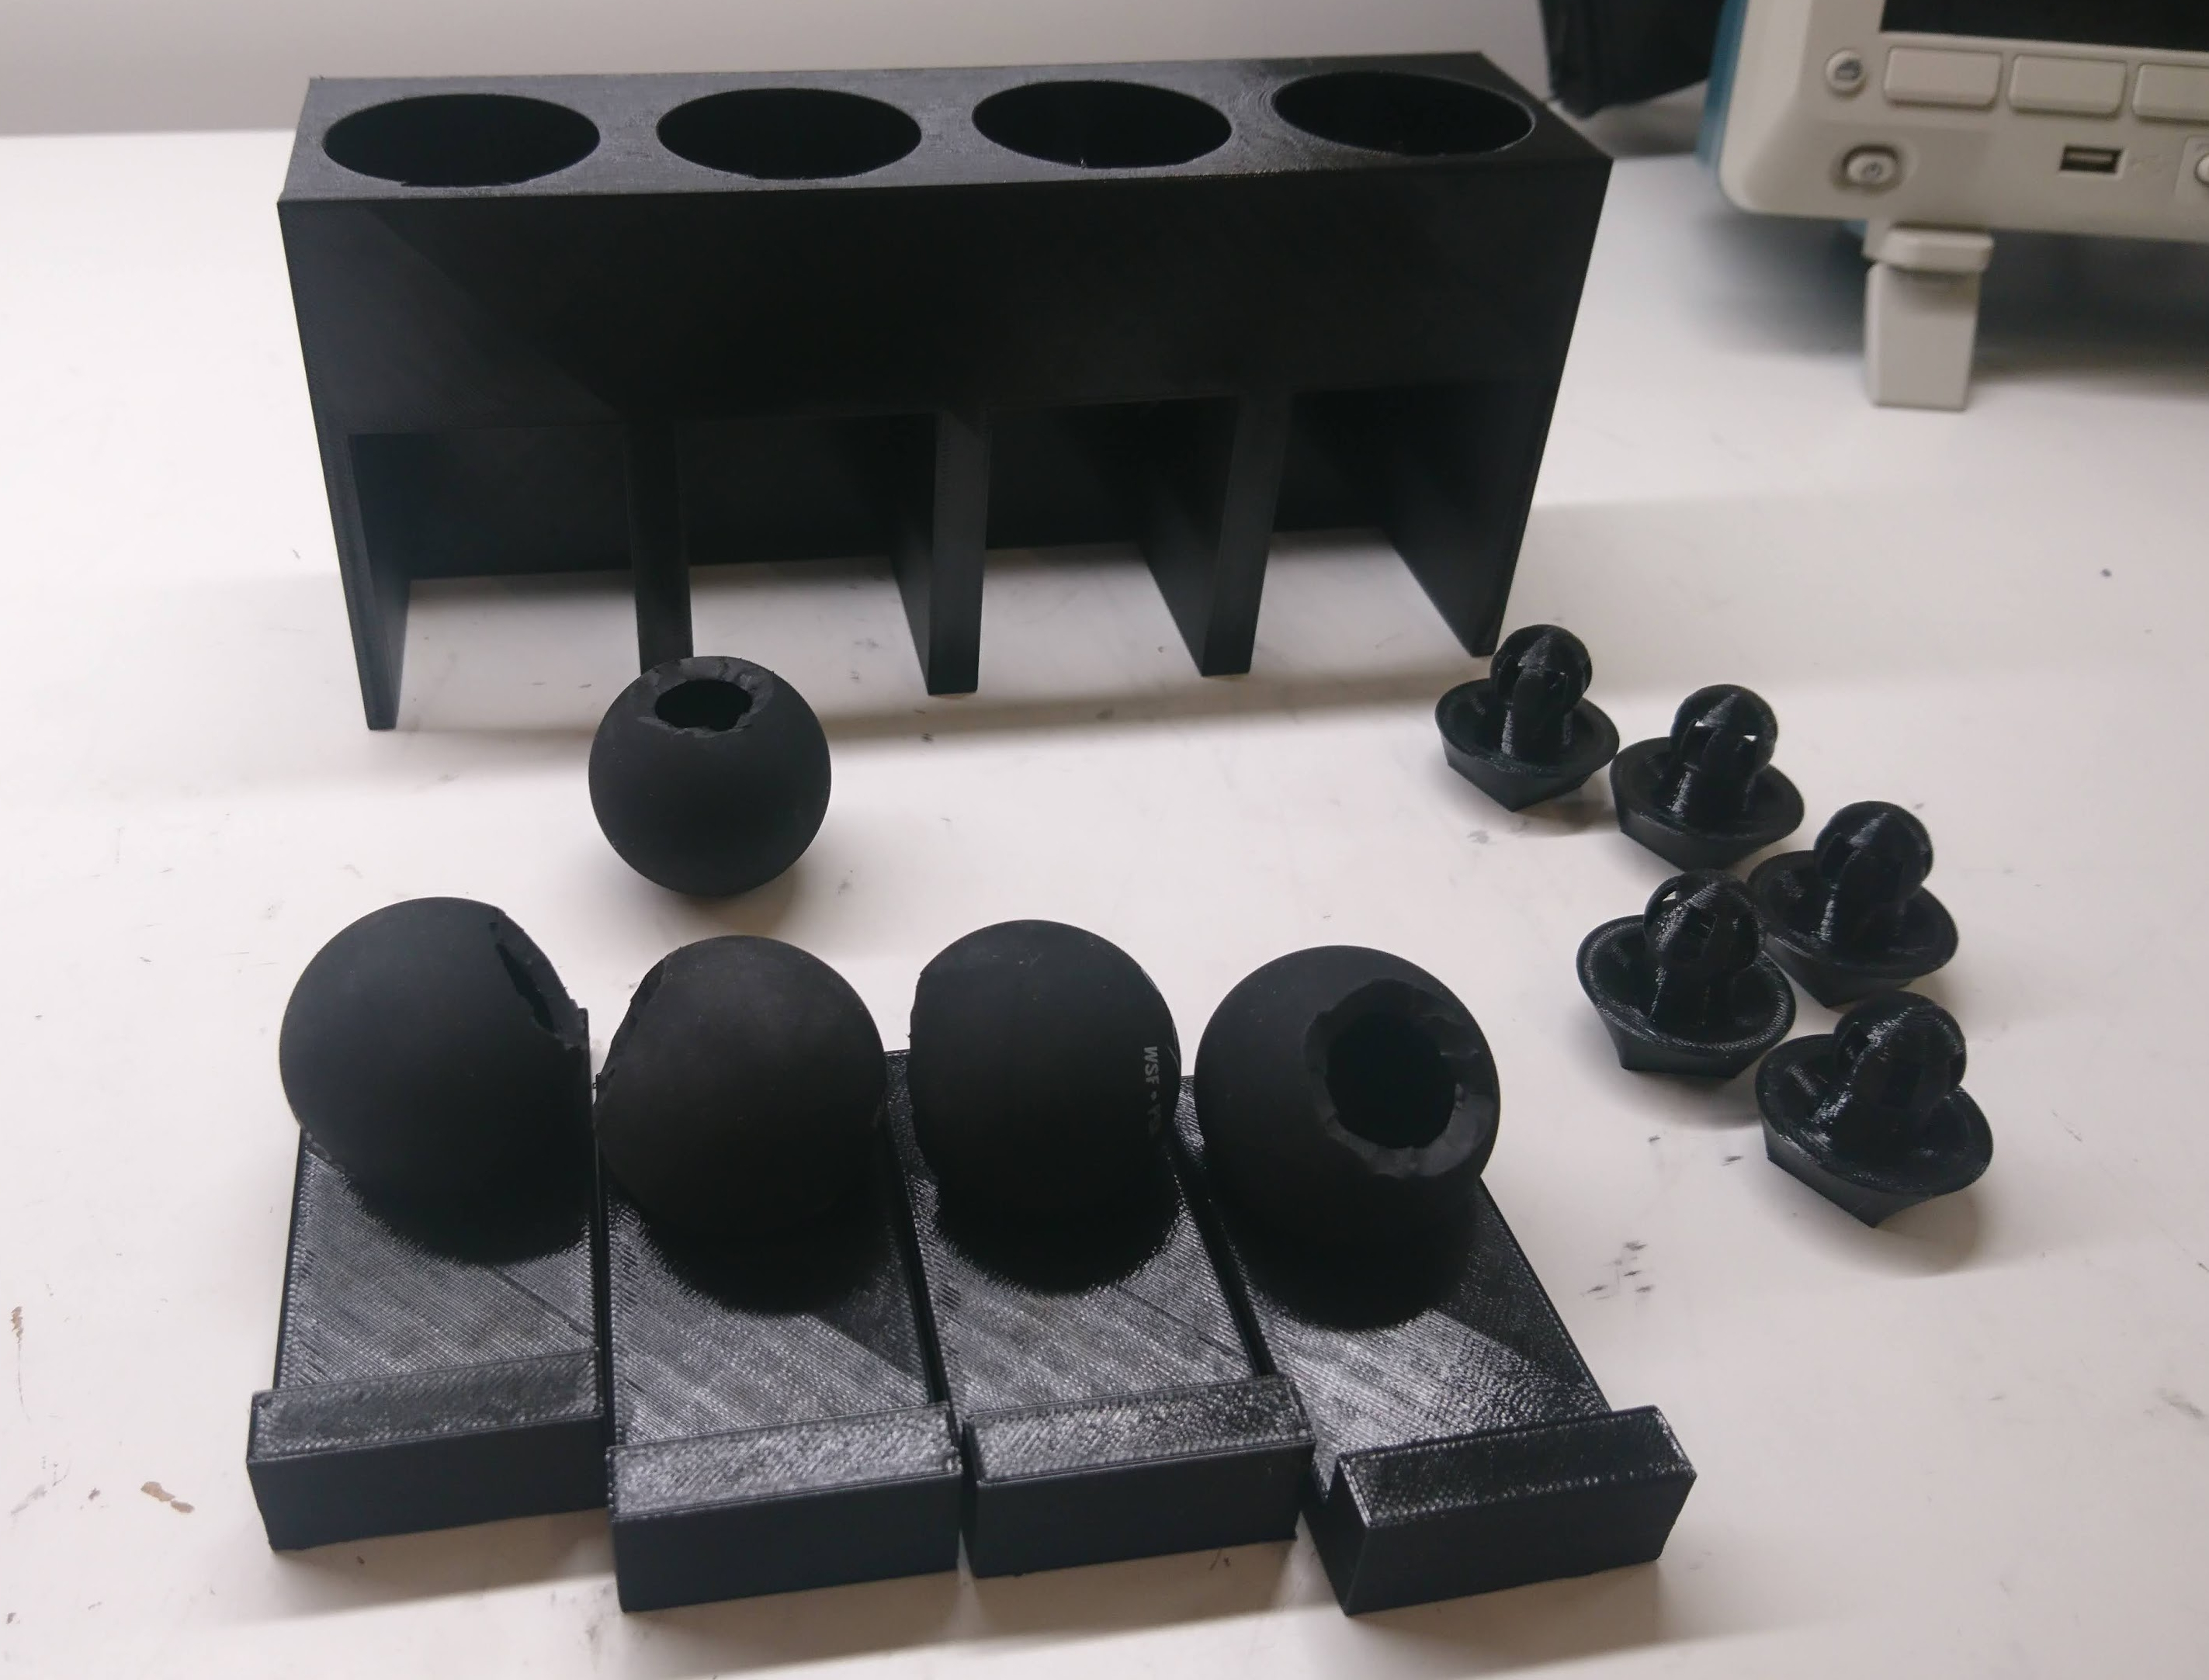
The quad A1 was the first robot I built with foam cast feet.  When I did the first feet, I jury rigged a fixture from some old toilet paper rolls to hold things in place while they were curing.  When I went to rebuild with my most recent leg geometry, I figured it was time to get at least a little more serious.  Thus, my new leg casting fixture:

dsc_0578

When an insert is cast into place, it is set on one of the trays, the tray is inserted into a slot, and then a weight can be placed on top and constrained by the fixture.

quad A1 chassis updates

I finally got around to fixing a number of minor glitches in the quad A1’s chassis recently.

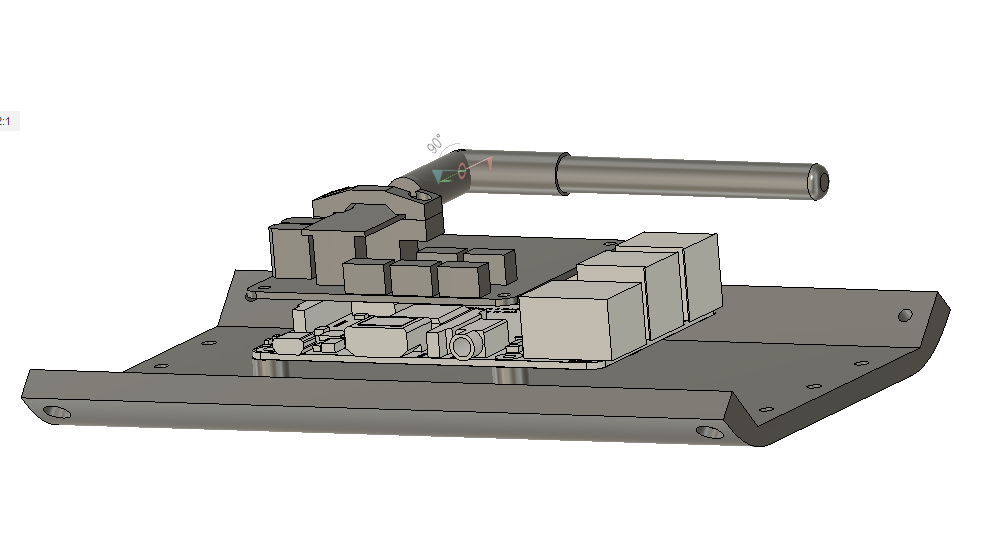
1. The raspberry pi is now far enough away from the left panel that you can connect the HDMI if you choose.

20200506-rpi_mounting

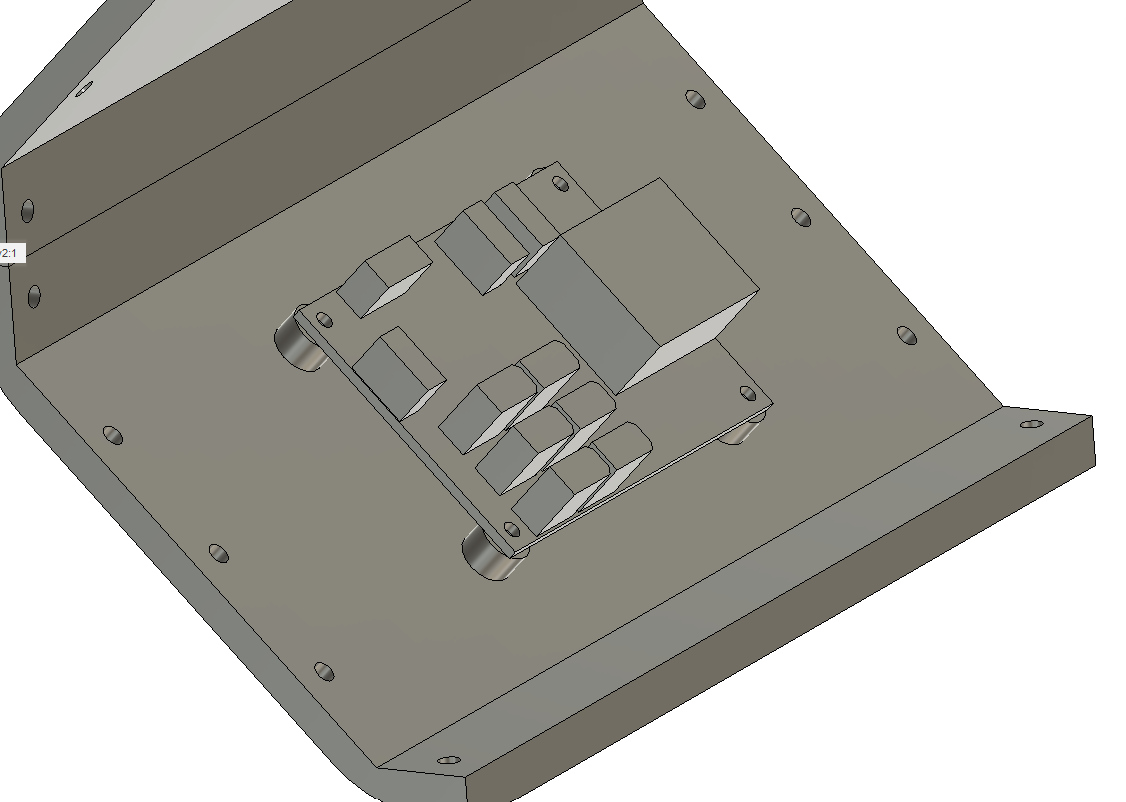
2. I no longer have vestigal studs for the pre quad A0 junction board on the other side.

20200506-power_dist

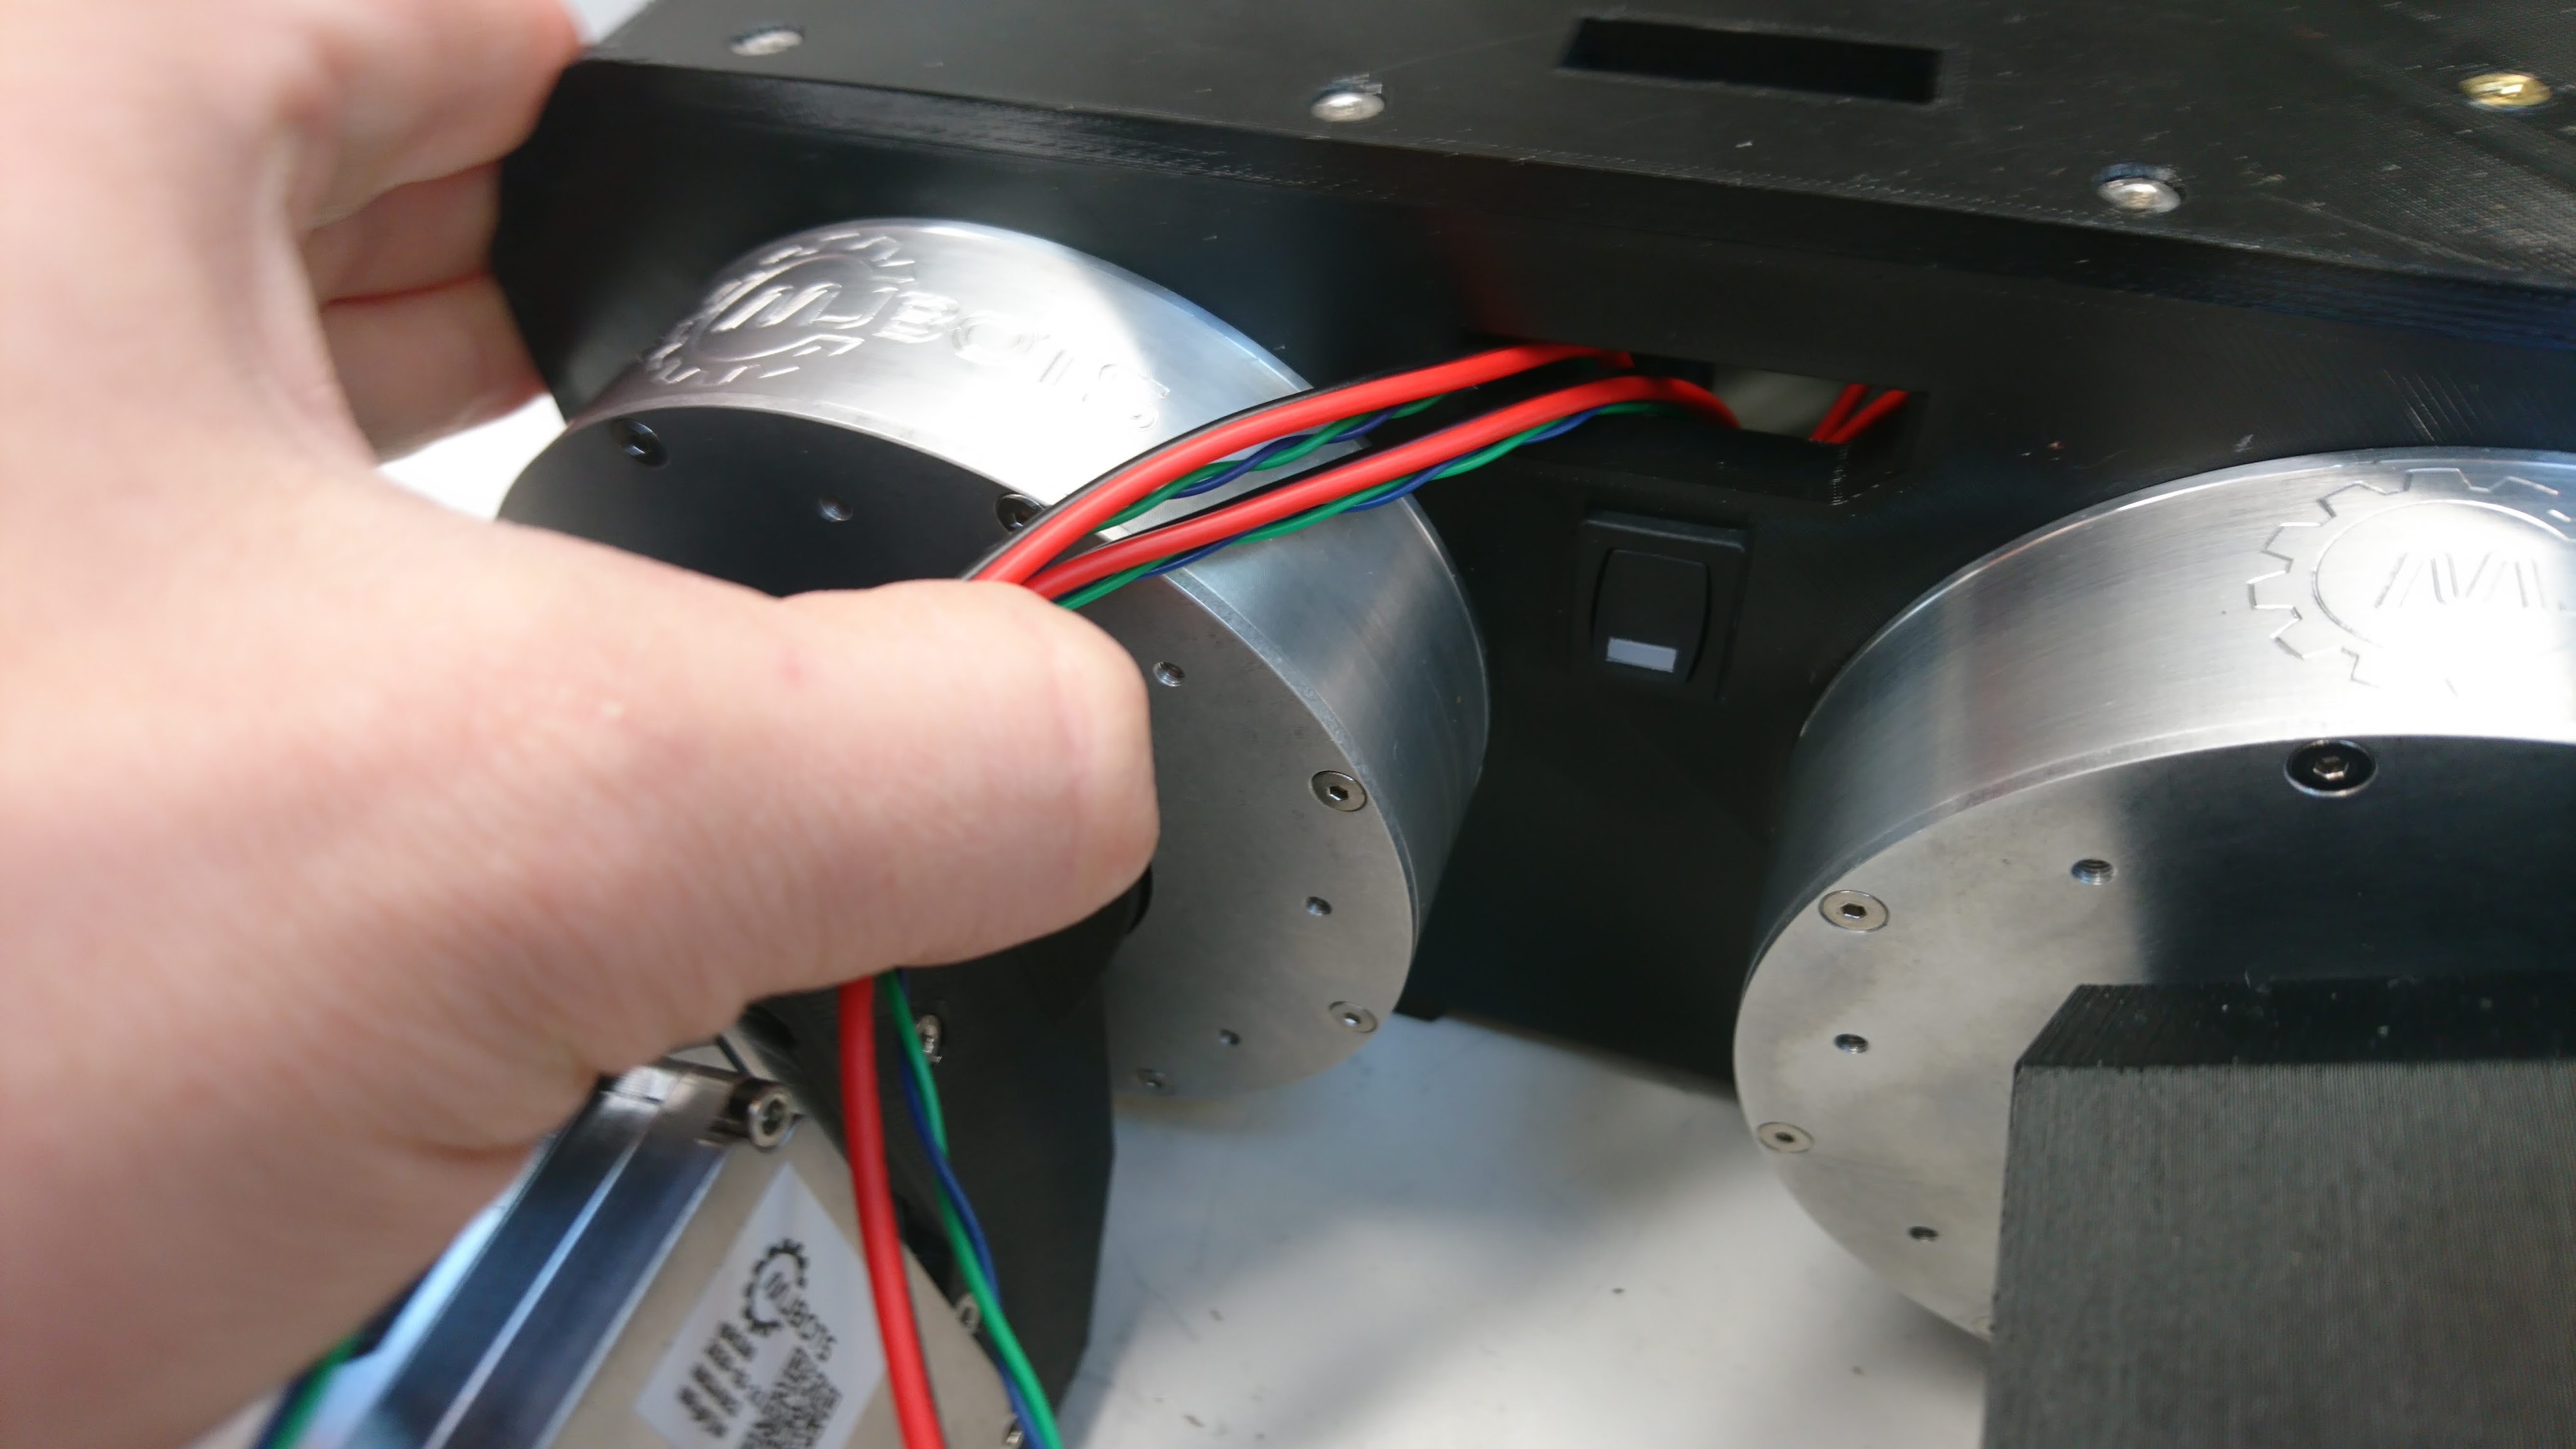
3. The switch got moved down to between the legs.

dsc_0631

Leg zeroing fixture

As part of provisioning a quad A1, or anytime the mechanical configuration has been changed, I need to go and record where the zero position of all the joints is.  The “0” position for the software now is with the shoulders perfectly horizontal, and the upper and lower leg sticking straight down.

Up until now, every time I’ve done this it has just been by eyeballing and with lots of foam and bubble wrap to shim things into place long enough to record the level.  Sometimes I had to go back and try a few times, as even determining when something is straight is not, well, straightforward.

New Mech Warfare turret

Another of the tasks I’ve set for myself with regards to future Mech Warfare competitions is redesigning the turret.  The previous turret I built had some novel technical features, such as active inertial gimbal stabilization and automatic optical target tracking, however it had some problems too.  The biggest one for my purposes now, was that it still used the old RS485 based protocol and not the new CAN-FD based one.  Second, the turret had some dynamic stability and rigidity issues.  The magazine consisted of an aluminum tube sticking out of the top which made the entire thing very top heavy.  The 3d printed fork is the same I one I had made at Shapeways 5 years ago.  It is amazingly flexible in the lateral direction, which results in a lot of undesired oscillation if the base platform isn’t perfectly stable.  I’ve learned a lot about 3d printing and mechanical design in the meantime (but of course still have a seemingly infinite amount more to learn!) and think I can do better.  Finally, cable management between the top and bottom was always challenging.  You want to have a large range of motion, but keeping power and data flowing between the two rotating sections was never easy.

Updated quad pi3 hat

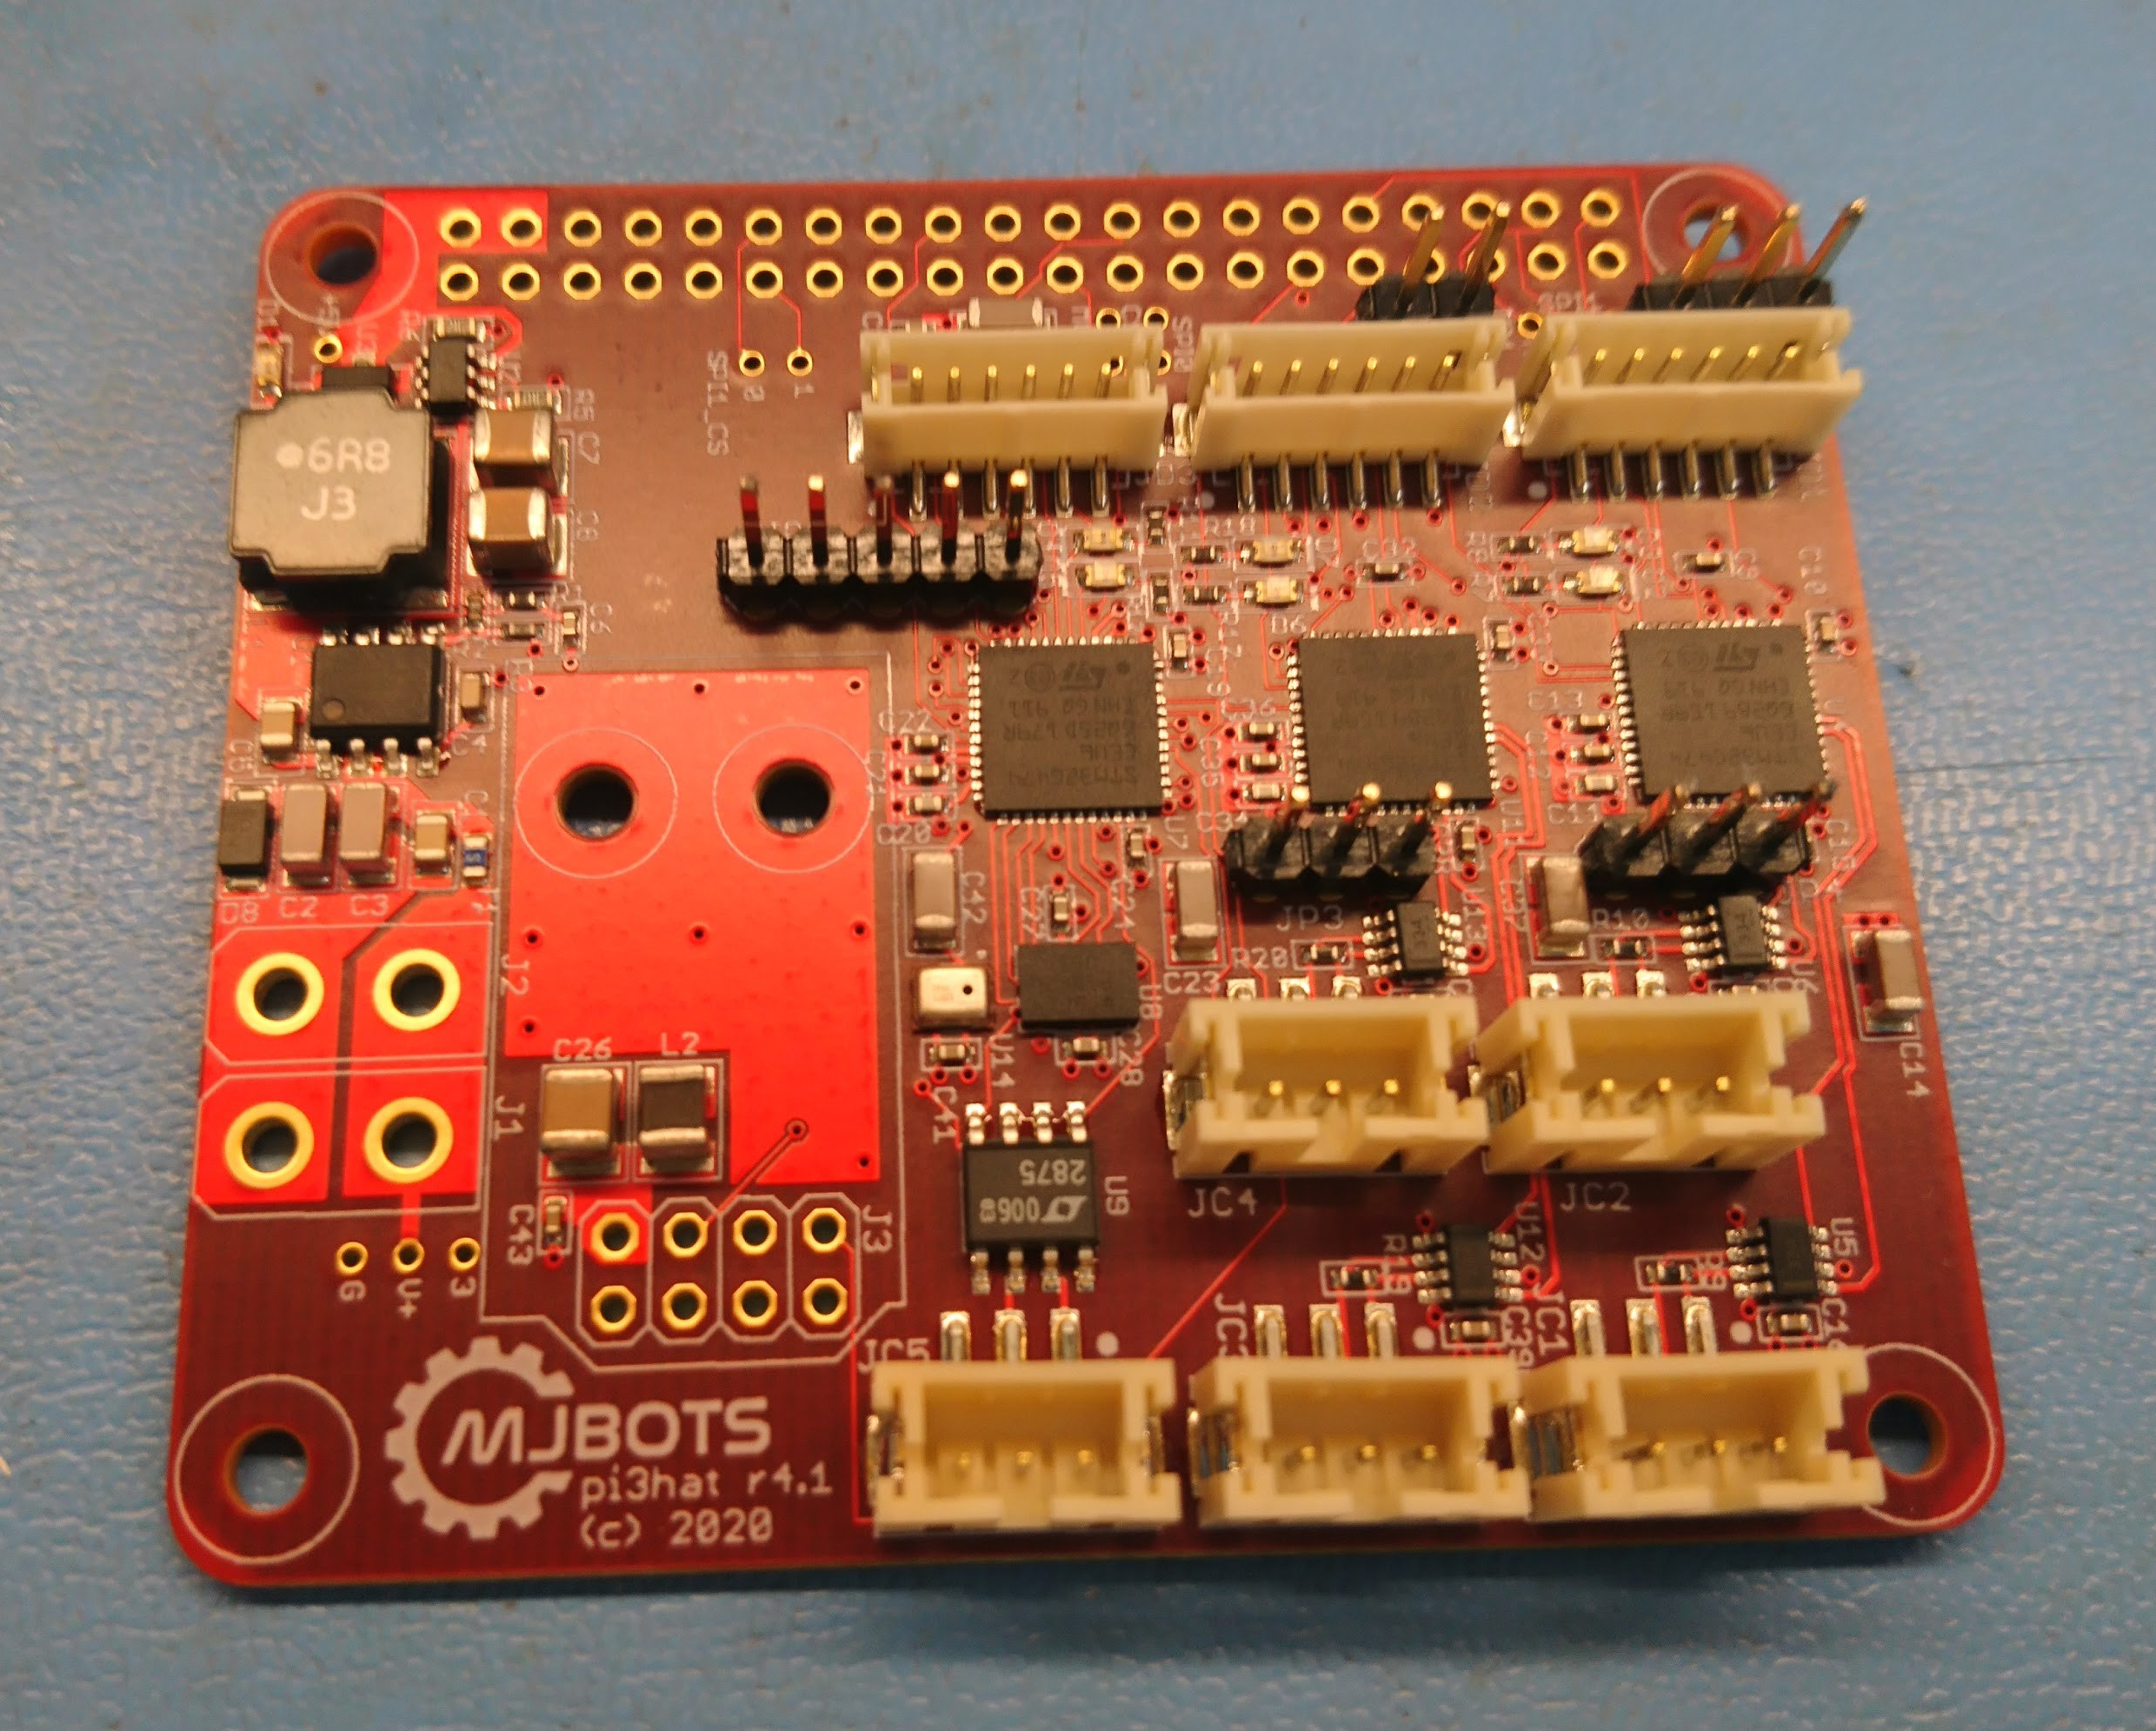
I made a number of tweaks to the quad A1’s raspberry pi hat to get it ready for production, resulting in r4.1 of the board:

dsc_0491

None of the changes were particularly big, but each has some value:

  • The correct switch mode regulator is installed.
  • The auxiliary CAN transceiver was switched to one that supports a larger common mode voltage.  This will allow it to be connected to the power distribution board without smoking.
  • Each of the STM32s now has some GPIO pins connected directly to GPIOs on the raspberry PI primarily to be used for interrupts.
  • Pin headers expose a few gpio pins from each STM32 for interfacing with random external things.
  • The NRF radio module changed orientation and has improved power filtering.
  • I added a microphone to the auxiliary STM32.  The goal is to eventually be able to use that to synchronize external video with onboard data collected during operation more easily.

I’ll bring this up in a future post!

quad A1 leg updates

When I first designed the full rotation leg, I didn’t fully appreciate the importance of torque in the knee joint.  Despite the fact that my first force based IK showed that when the legs are immediately under the body, the knee joint carries the entire load of the robot, I still managed to not add any reduction there.

The initial design used a 1:1 ratio, because that allowed me to use the same single piece 3d printed gear design I had used before.  A 28 tooth gear with 5mm pitch resulted in a gear that was larger than the output plate on the qdd100 servo, so it could just be bolted directly on.  To work with a smaller number of teeth, I had to split the gear into two parts, connected by pins, as the gear is now smaller than the qdd100 output plate.