Populating r3.1 moteus controller boards

I am a big fan of MacroFab.  They’ve built a PCB + assembly + more service that is transparent, high quality, and nearly completely self service.  They appear to be making money, so hopefully they will stay in business for some time.

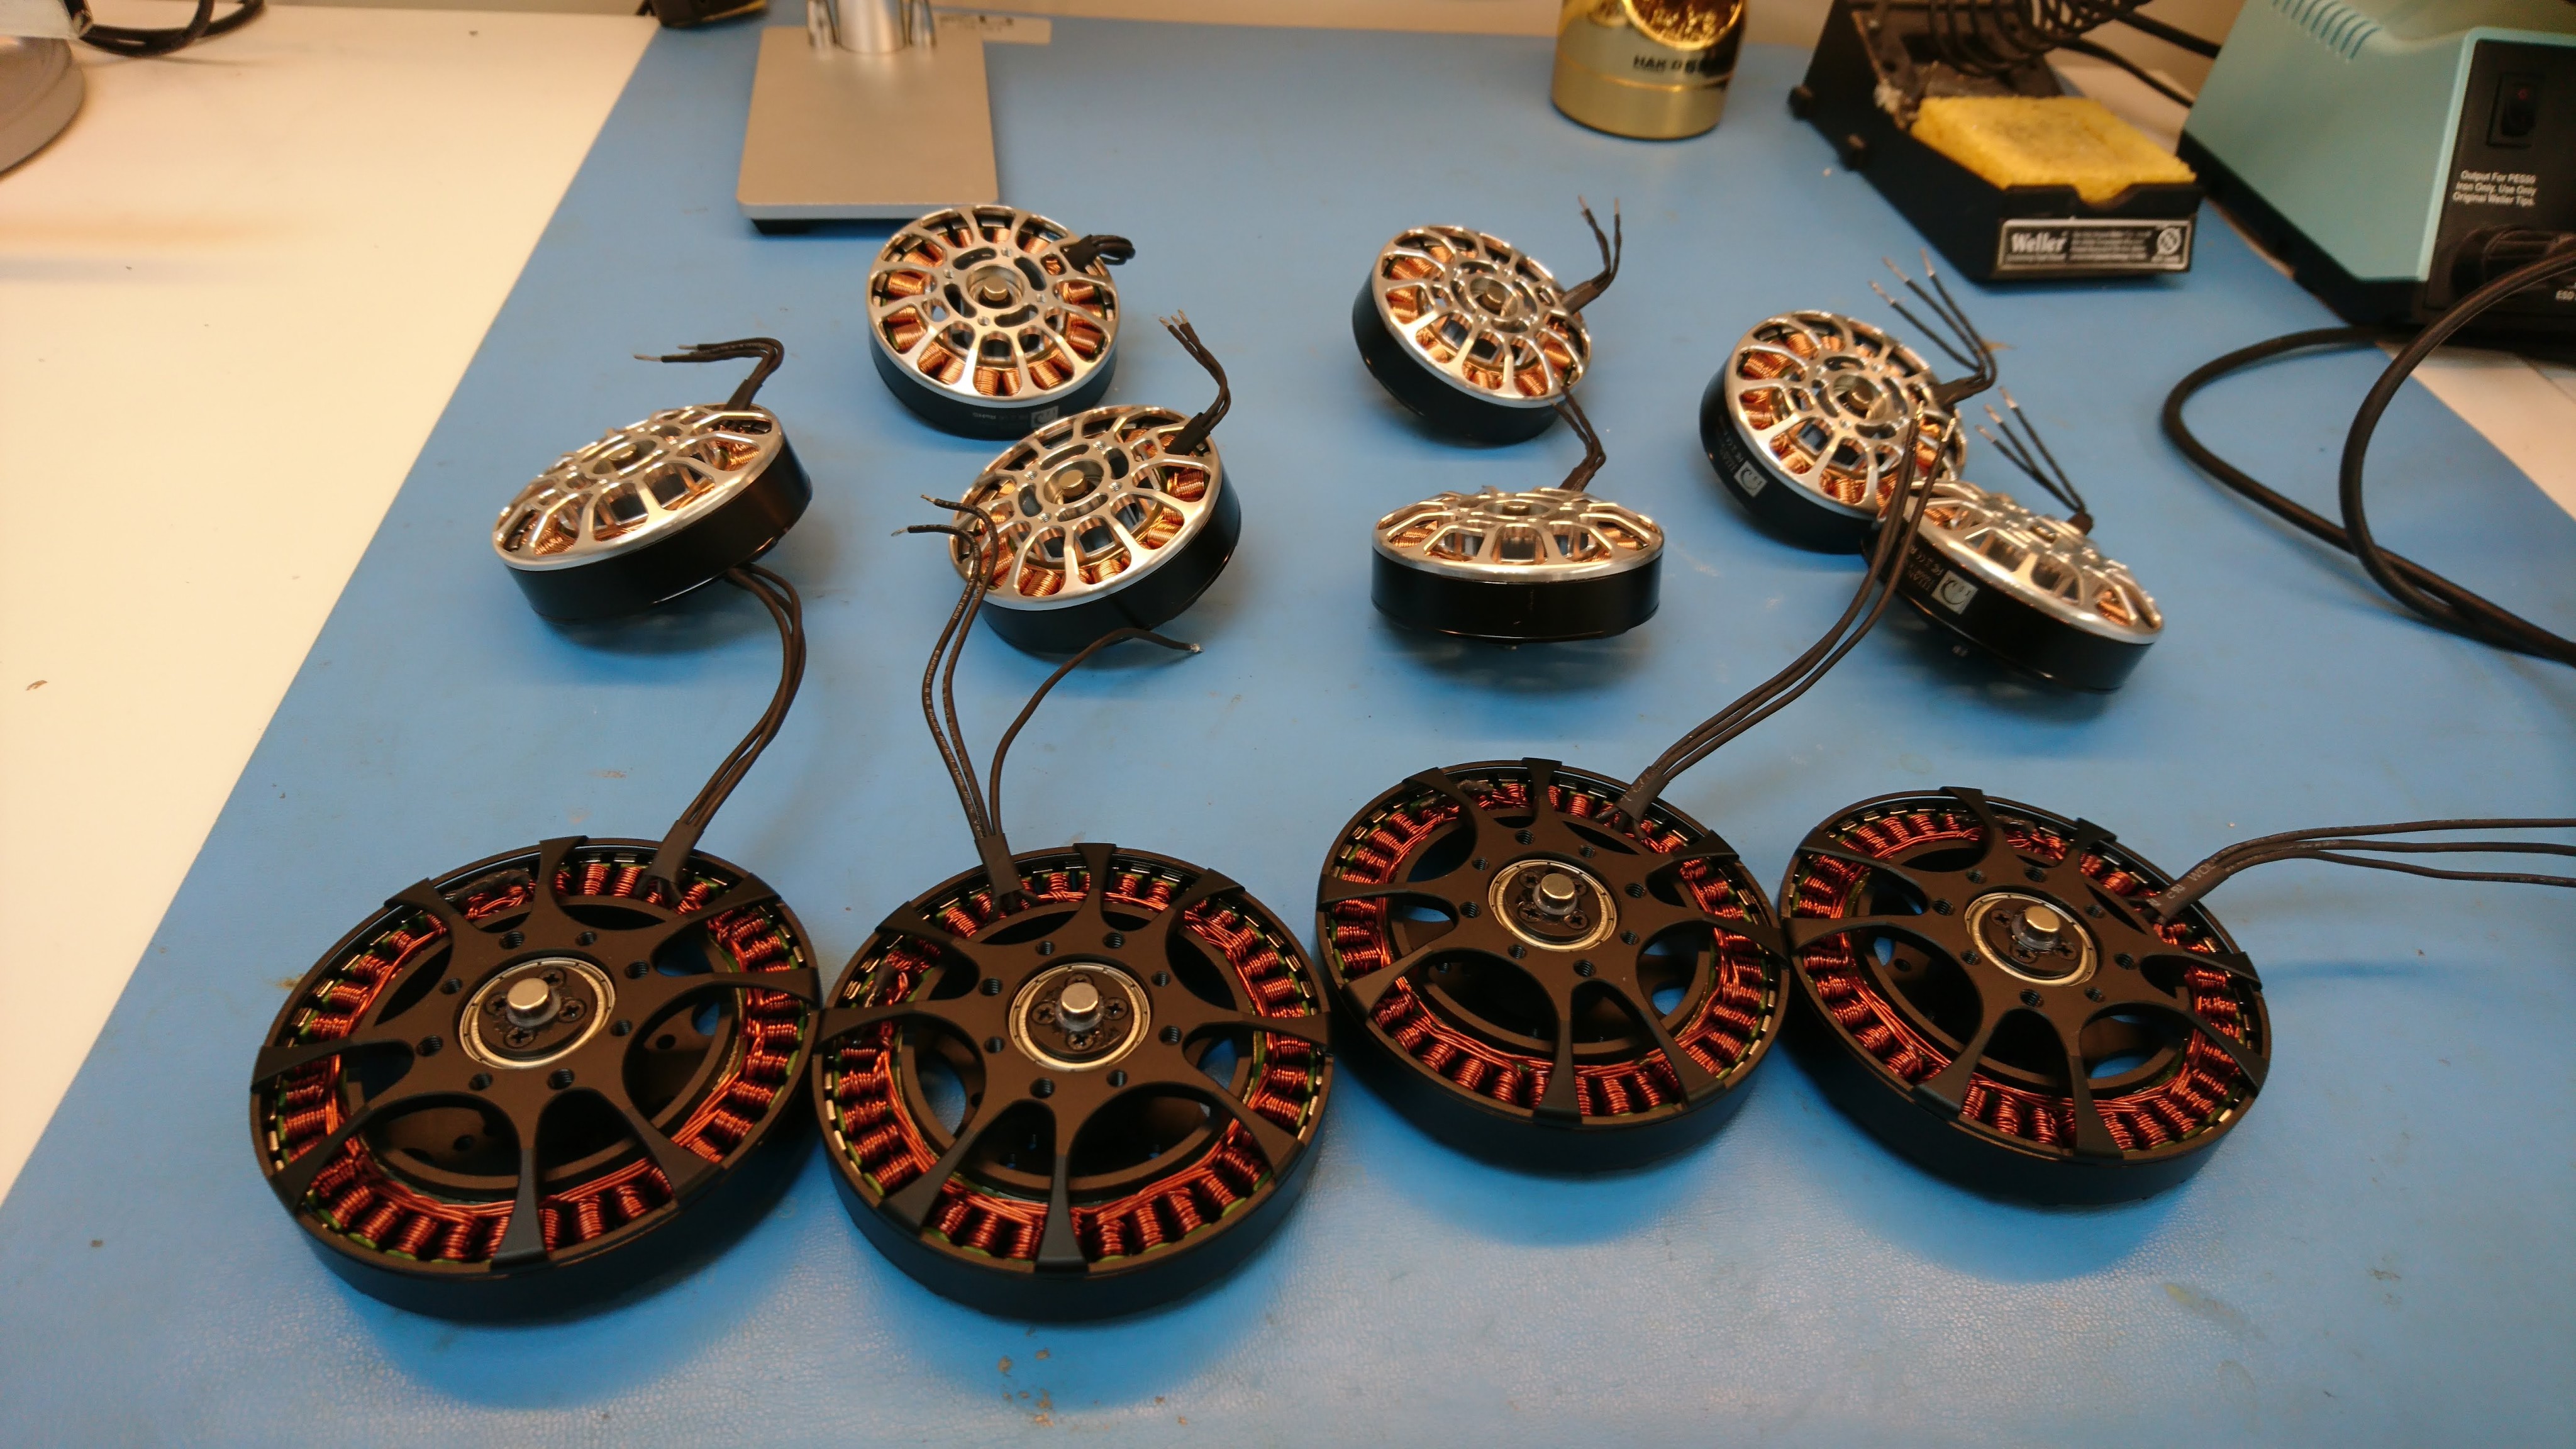
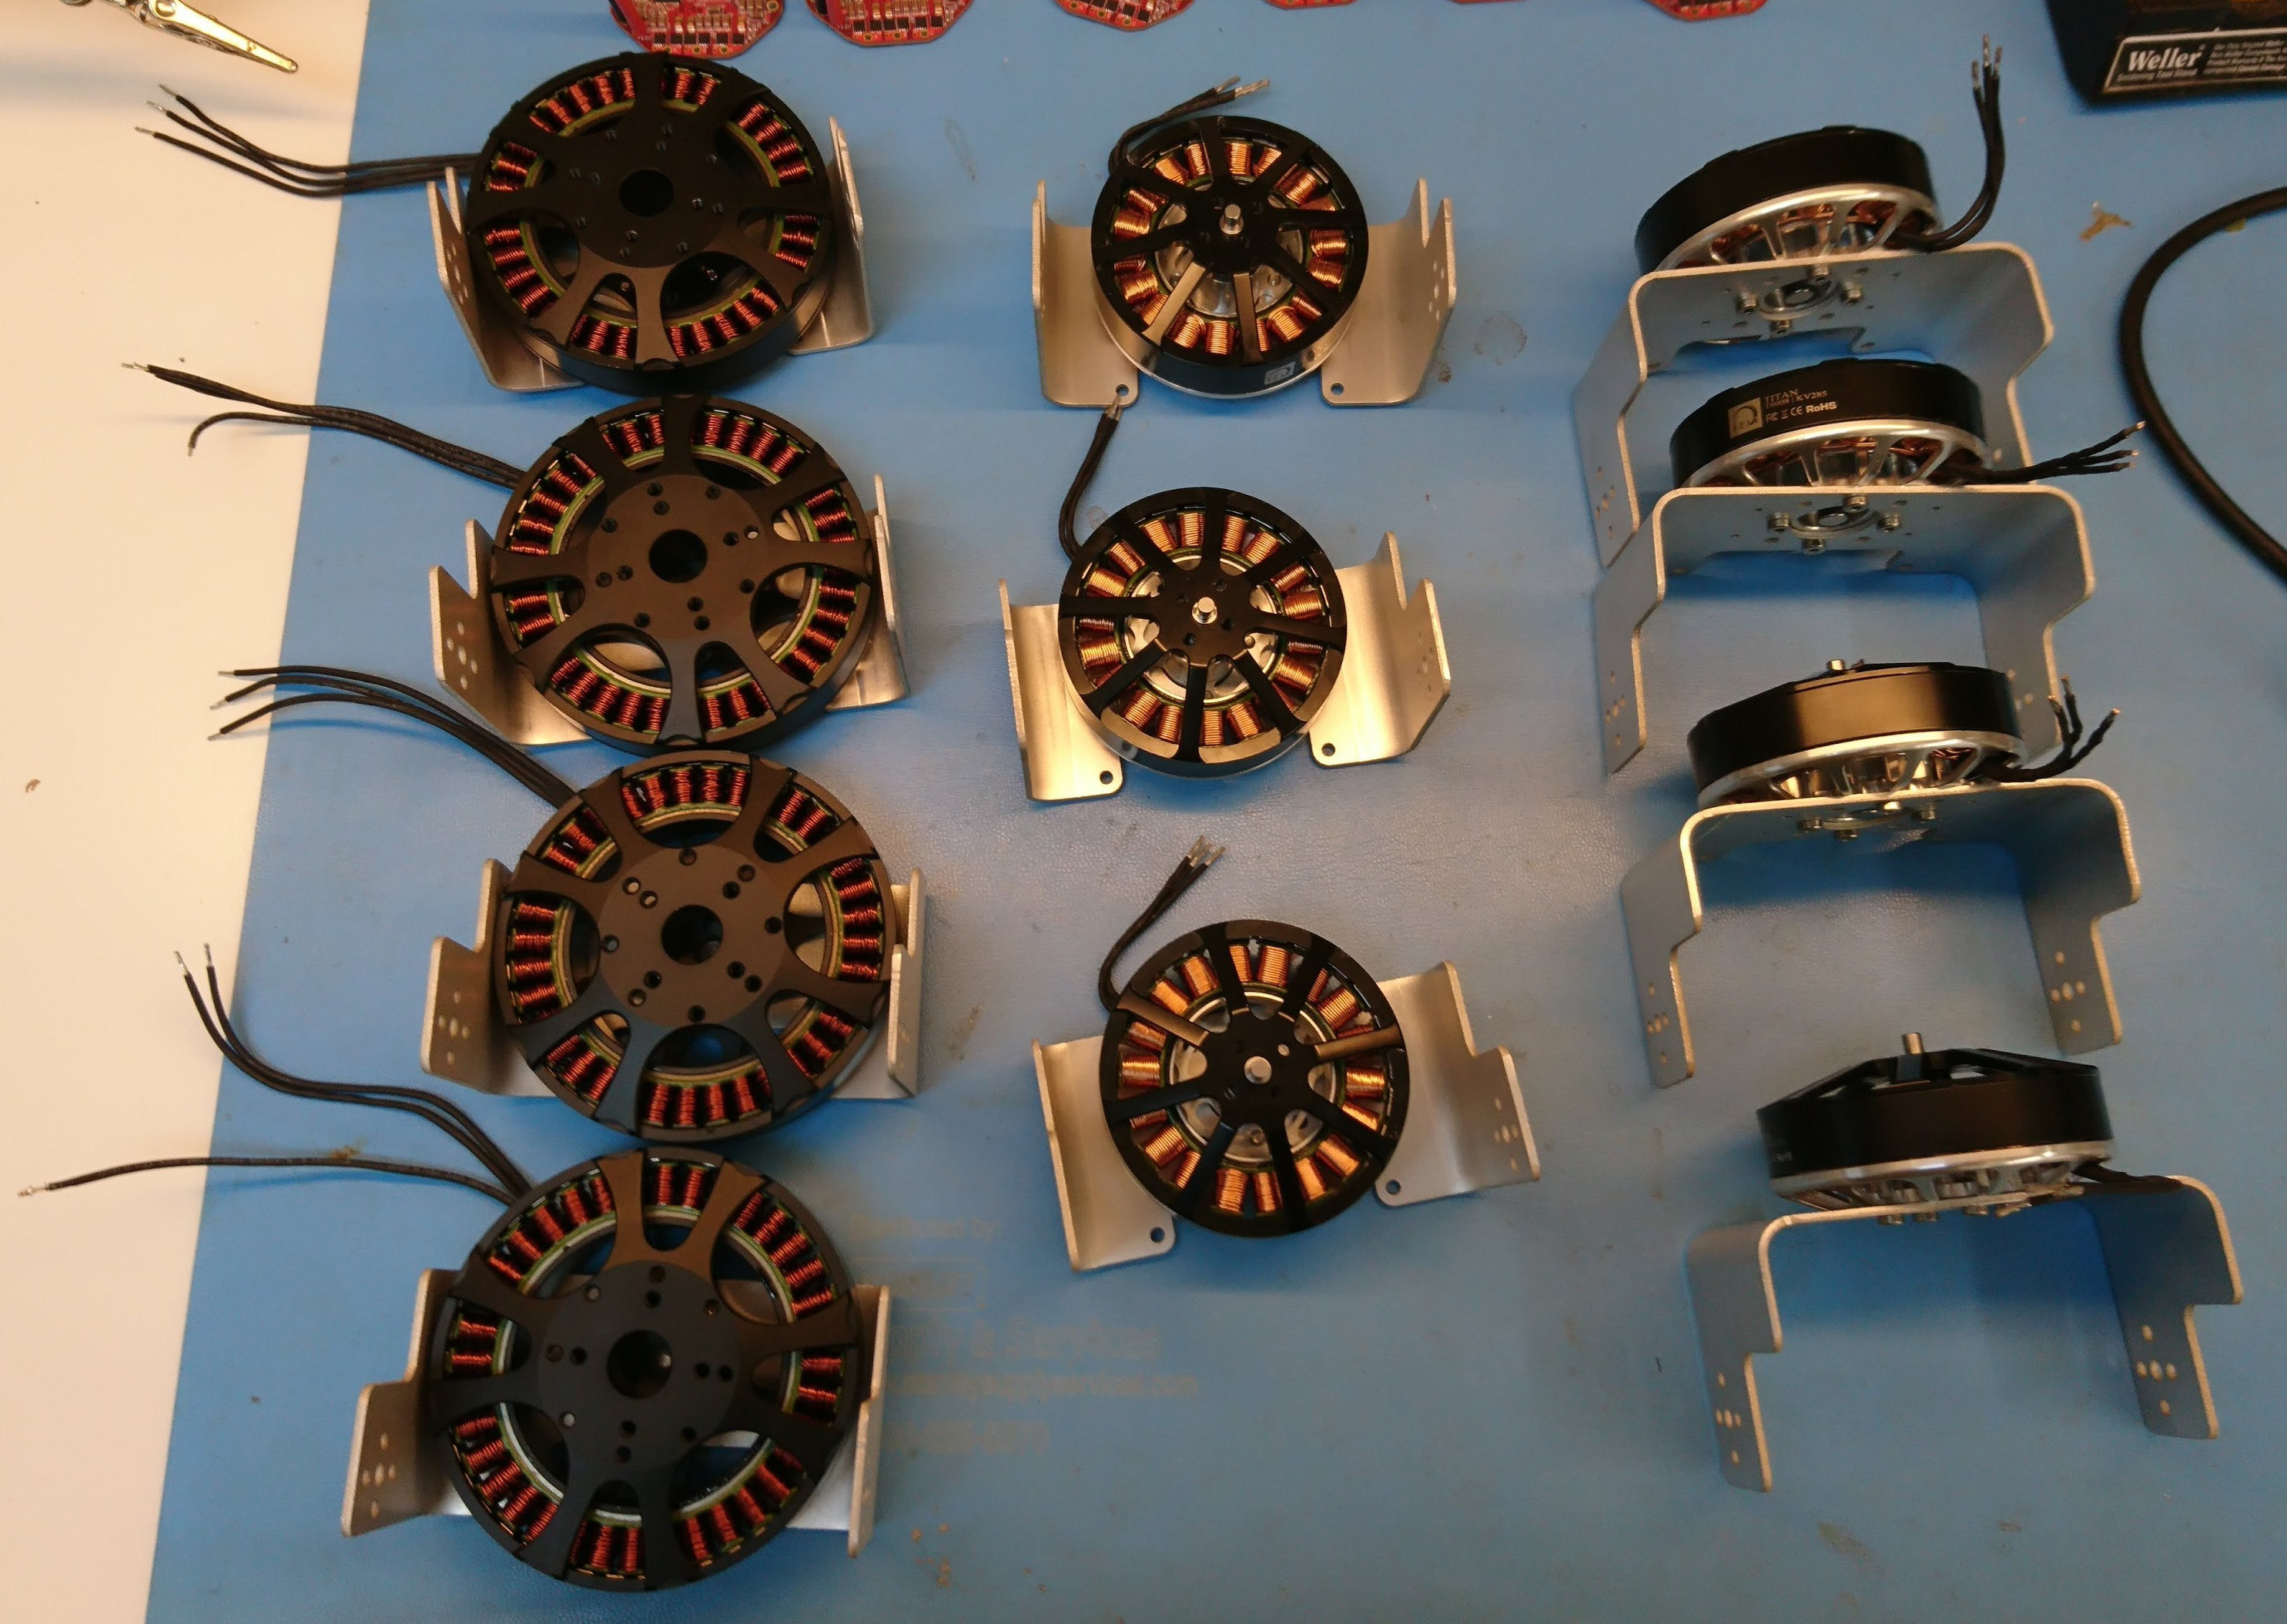
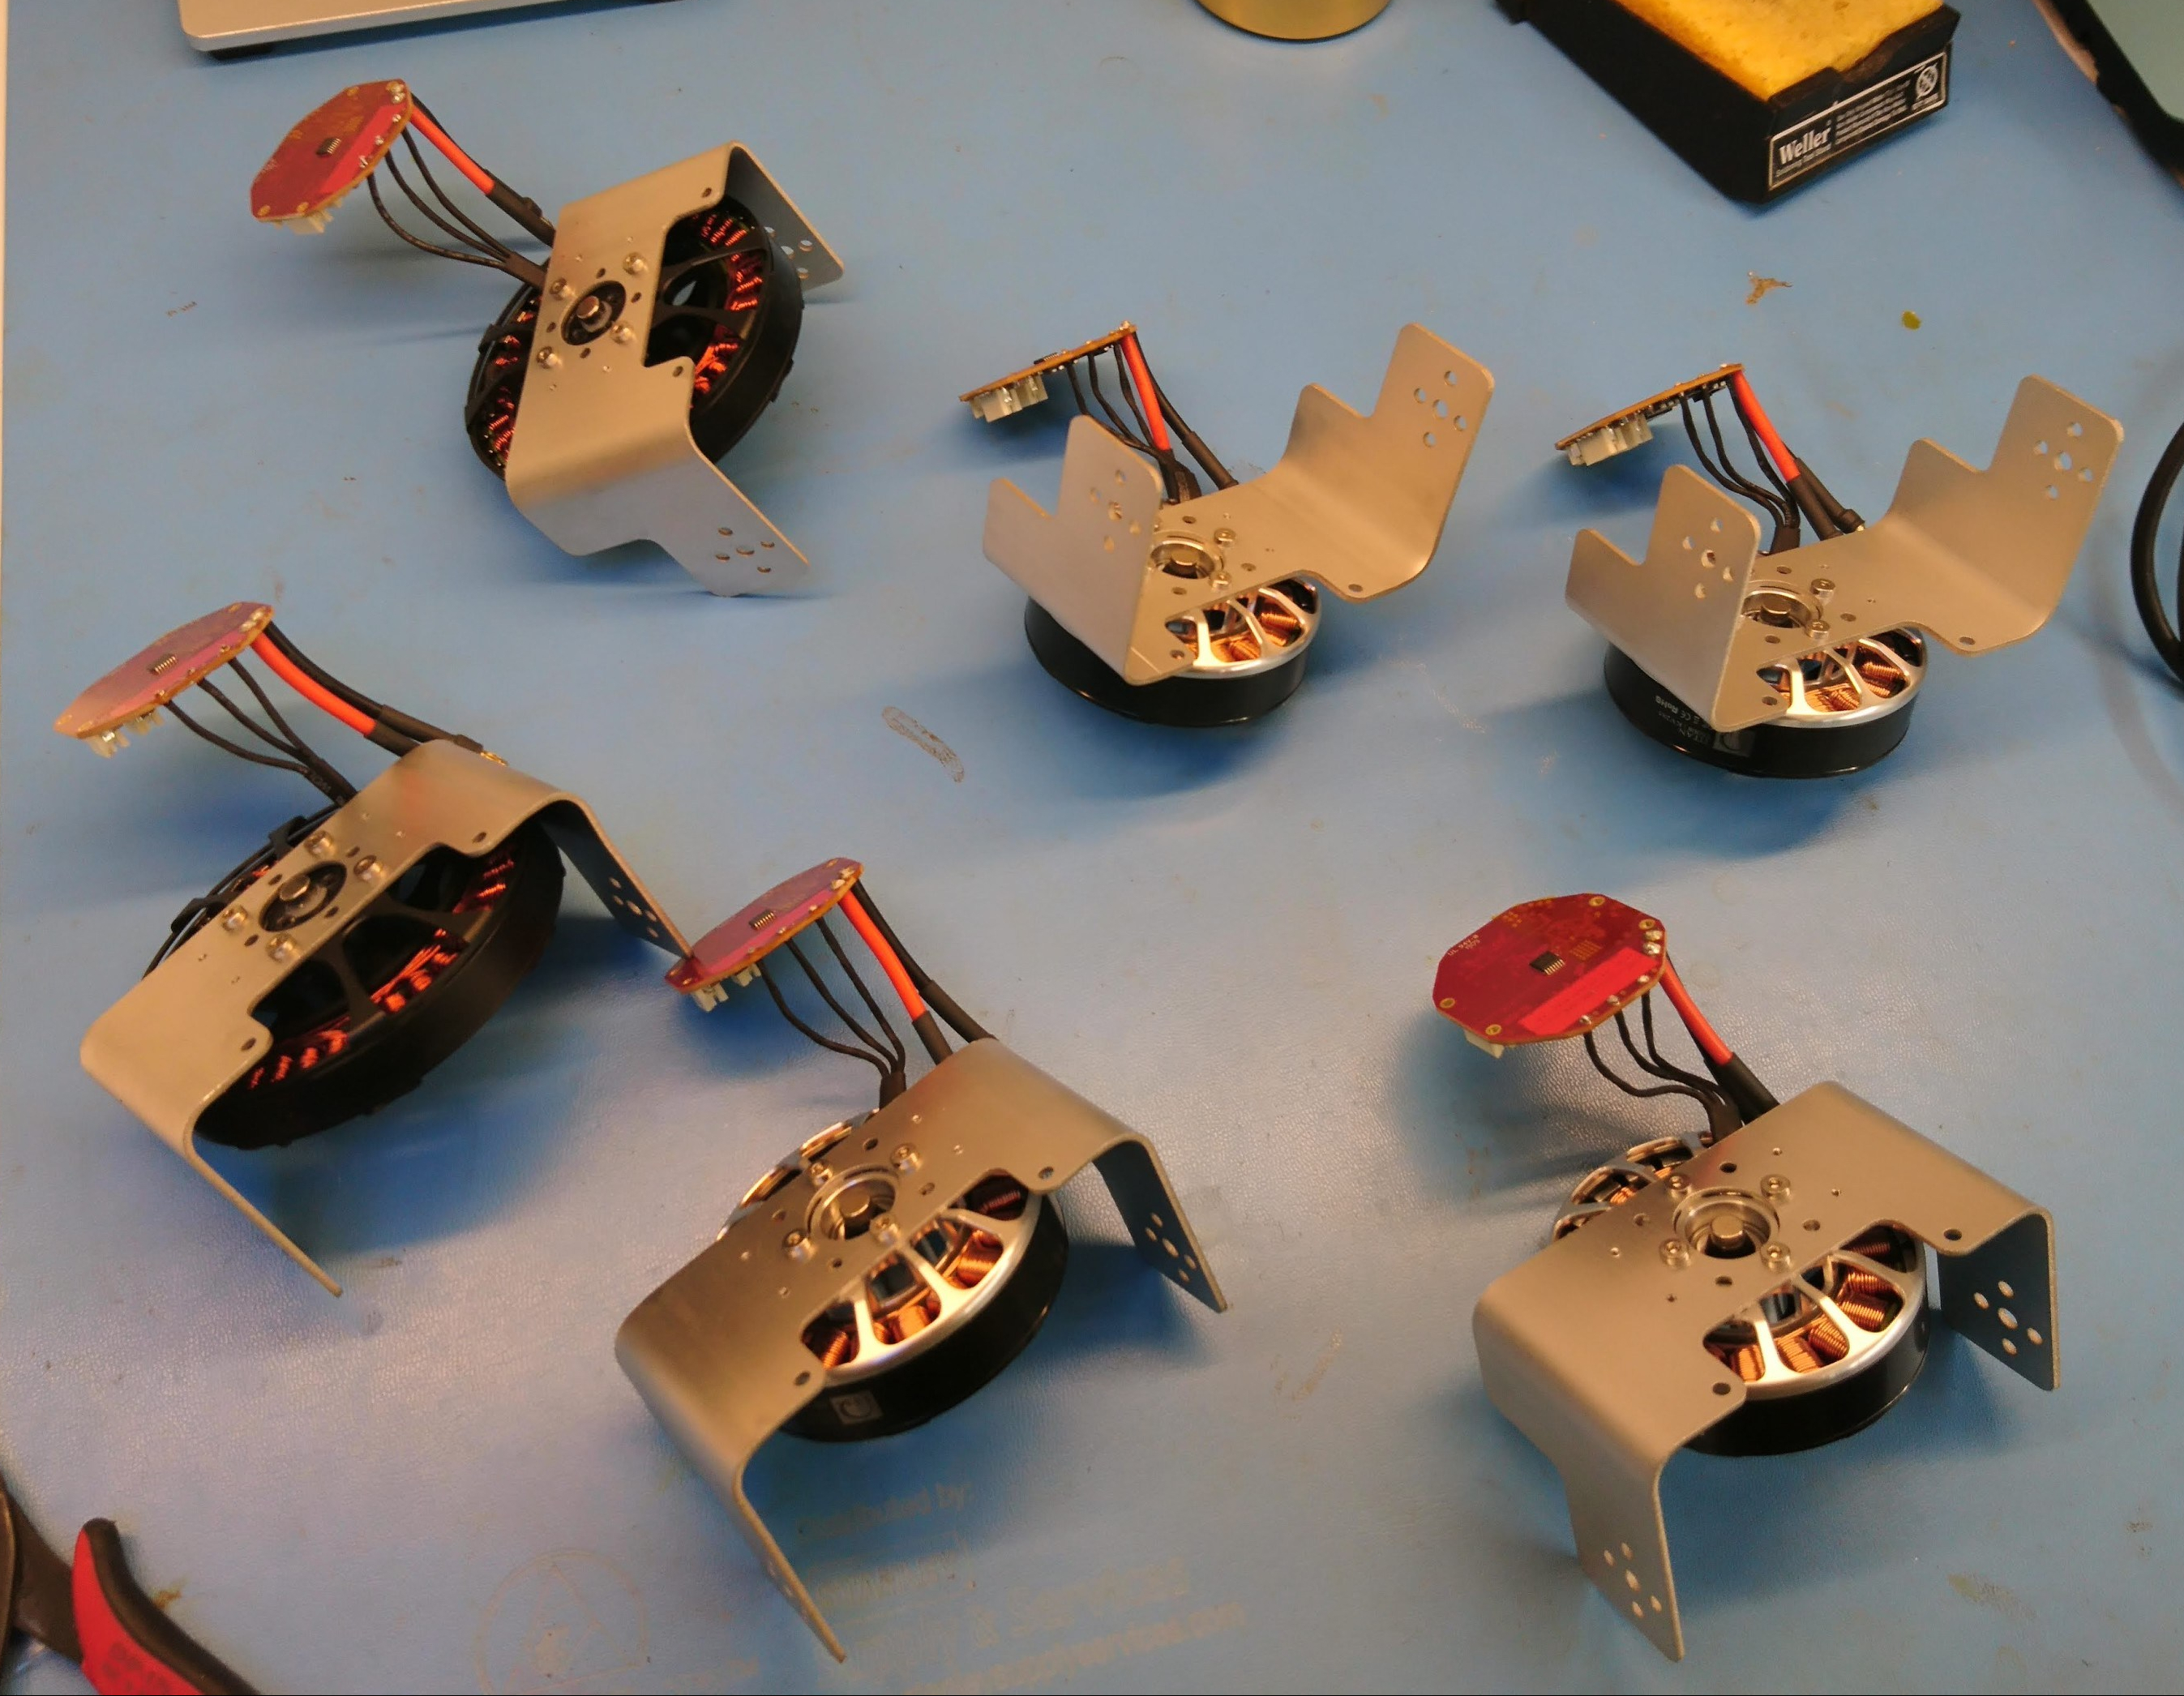
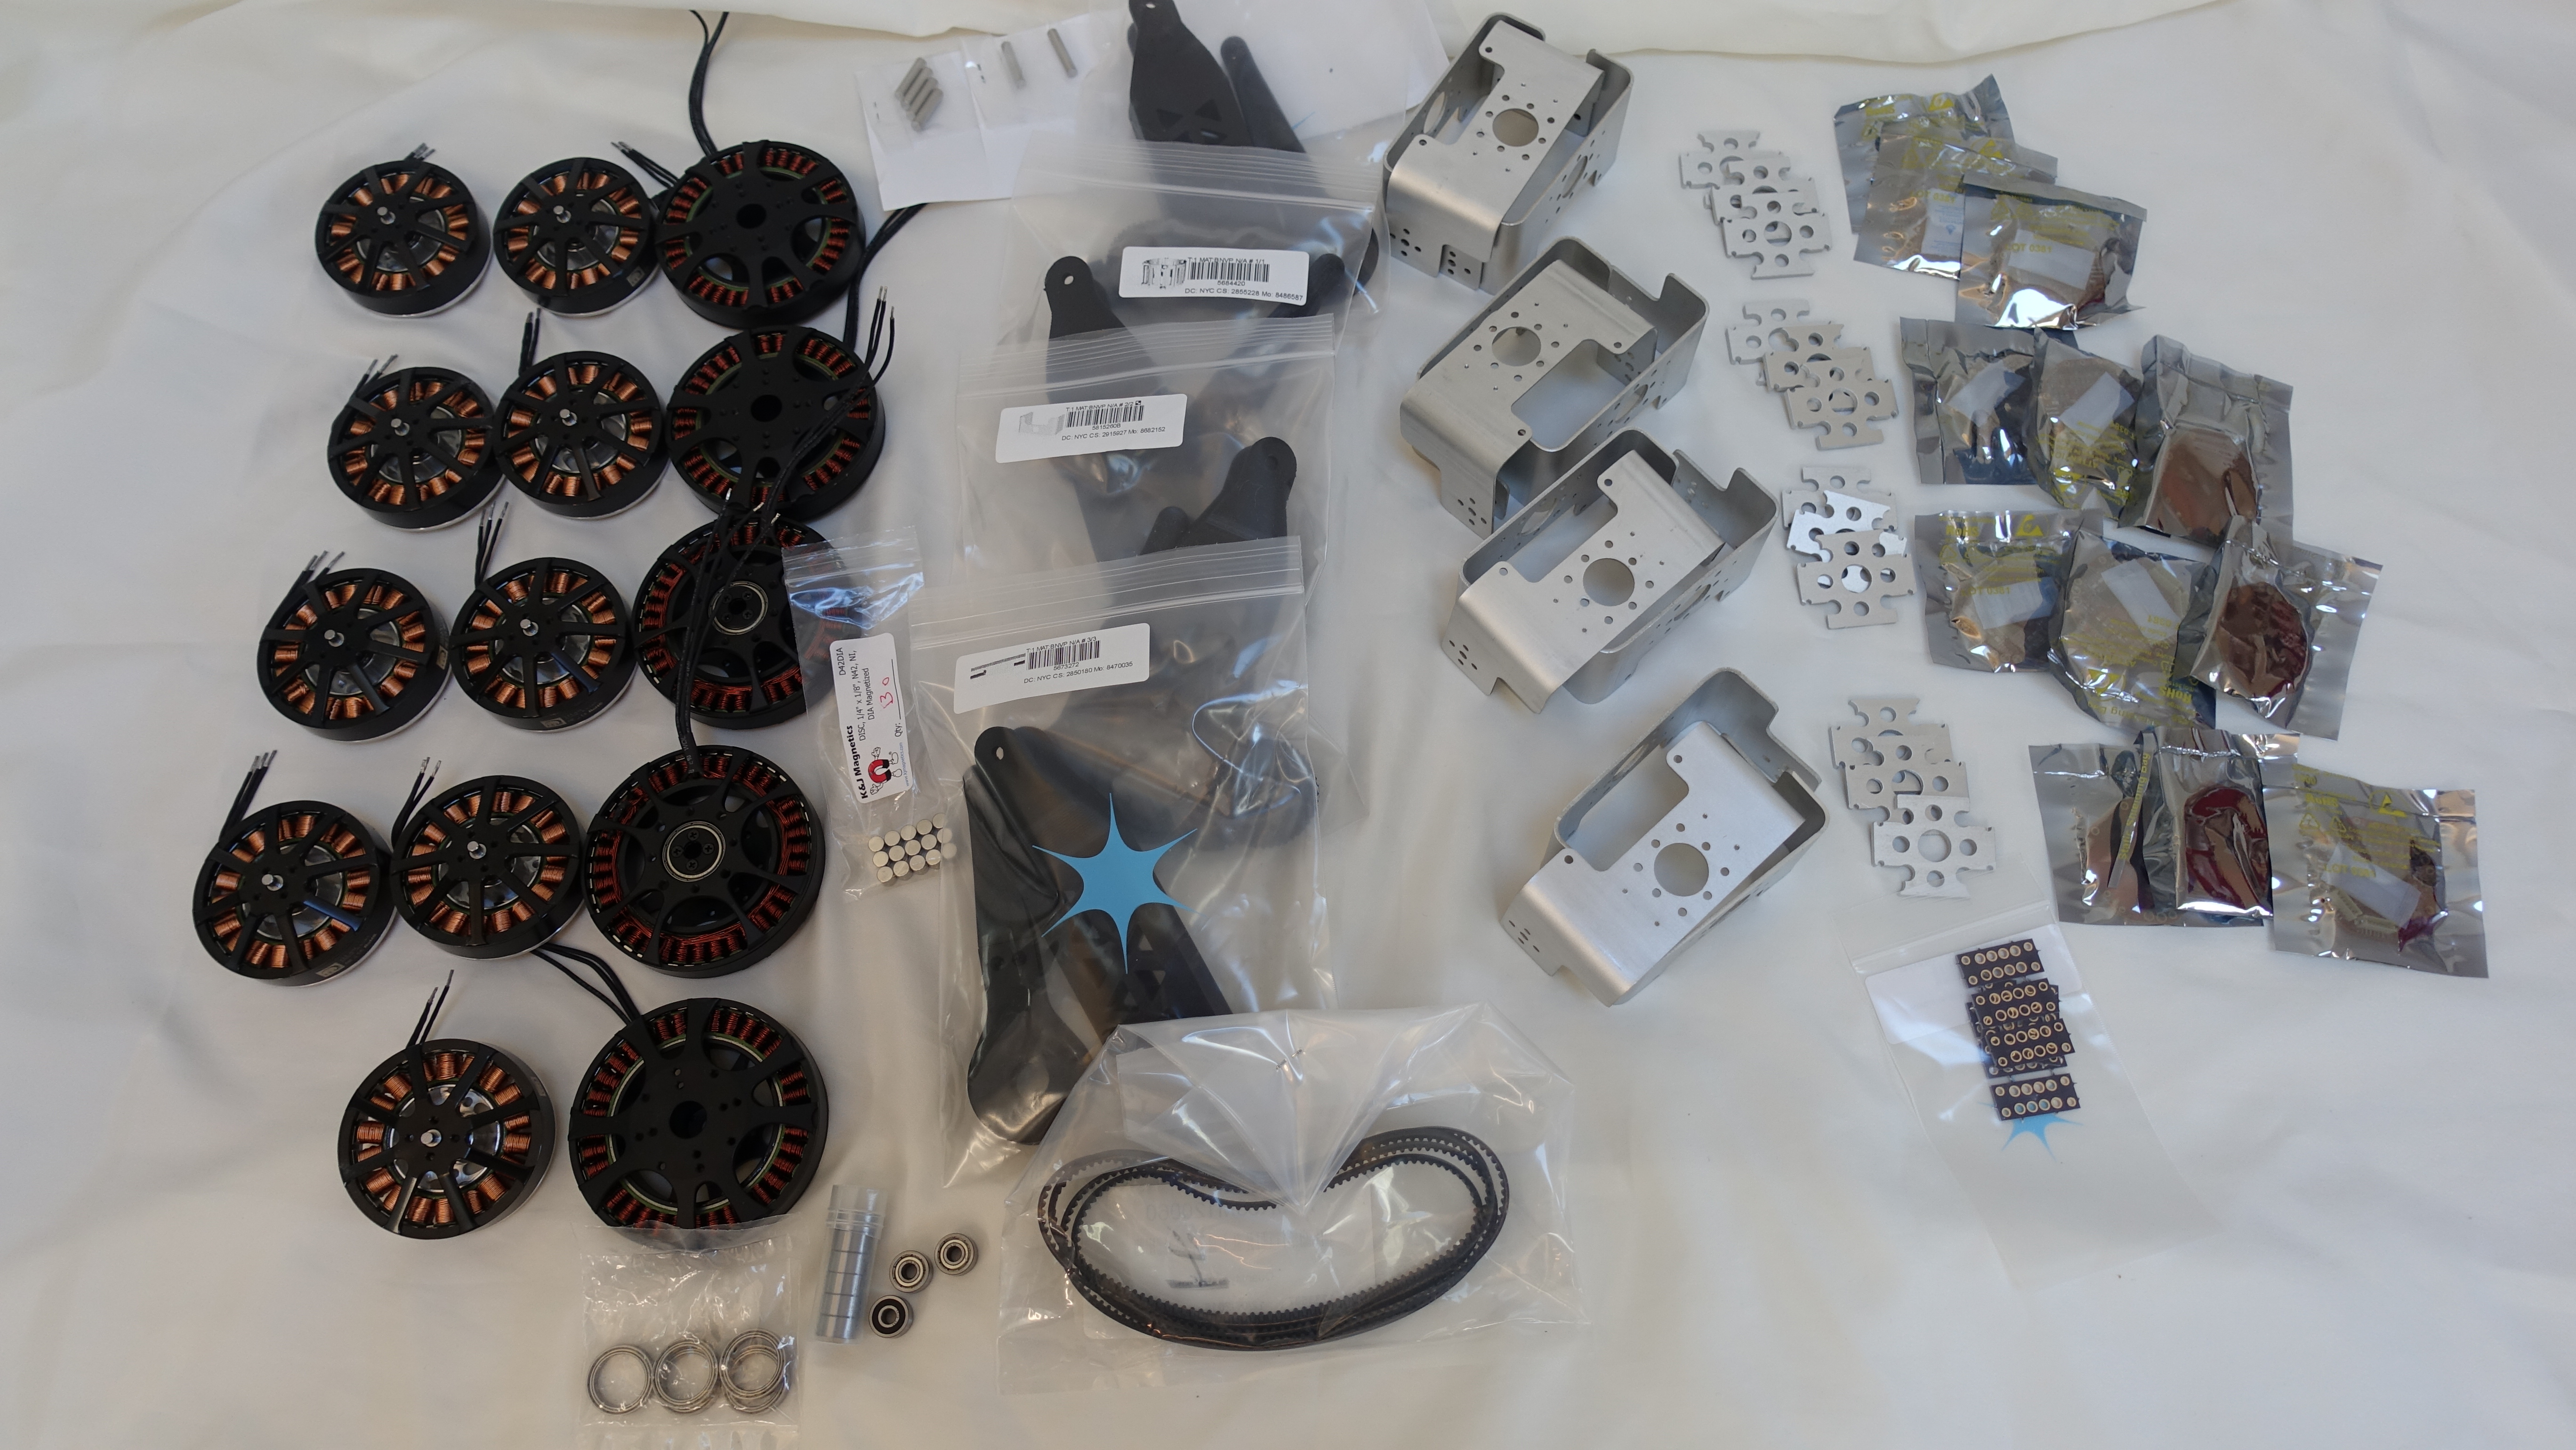
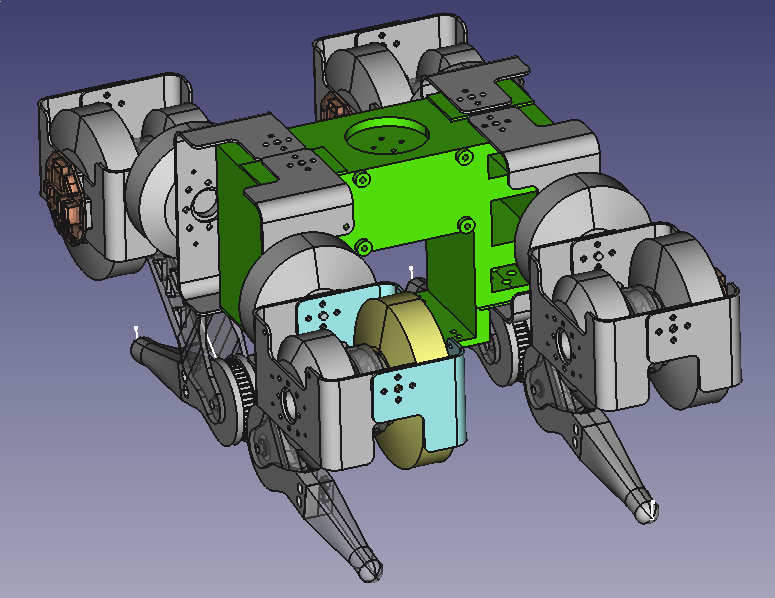
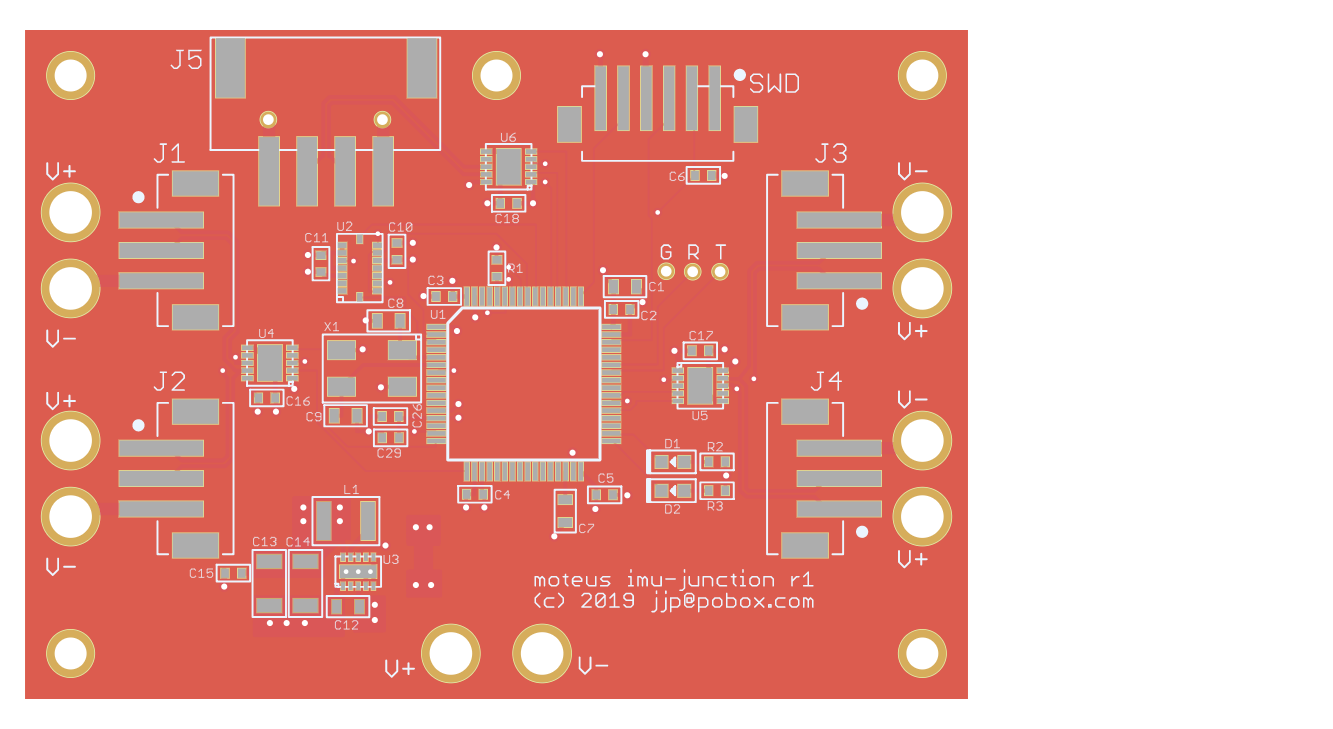
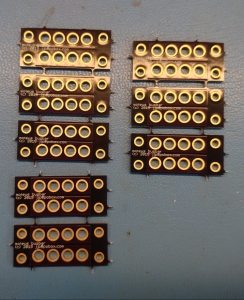
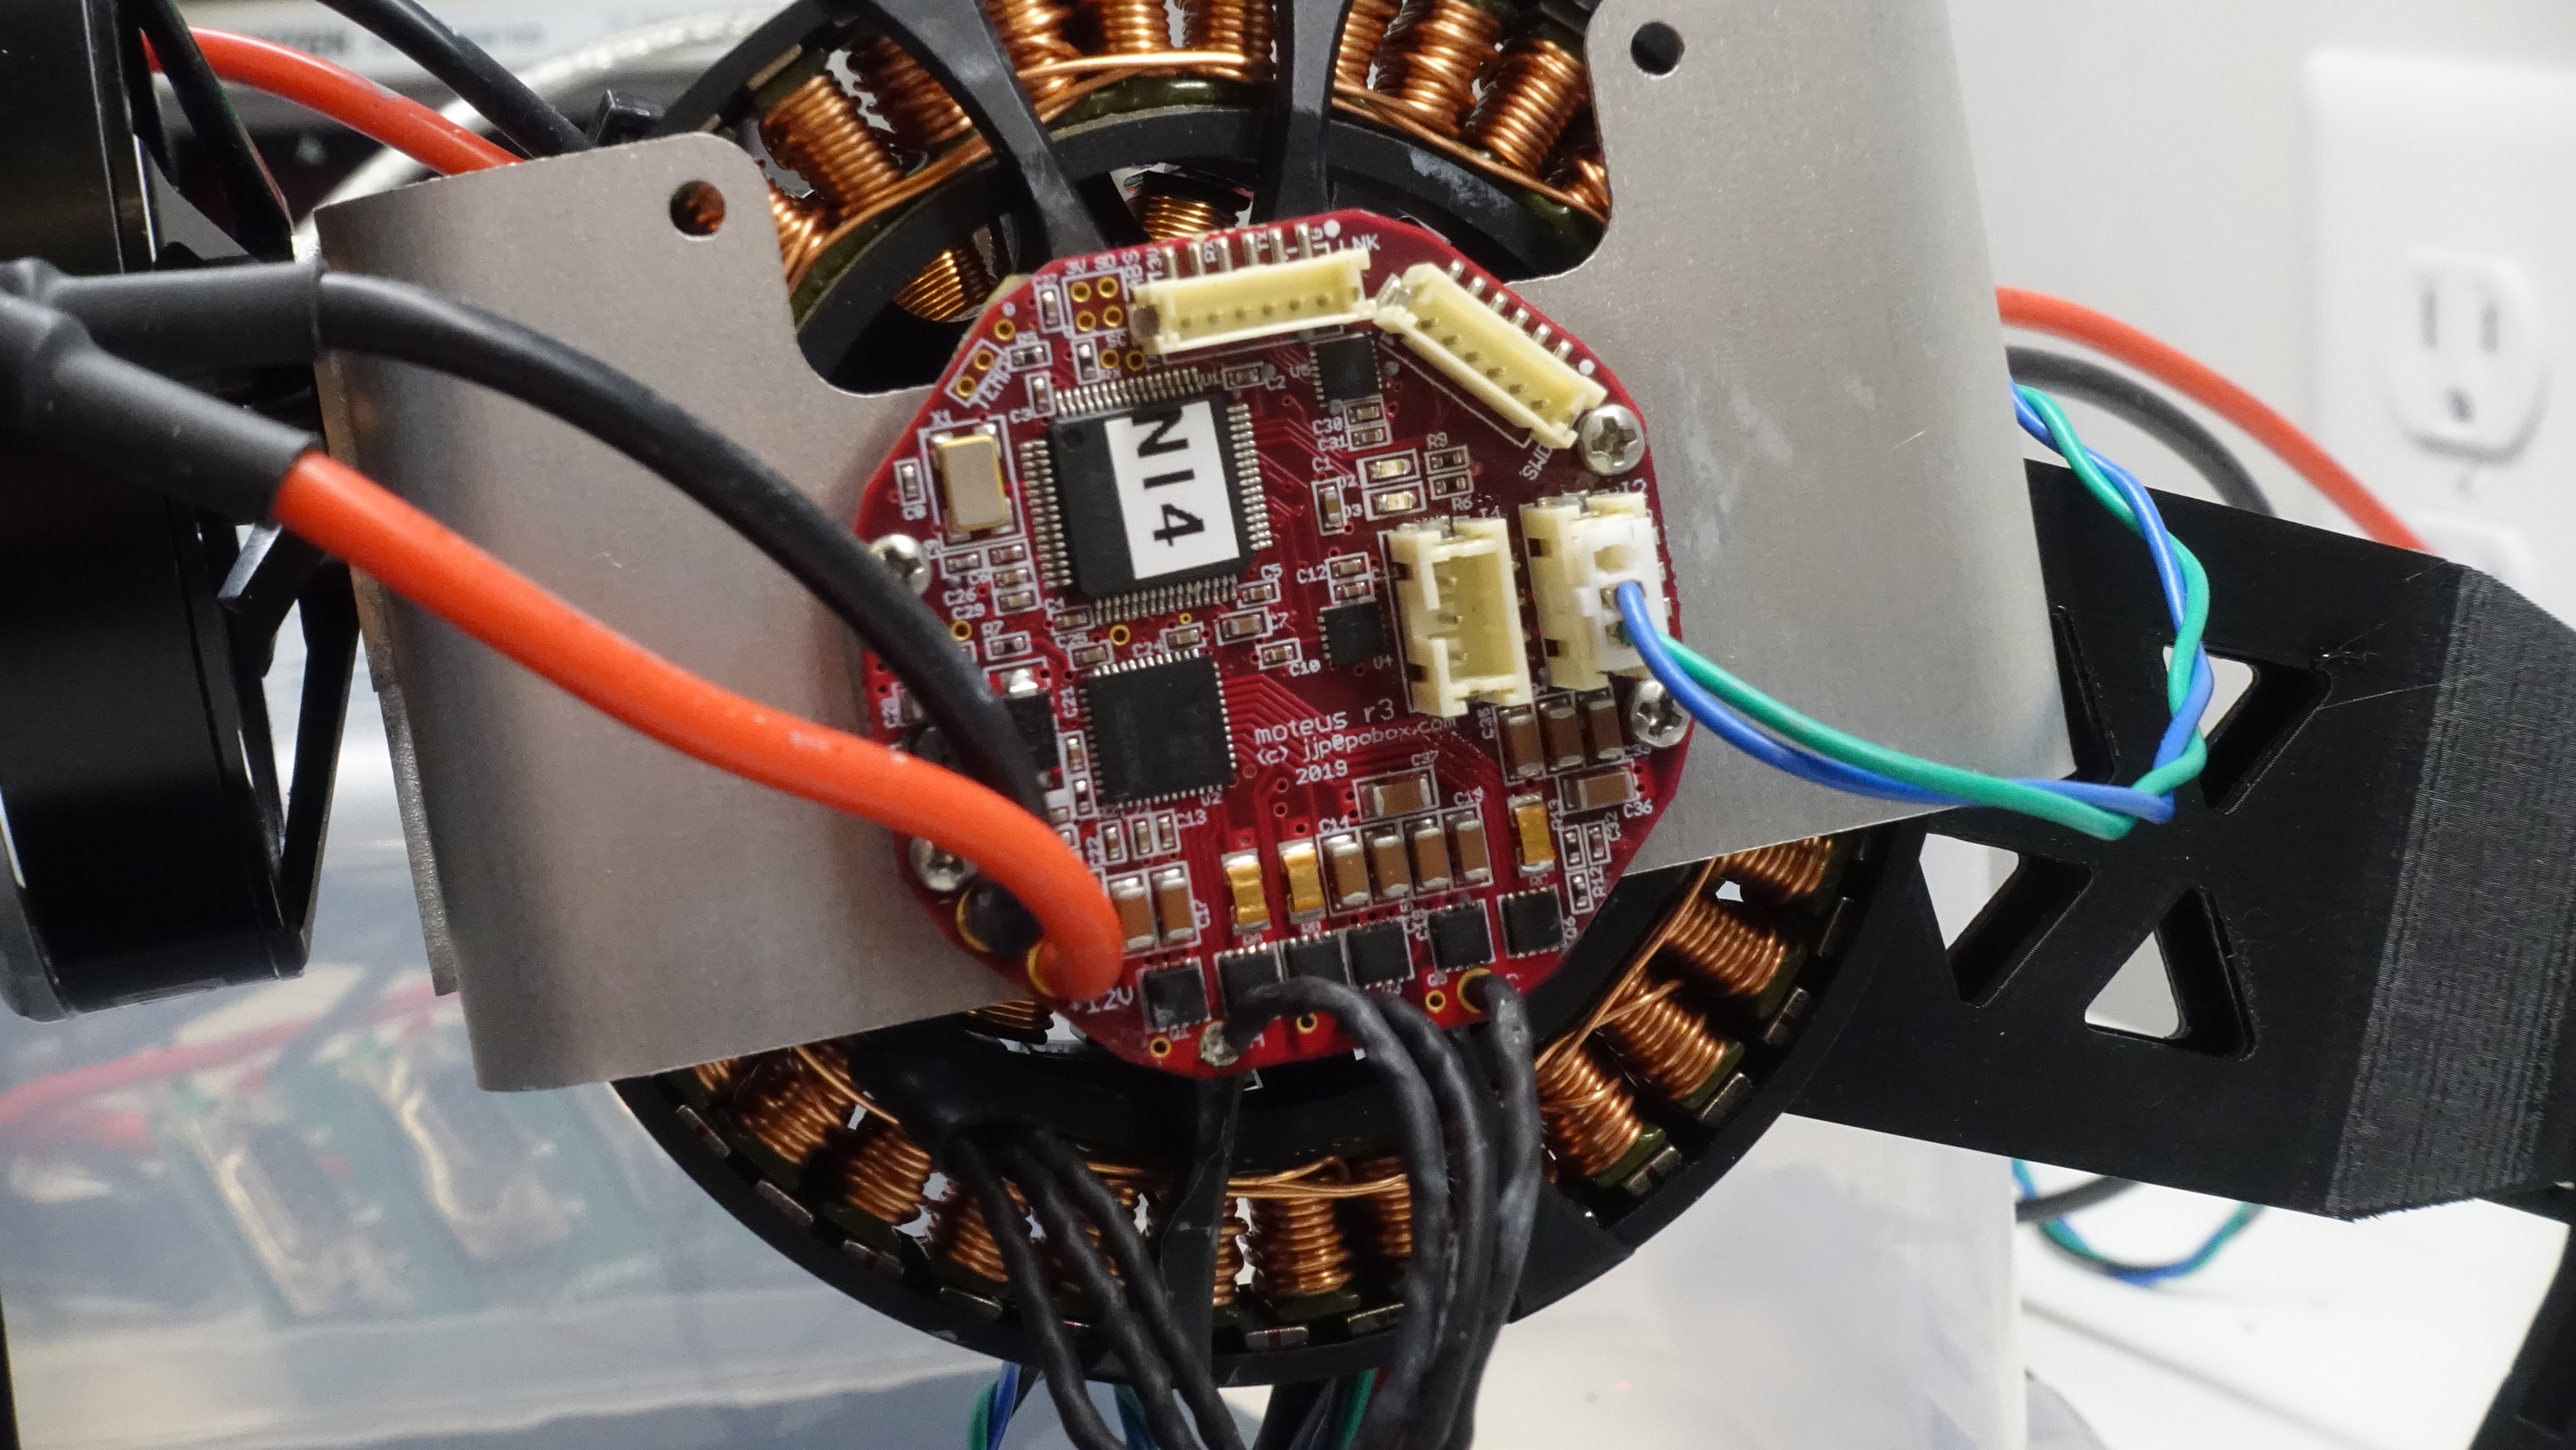
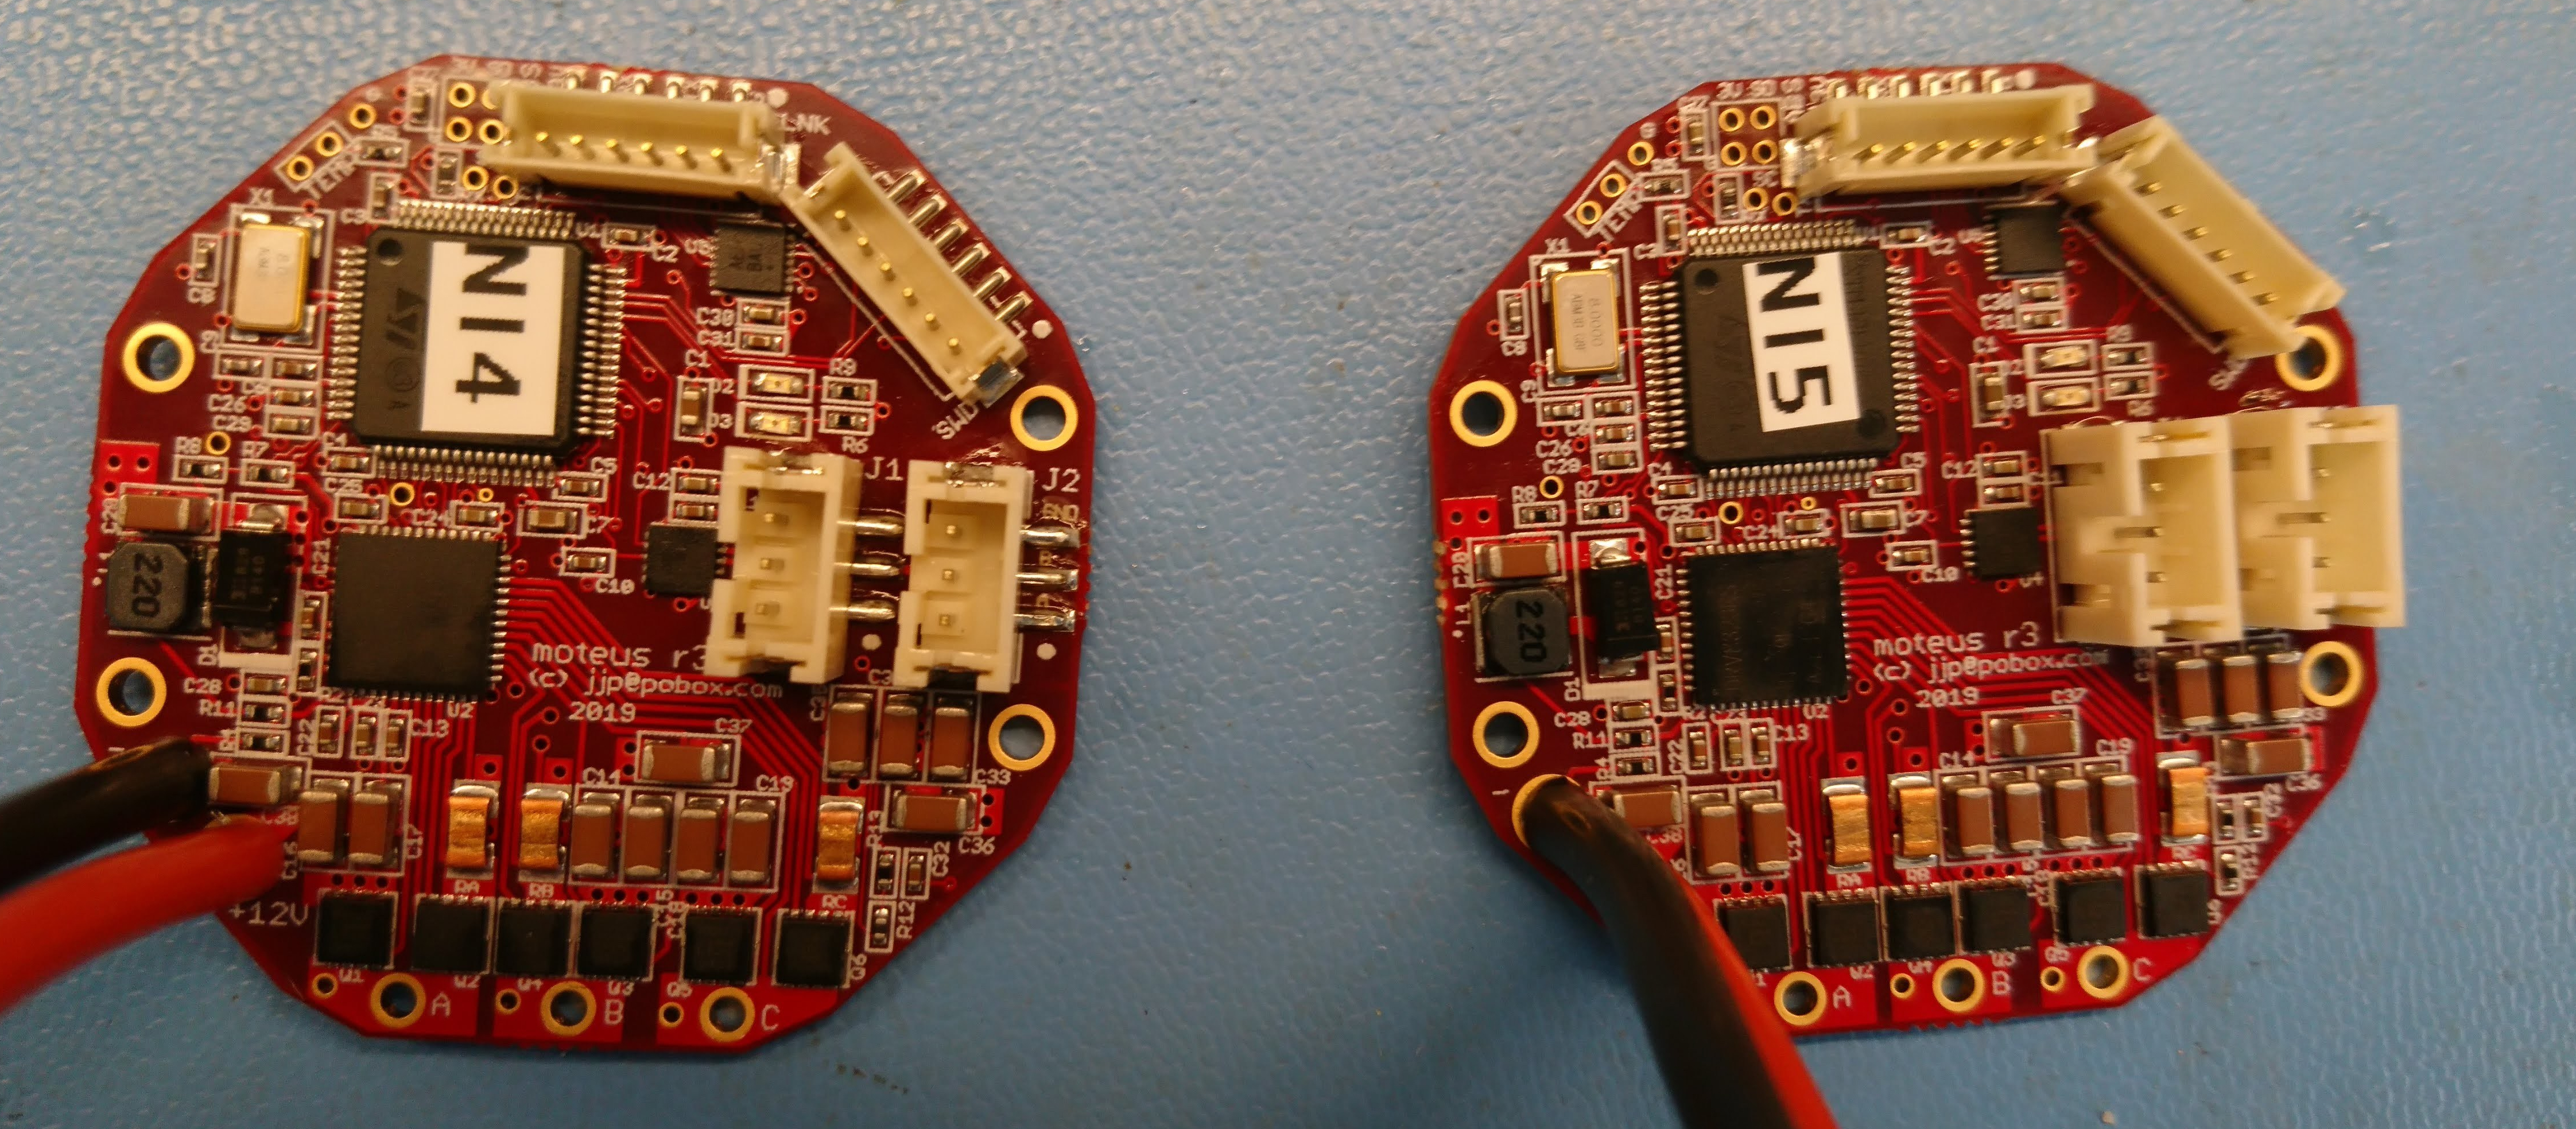
On top of that, they offer a “quick turn” option which gives you populated boards shipped 10 business days after you order them (and I’ve even had them ship out a few days early from time to time)!  The only annoyance is that the quick turn option is limited, as I’ve mentioned before, to boards that meet certain criteria, among them having 20 or fewer items on the bill of materials.  To try and get this first quadruped prototype up and running quickly, I’ve been exclusively relying on quick turn boards, which means making some compromises.  Even after some moderate design sacrifices, I haven’t been able to get the servo controller board to 20 parts.  At the moment it is 23.  Thus, when I received the first big-ish PCB order I’ve made (qty 28), I got to spend a morning populating the remaining 3 components on all 28 boards.

All parts received!

I’ve now managed to get all the custom and long lead time parts in house for the first version of a quadruped based on the new actuators I’ve been designing.

All The Parts!

All The Parts!

That includes all the motors, custom brackets, and at least moderately working versions of all the custom PCBs.  Now I just have to get the local rework done, get the software into a semi-reasonable state, and put it all together!

Quadruped chassis

Now that I have a semi-reliable actuator, I need to connect 4 of them together into a single quadruped robot.  Additionally, it needs to be able to mount a battery, the turret, and all the other miscellaneous pieces of a walking robot.

My draft design looks like this in CAD:

2019-03-05-205850_775x598_scrot

The four corners each are set to mount one leg to.  The central cavity will eventually house a battery compartment.  On the top is a mounting location for the turret, and the front has mounting studs for a power distribution PCB.  Each of the screw holes is designed to take a thermoplastic insert heat fit into place.

Quadruped Junction Board

The full quadruped robot needs to both distribute power from the primary battery and RS485 serial network to all 12 servos.  To make the wiring of that easier, I’ve made up a junction board to provide power connectors, distribute the data network, and act as the IMU for when that is necessary.

20190314-moteus-imu-junction-r1.png

The RS485 network is bridged between two halves of the robot.  One connection comes in from the controlling PC and two separate links go out, one for the left side and one for the right side.  This could eventually allow the controller on the junction board to take intelligent actions itself, such as querying the force applied on all 12 servos.  It could then return the result in a single RS485 transaction to the host computer.  I am expecting that will be necessary to achieve closed loop control approaching 1kHz.

My simplest ever PCB

While wiring up the first 3 degree of freedom mammal actuator, I knew I was going to have a need to distribute power to each of the three motor controllers.  Thus, enter my simplest ever PCB.  It is just 4 holes for each of power and ground with traces connecting them.

moteus busbar PCB

moteus busbar PCB

It took an annoying amount of time to actually solder in all the necessary wires, but it was still better than the alternative of a bunch of ring terminals bolted together.

moteus brushless servo open source release

moteus is an open source brushless servo actuator designed for use in highly dynamic robots.  It consists of PCB designs, software, and mechanical designs necessary to construct powerful brushless servos, and link them together into legged robots.  Today I’ve published the full source and designs for all of this work on github under an Apache 2.0 License - https://github.com/mjbots/moteus

moteus r3 controller installed on leg

moteus r3 controller installed on leg

These are the software and designs I have been developing in order to replace the actuators on Super Mega Microbot (which will probably get a new name shortly as well).  It isn’t done, but at least the controller is working well enough now that I have a pre-production verification run of ~30 controllers in flight.  Even still, I expect that further evolution, both on the controller board and in the mechanical systems is inevitable.

Controller r3 and endurance testing

After my self-education on MLCC derating I spun yet another low-volume prototype run of the servo controller.  This one has more than double the effective capacitance by doubling the number of capacitors and by selecting capacitors that have less derating.  I also fixed an incorrect pad geometry for the 6 pin ZH connector, optimized the BOM count a bit and reselected parts that were no longer available.

2x fully assembled controller r3

2x fully assembled controller r3

Mammal geometry leg revision

After getting the first version of the mammal geometry leg working and jumping I worked on a second revision.  At a minimum, I wanted to fix all the problems that required hand machining, however I also decided it was trivial enough to add a reduction ratio to the tibia through the belt drive, that I should just go ahead and do it.  My inverse kinematics calculations showed that this would make a big difference in average power consumption.