quad A0 chassis v2 - final assembly
In the last post in this series, I conducted a fit test on the new chassis. After my ignominious belly-flop, I now had a more urgent need to complete the switch.
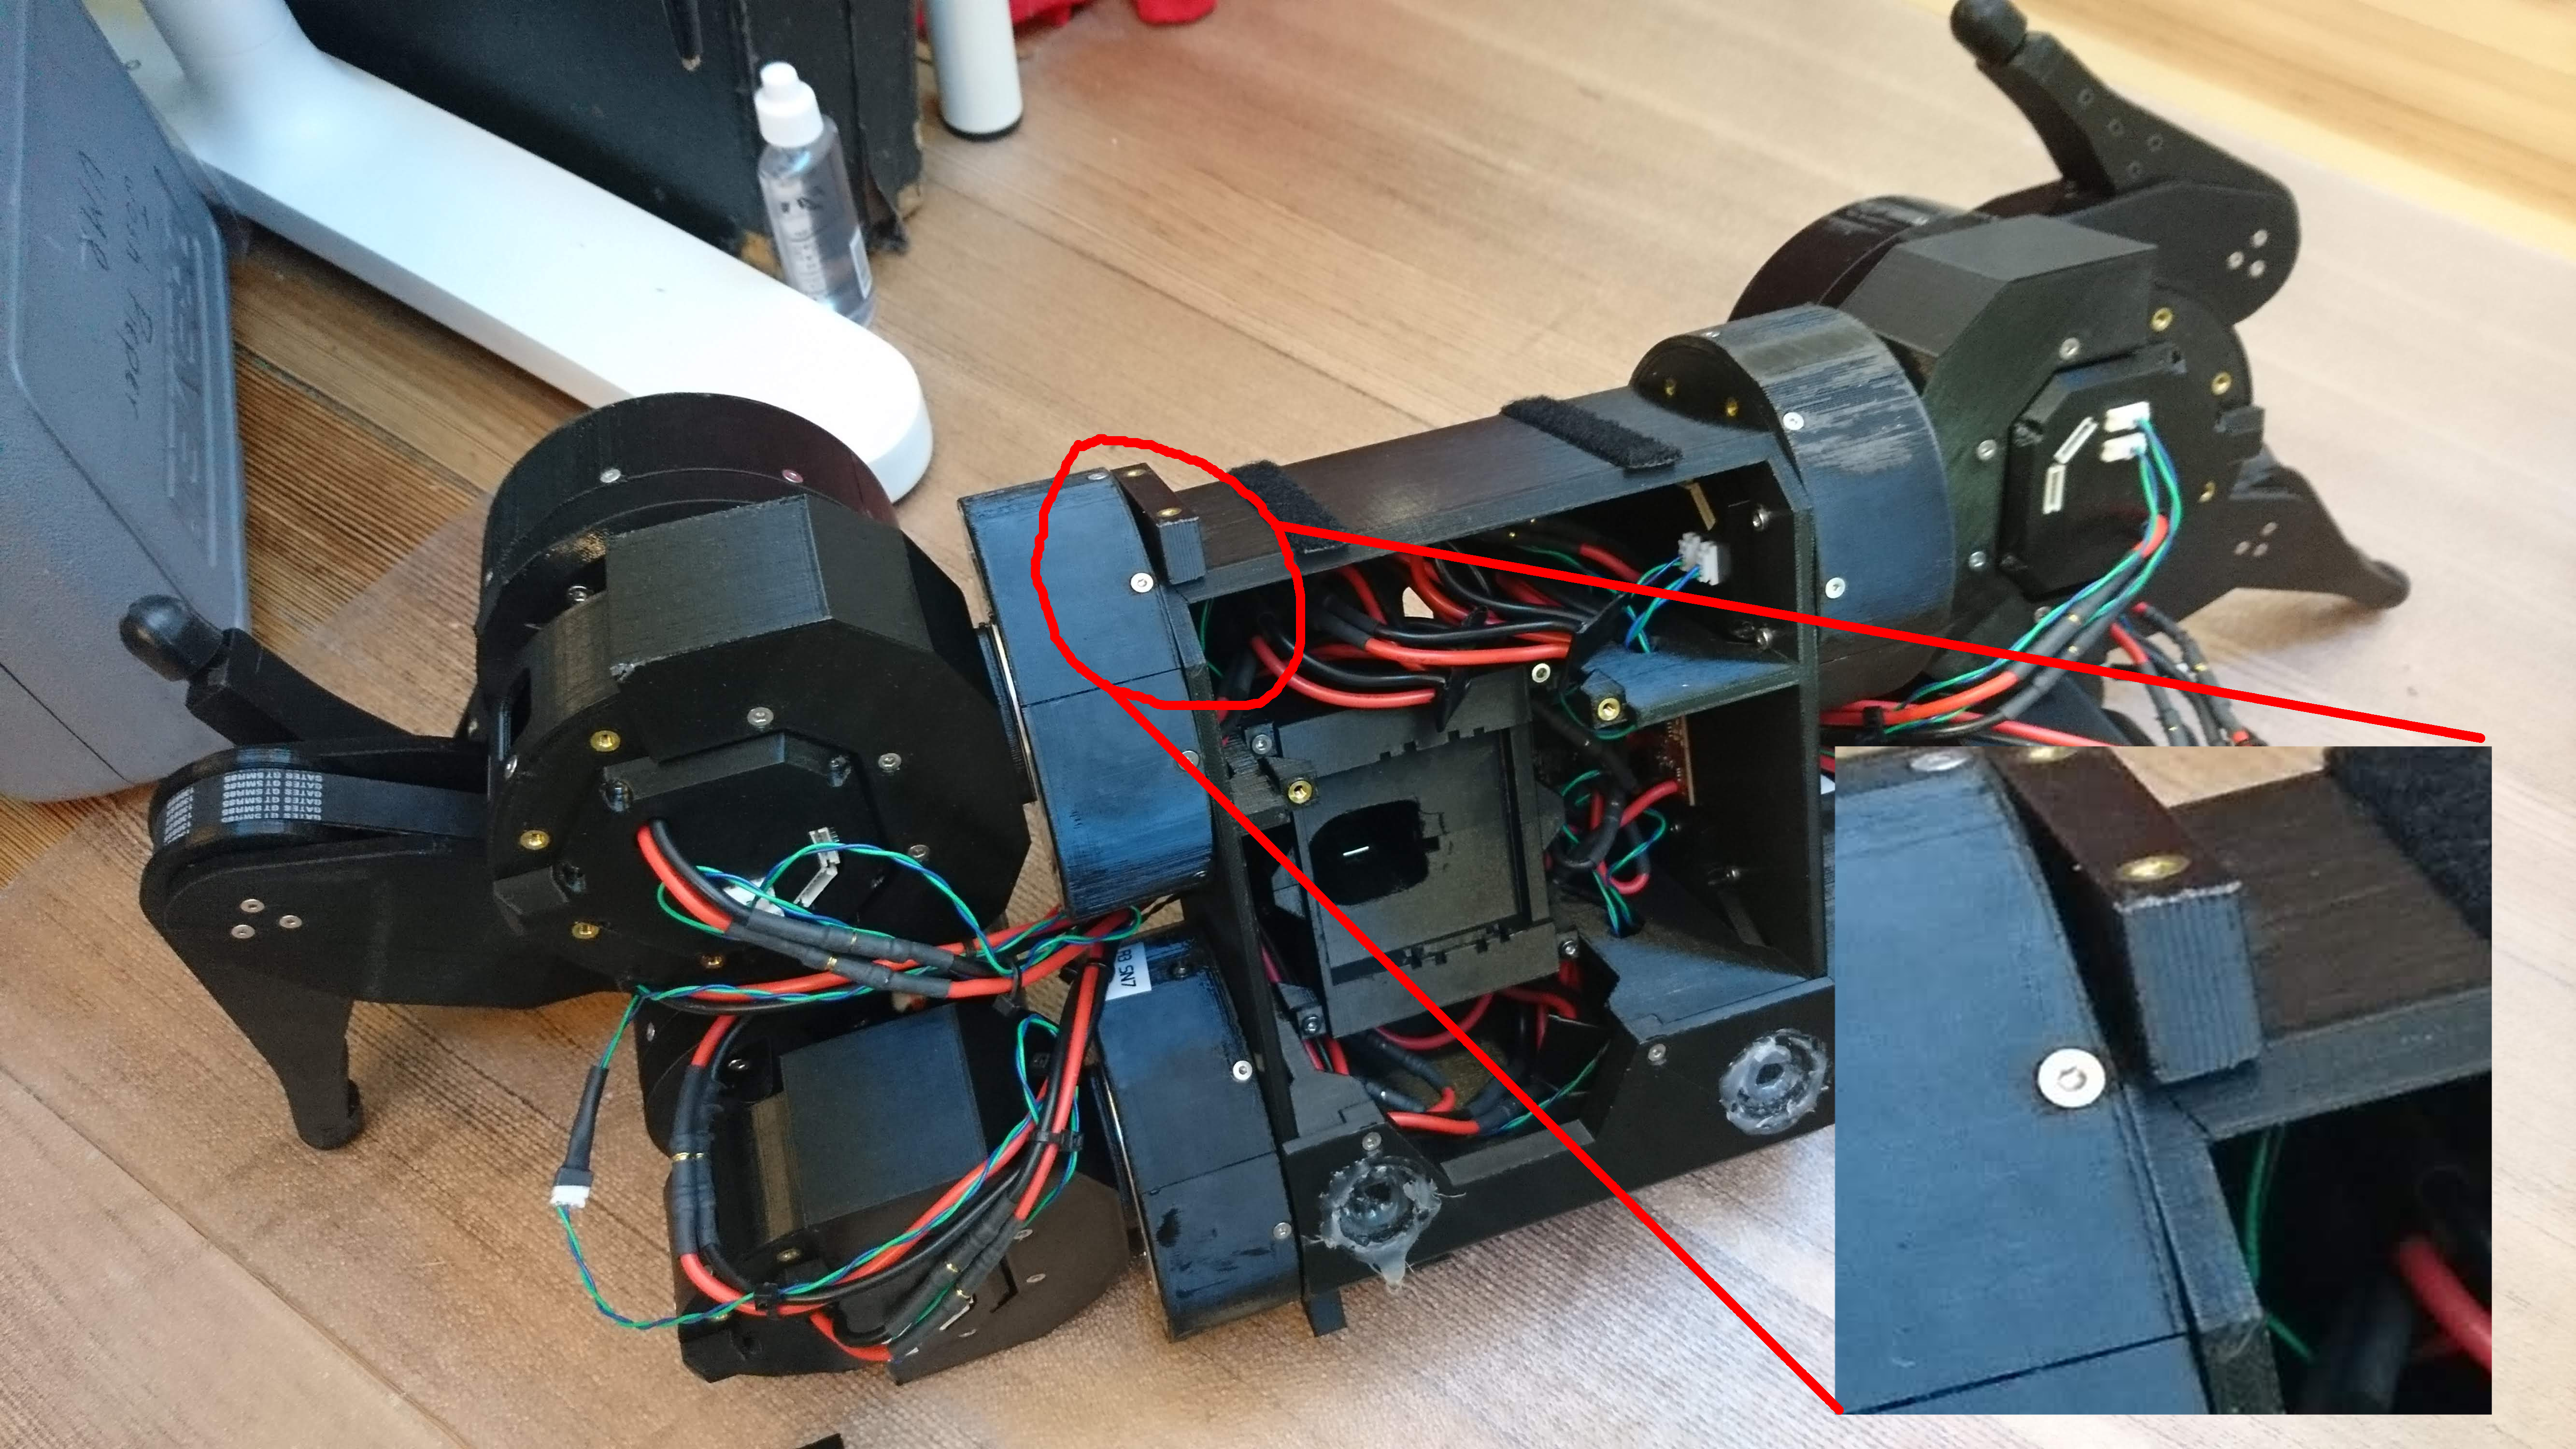
A busted robot
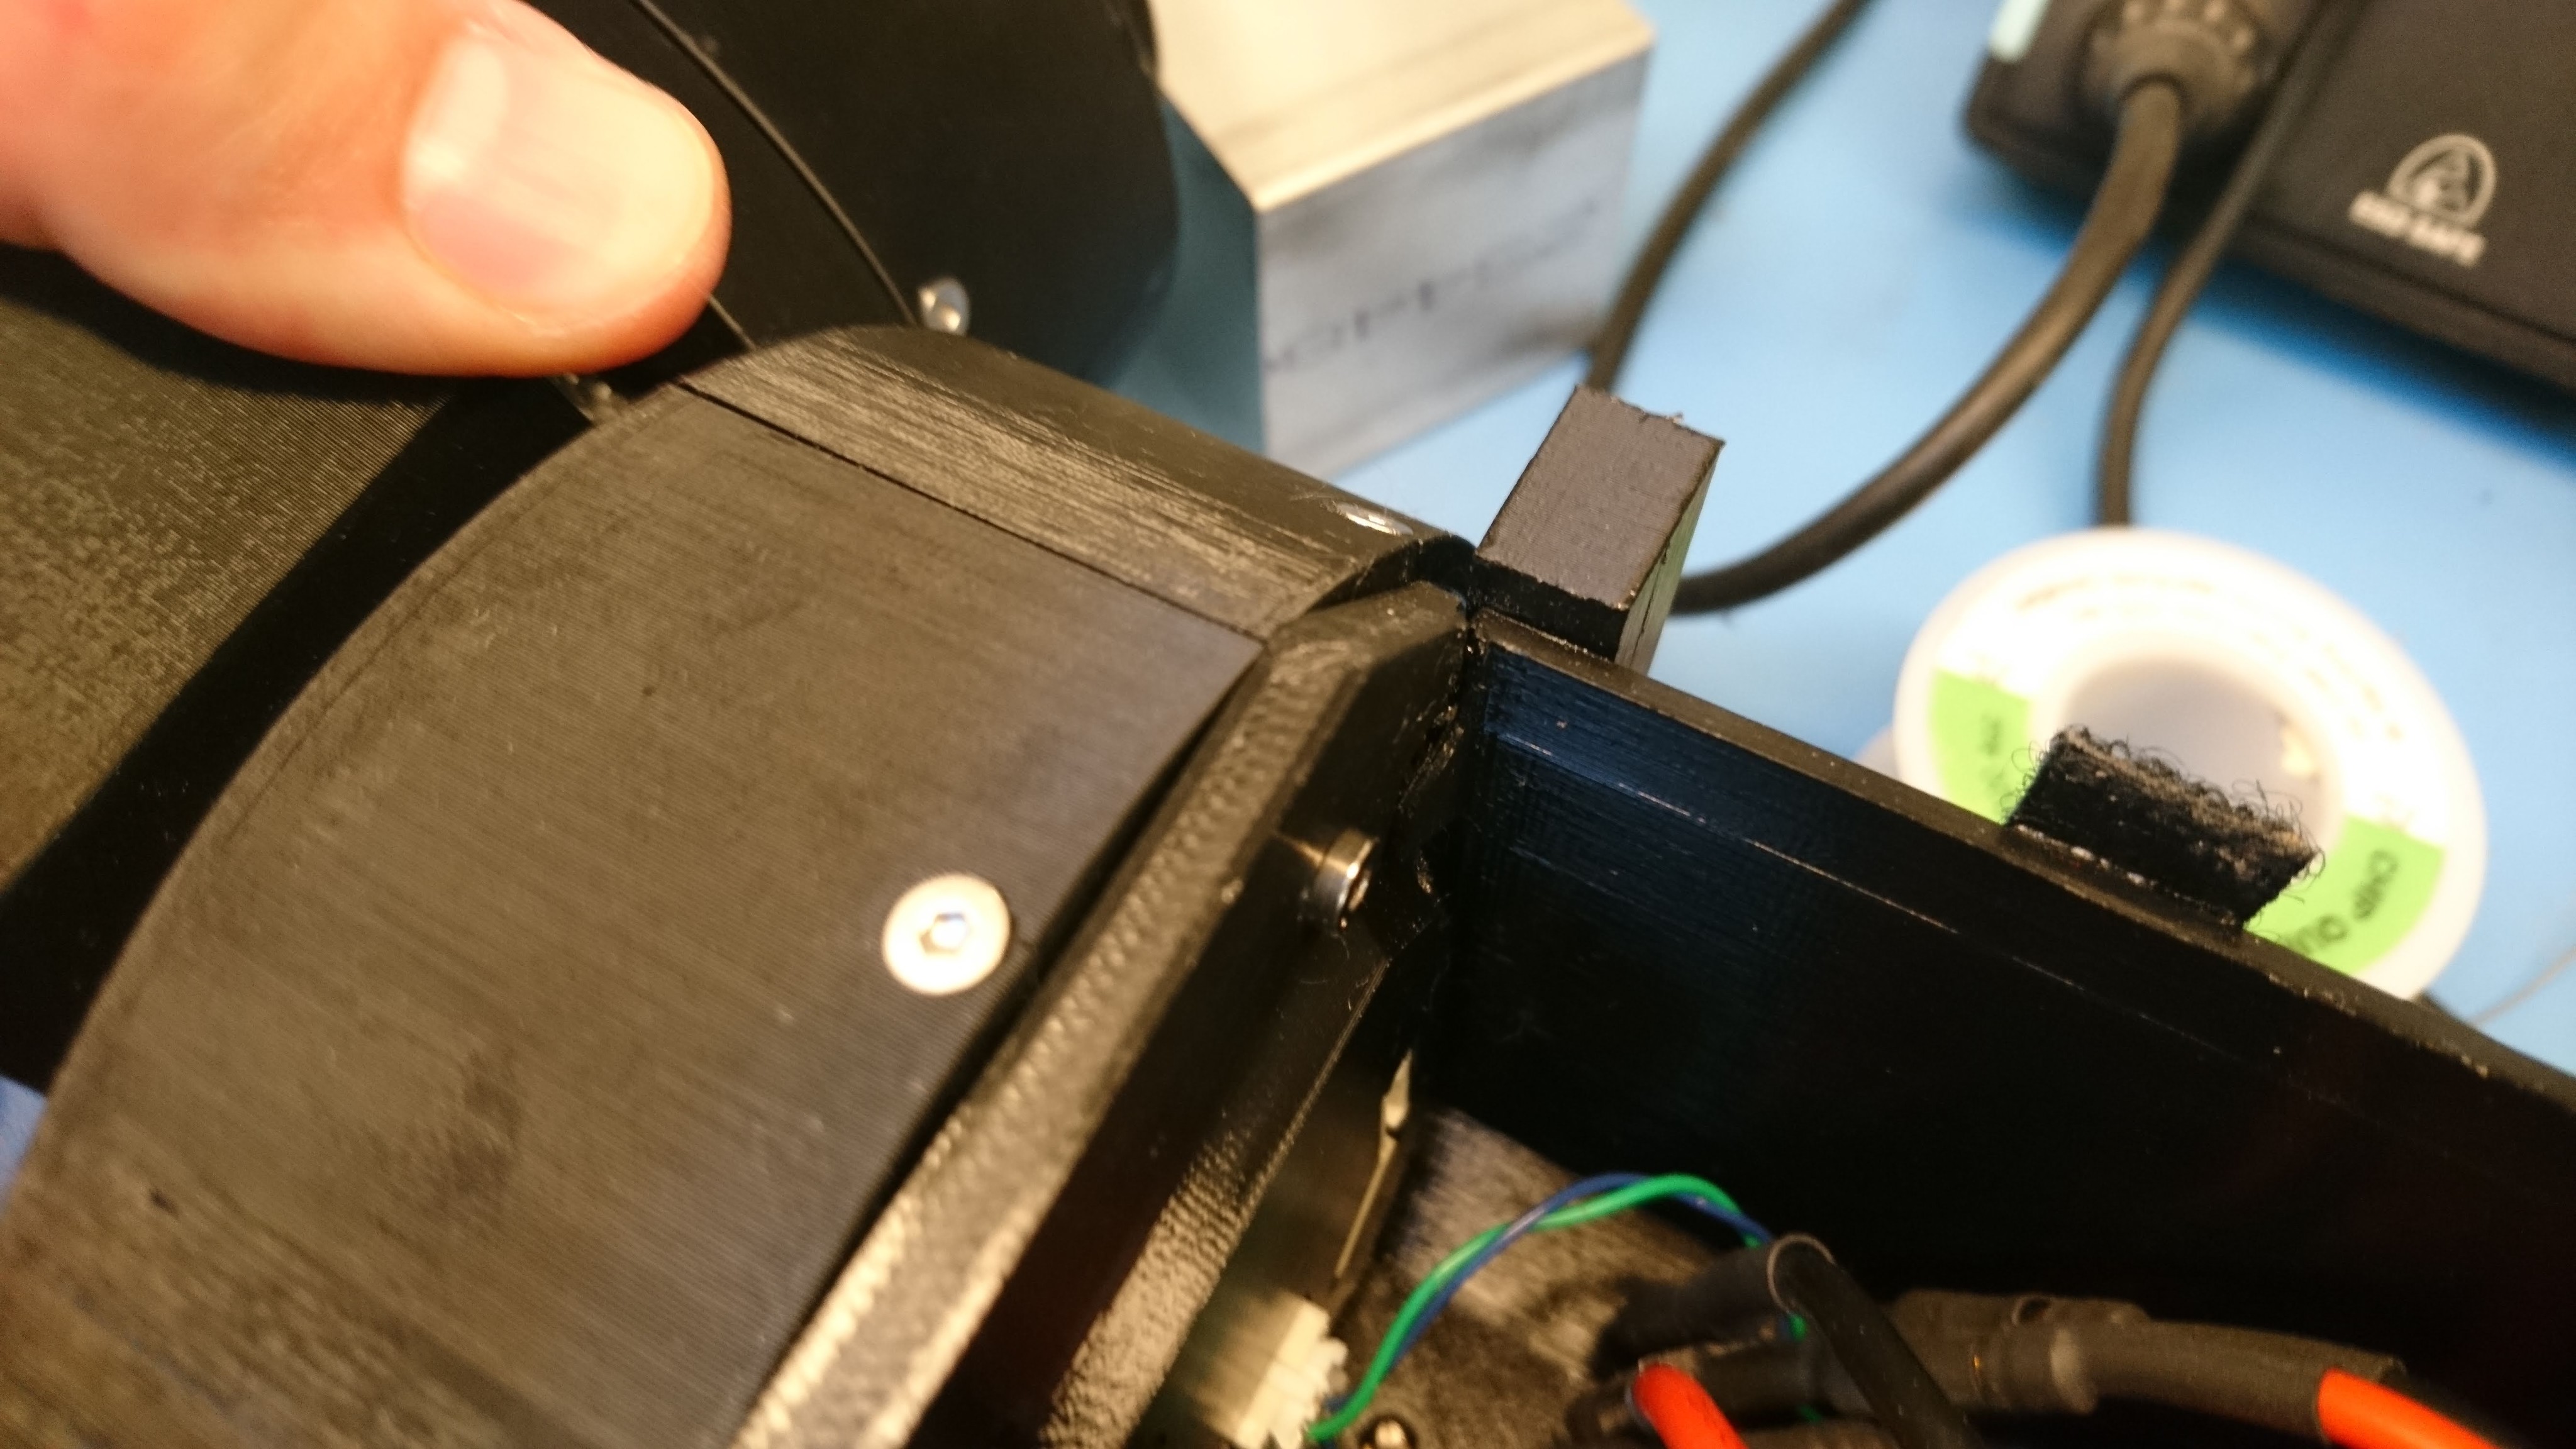
An even bigger close-up
The chassis cracked in the corner, completely separating. Doing anything more with this chassis was likely to result in many more things breaking very quickly.
Build process
So, here are the photos as I put everything together.
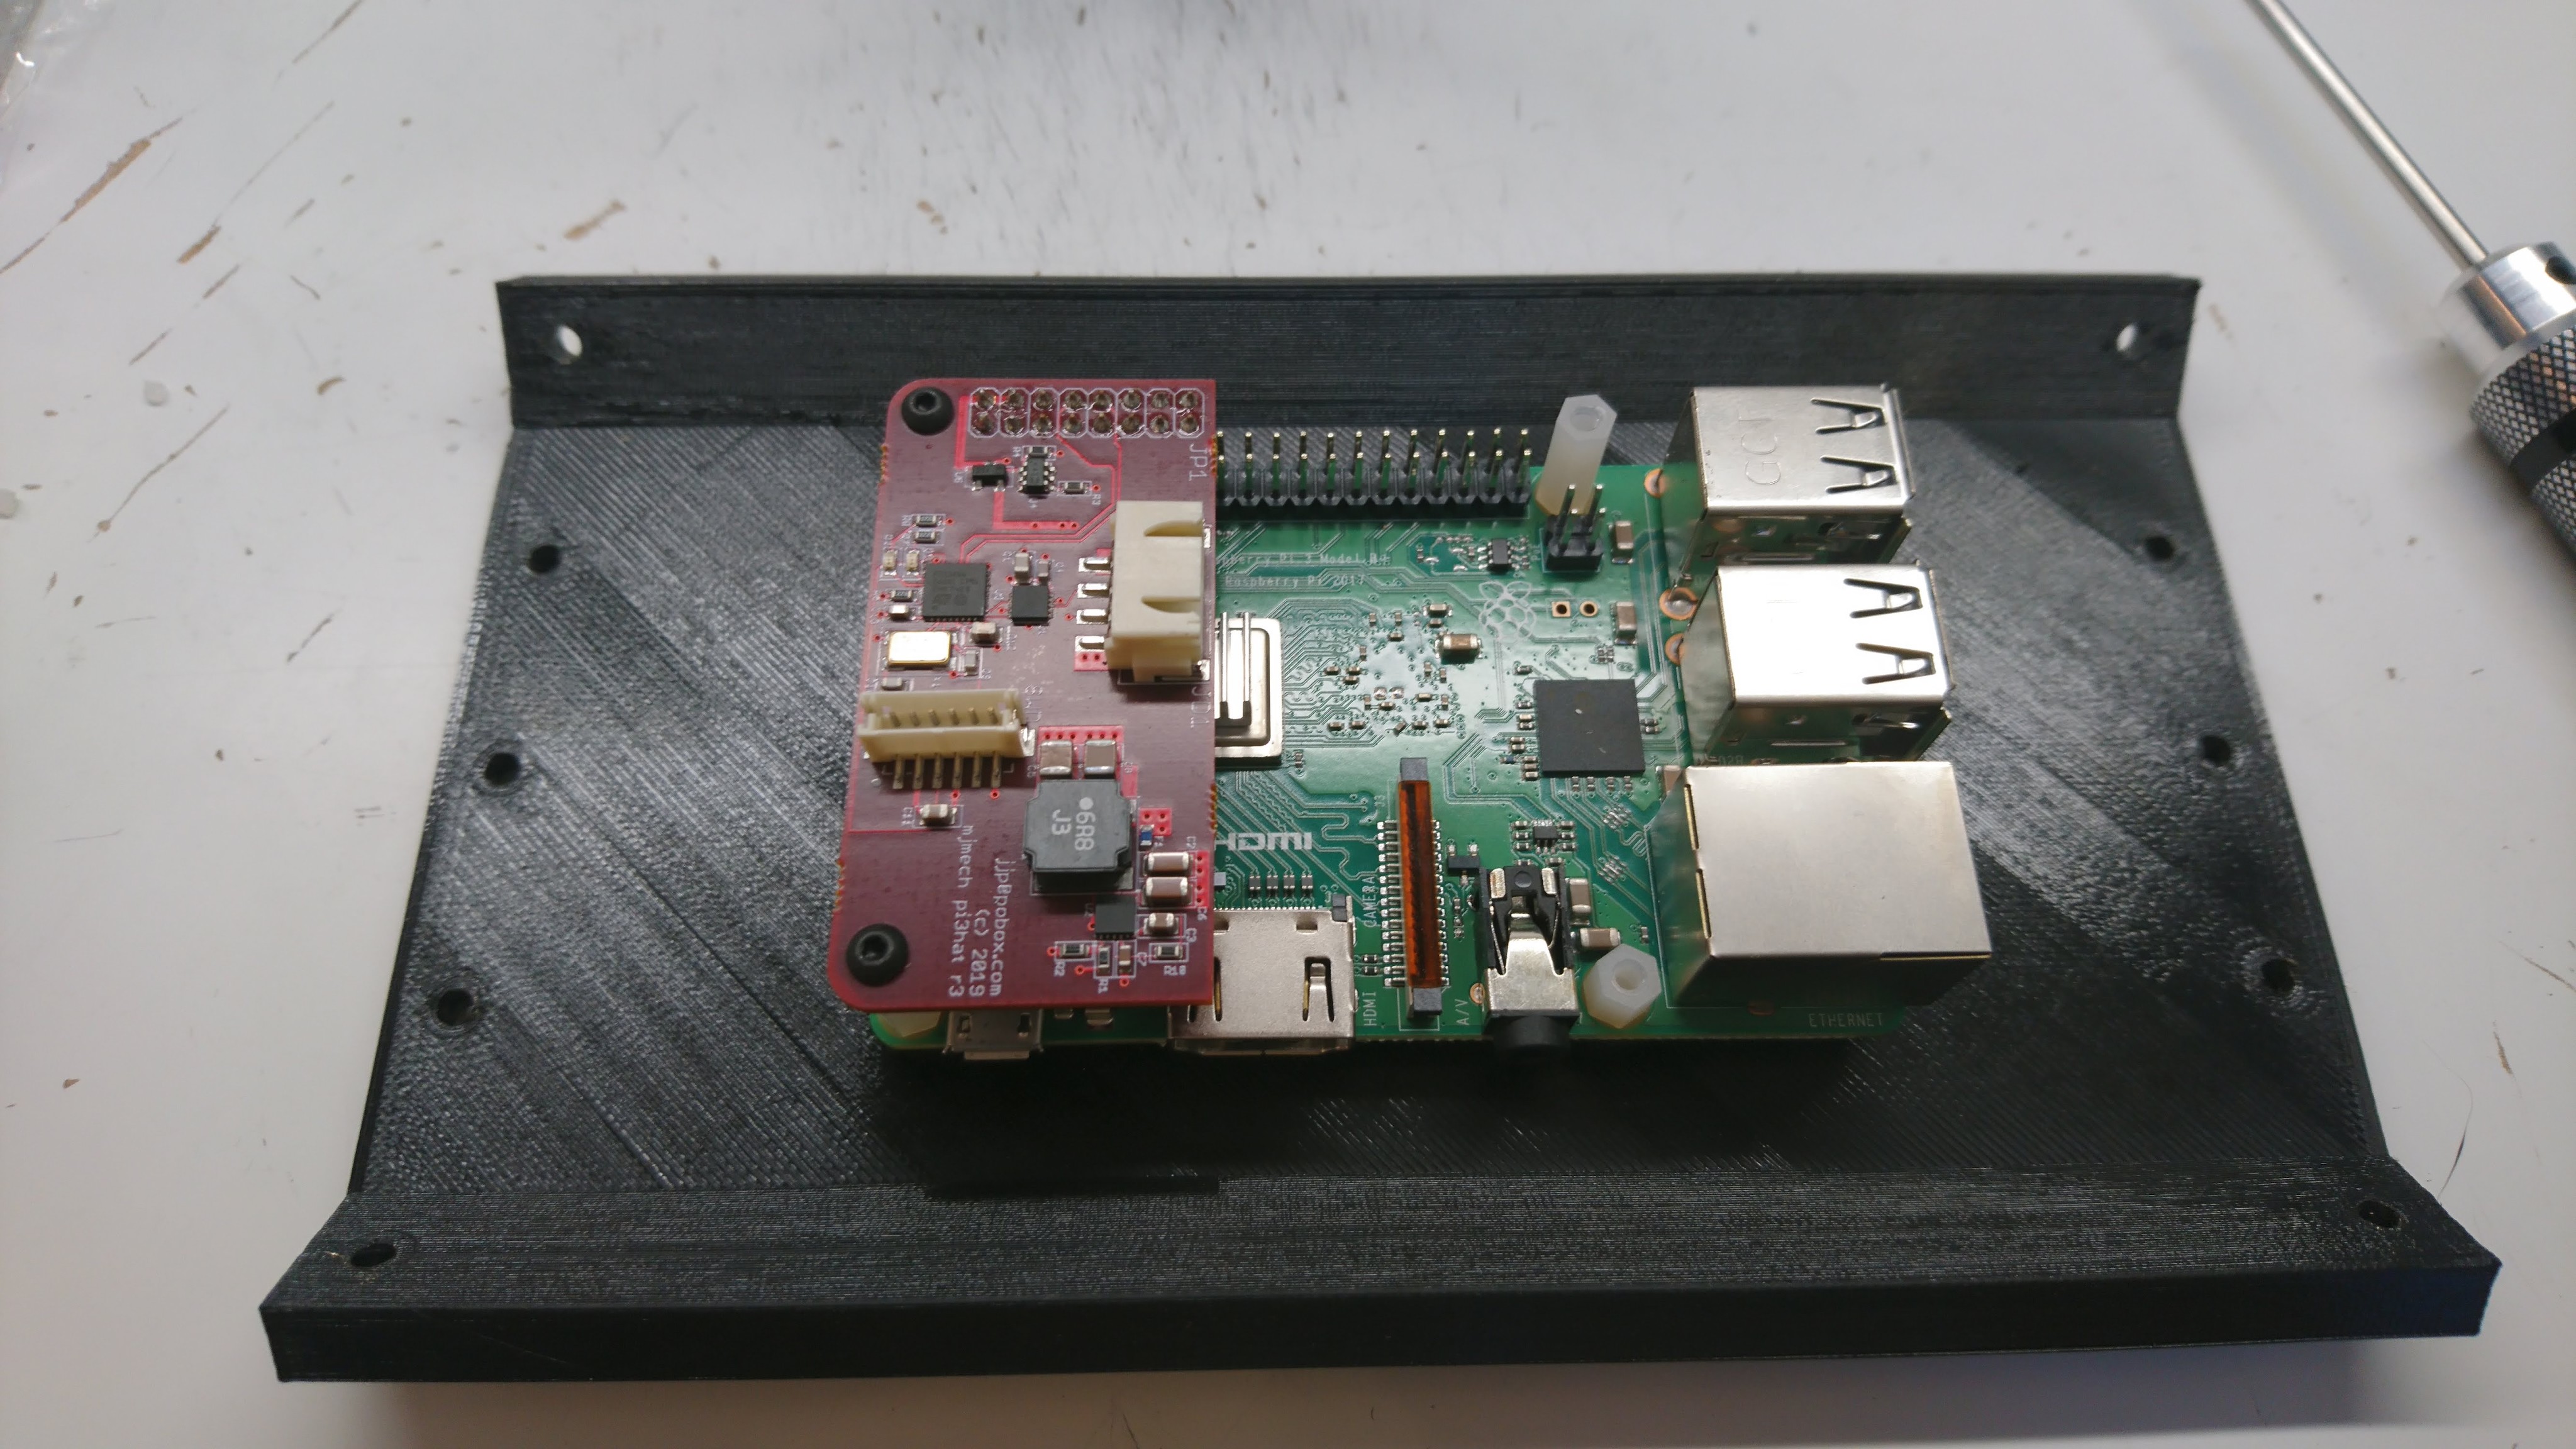
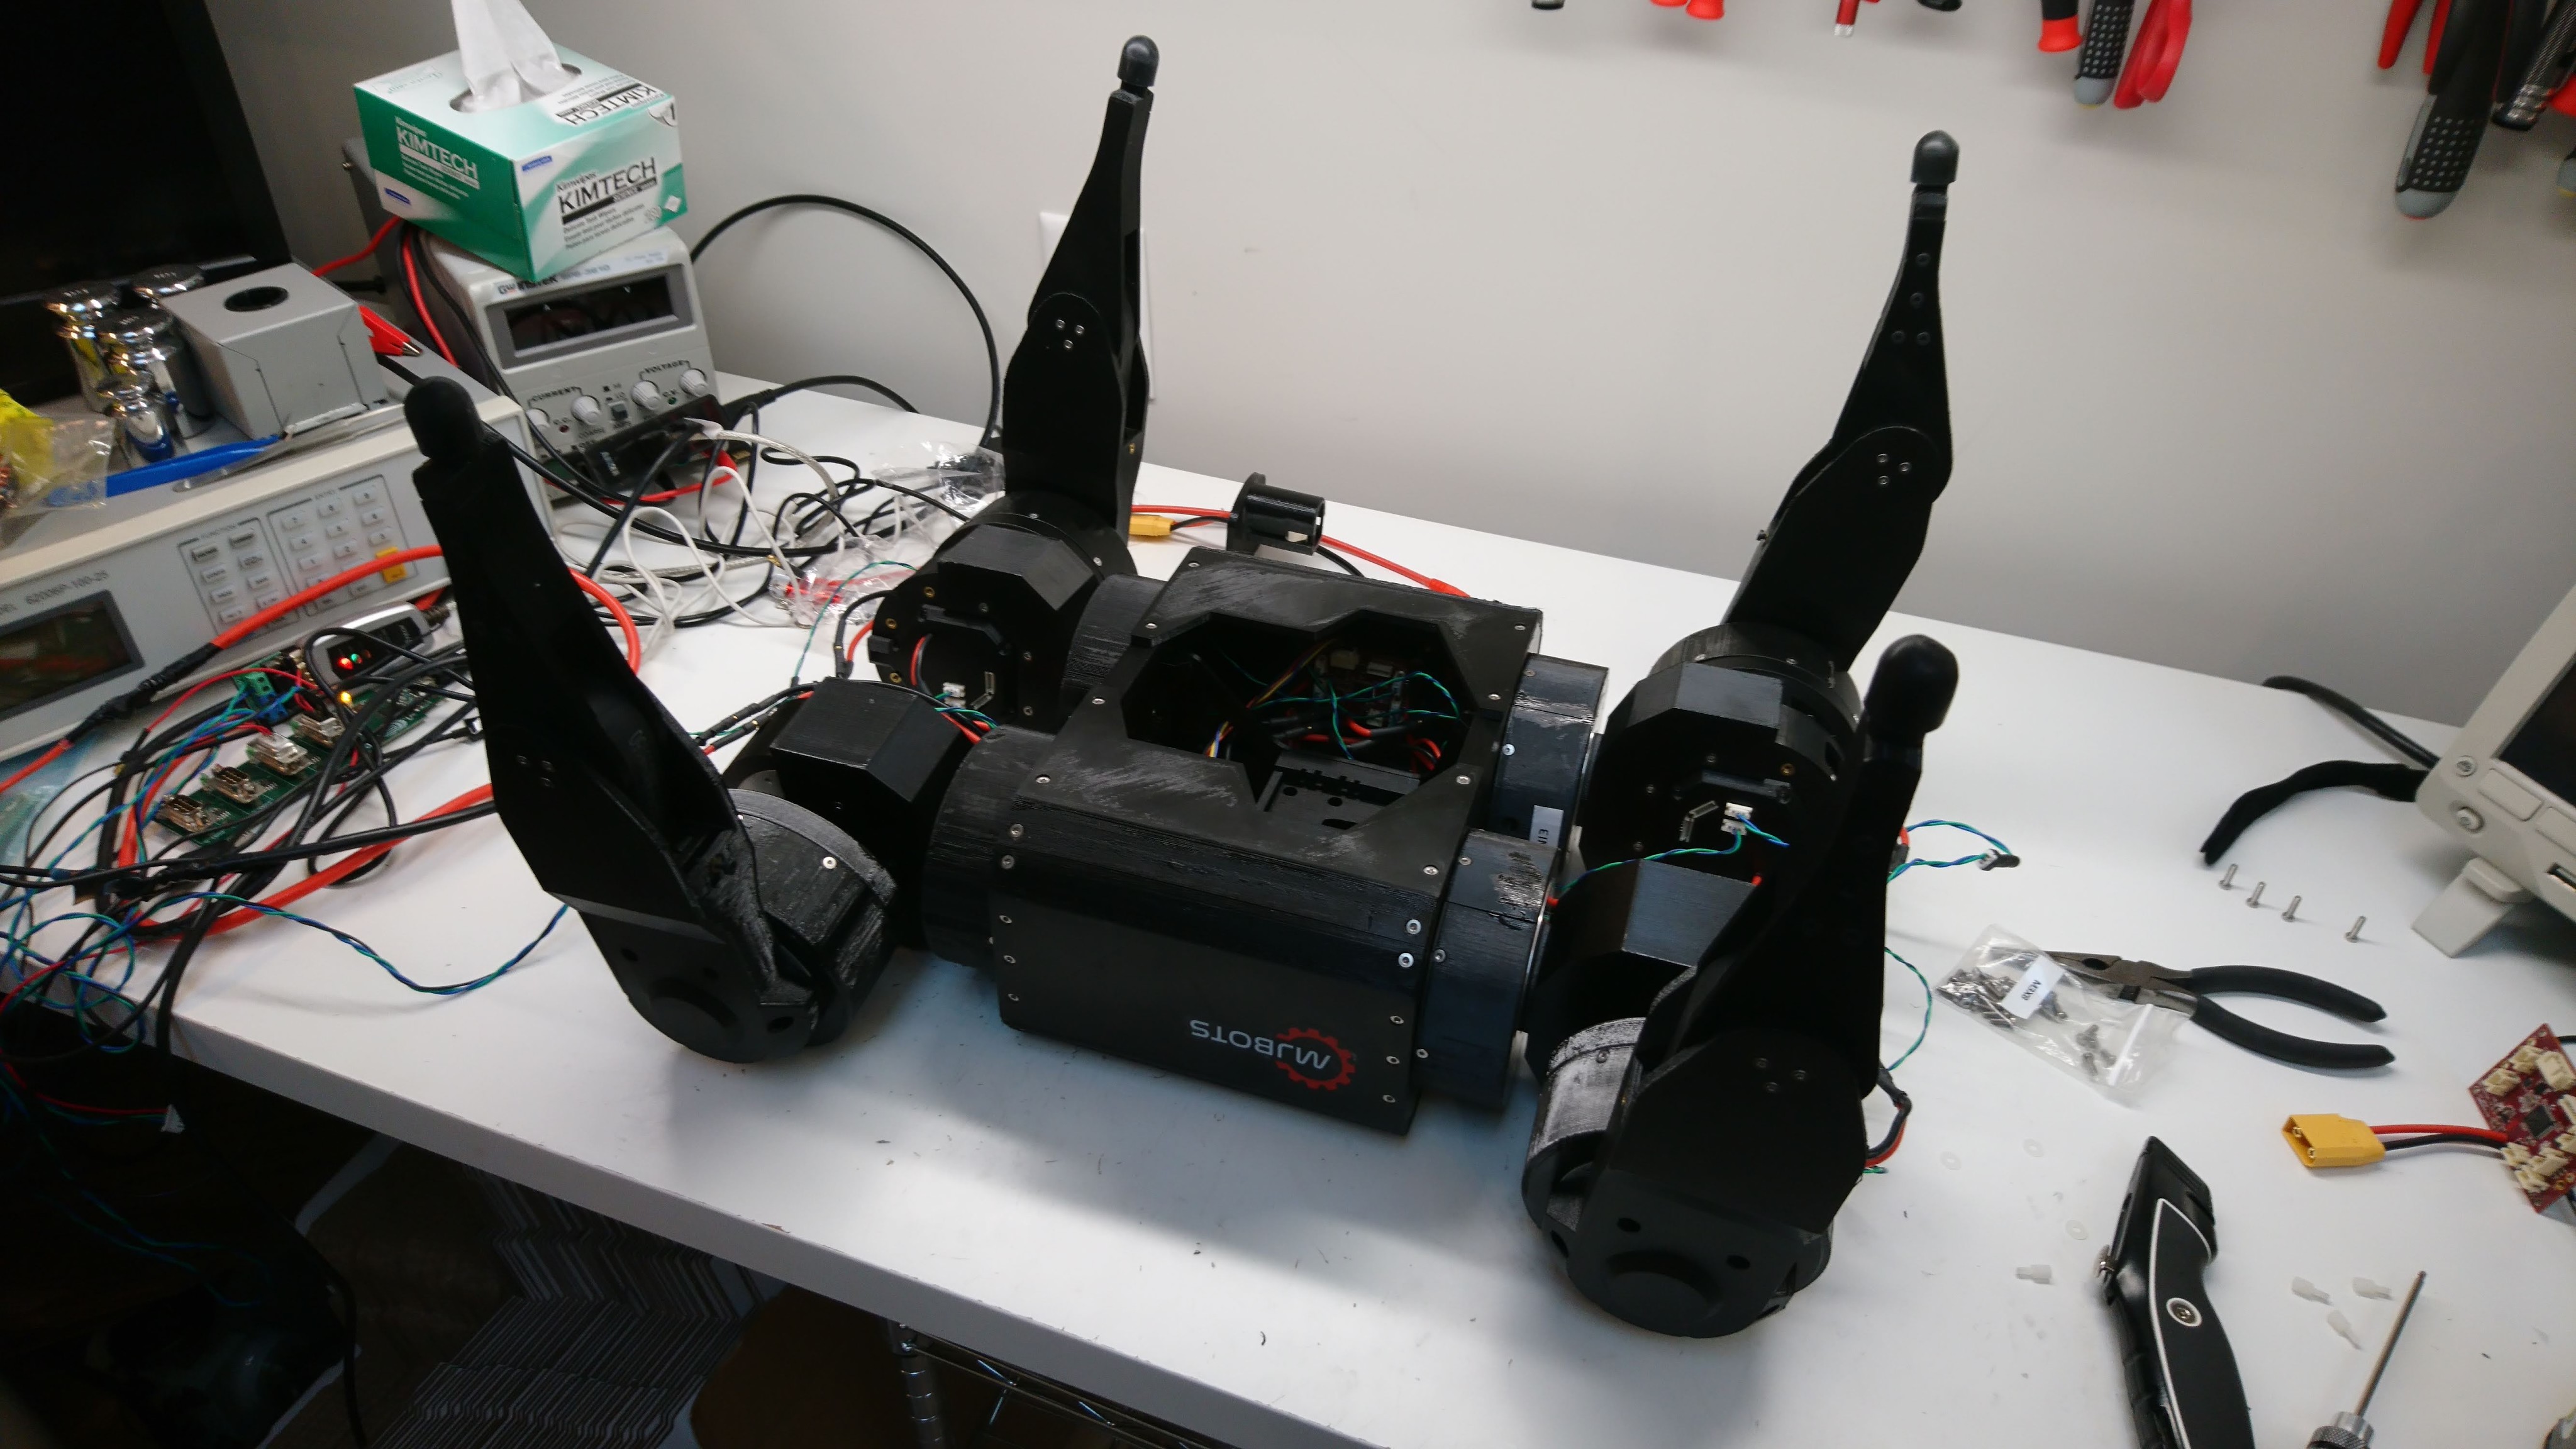
Raspberry pi attached
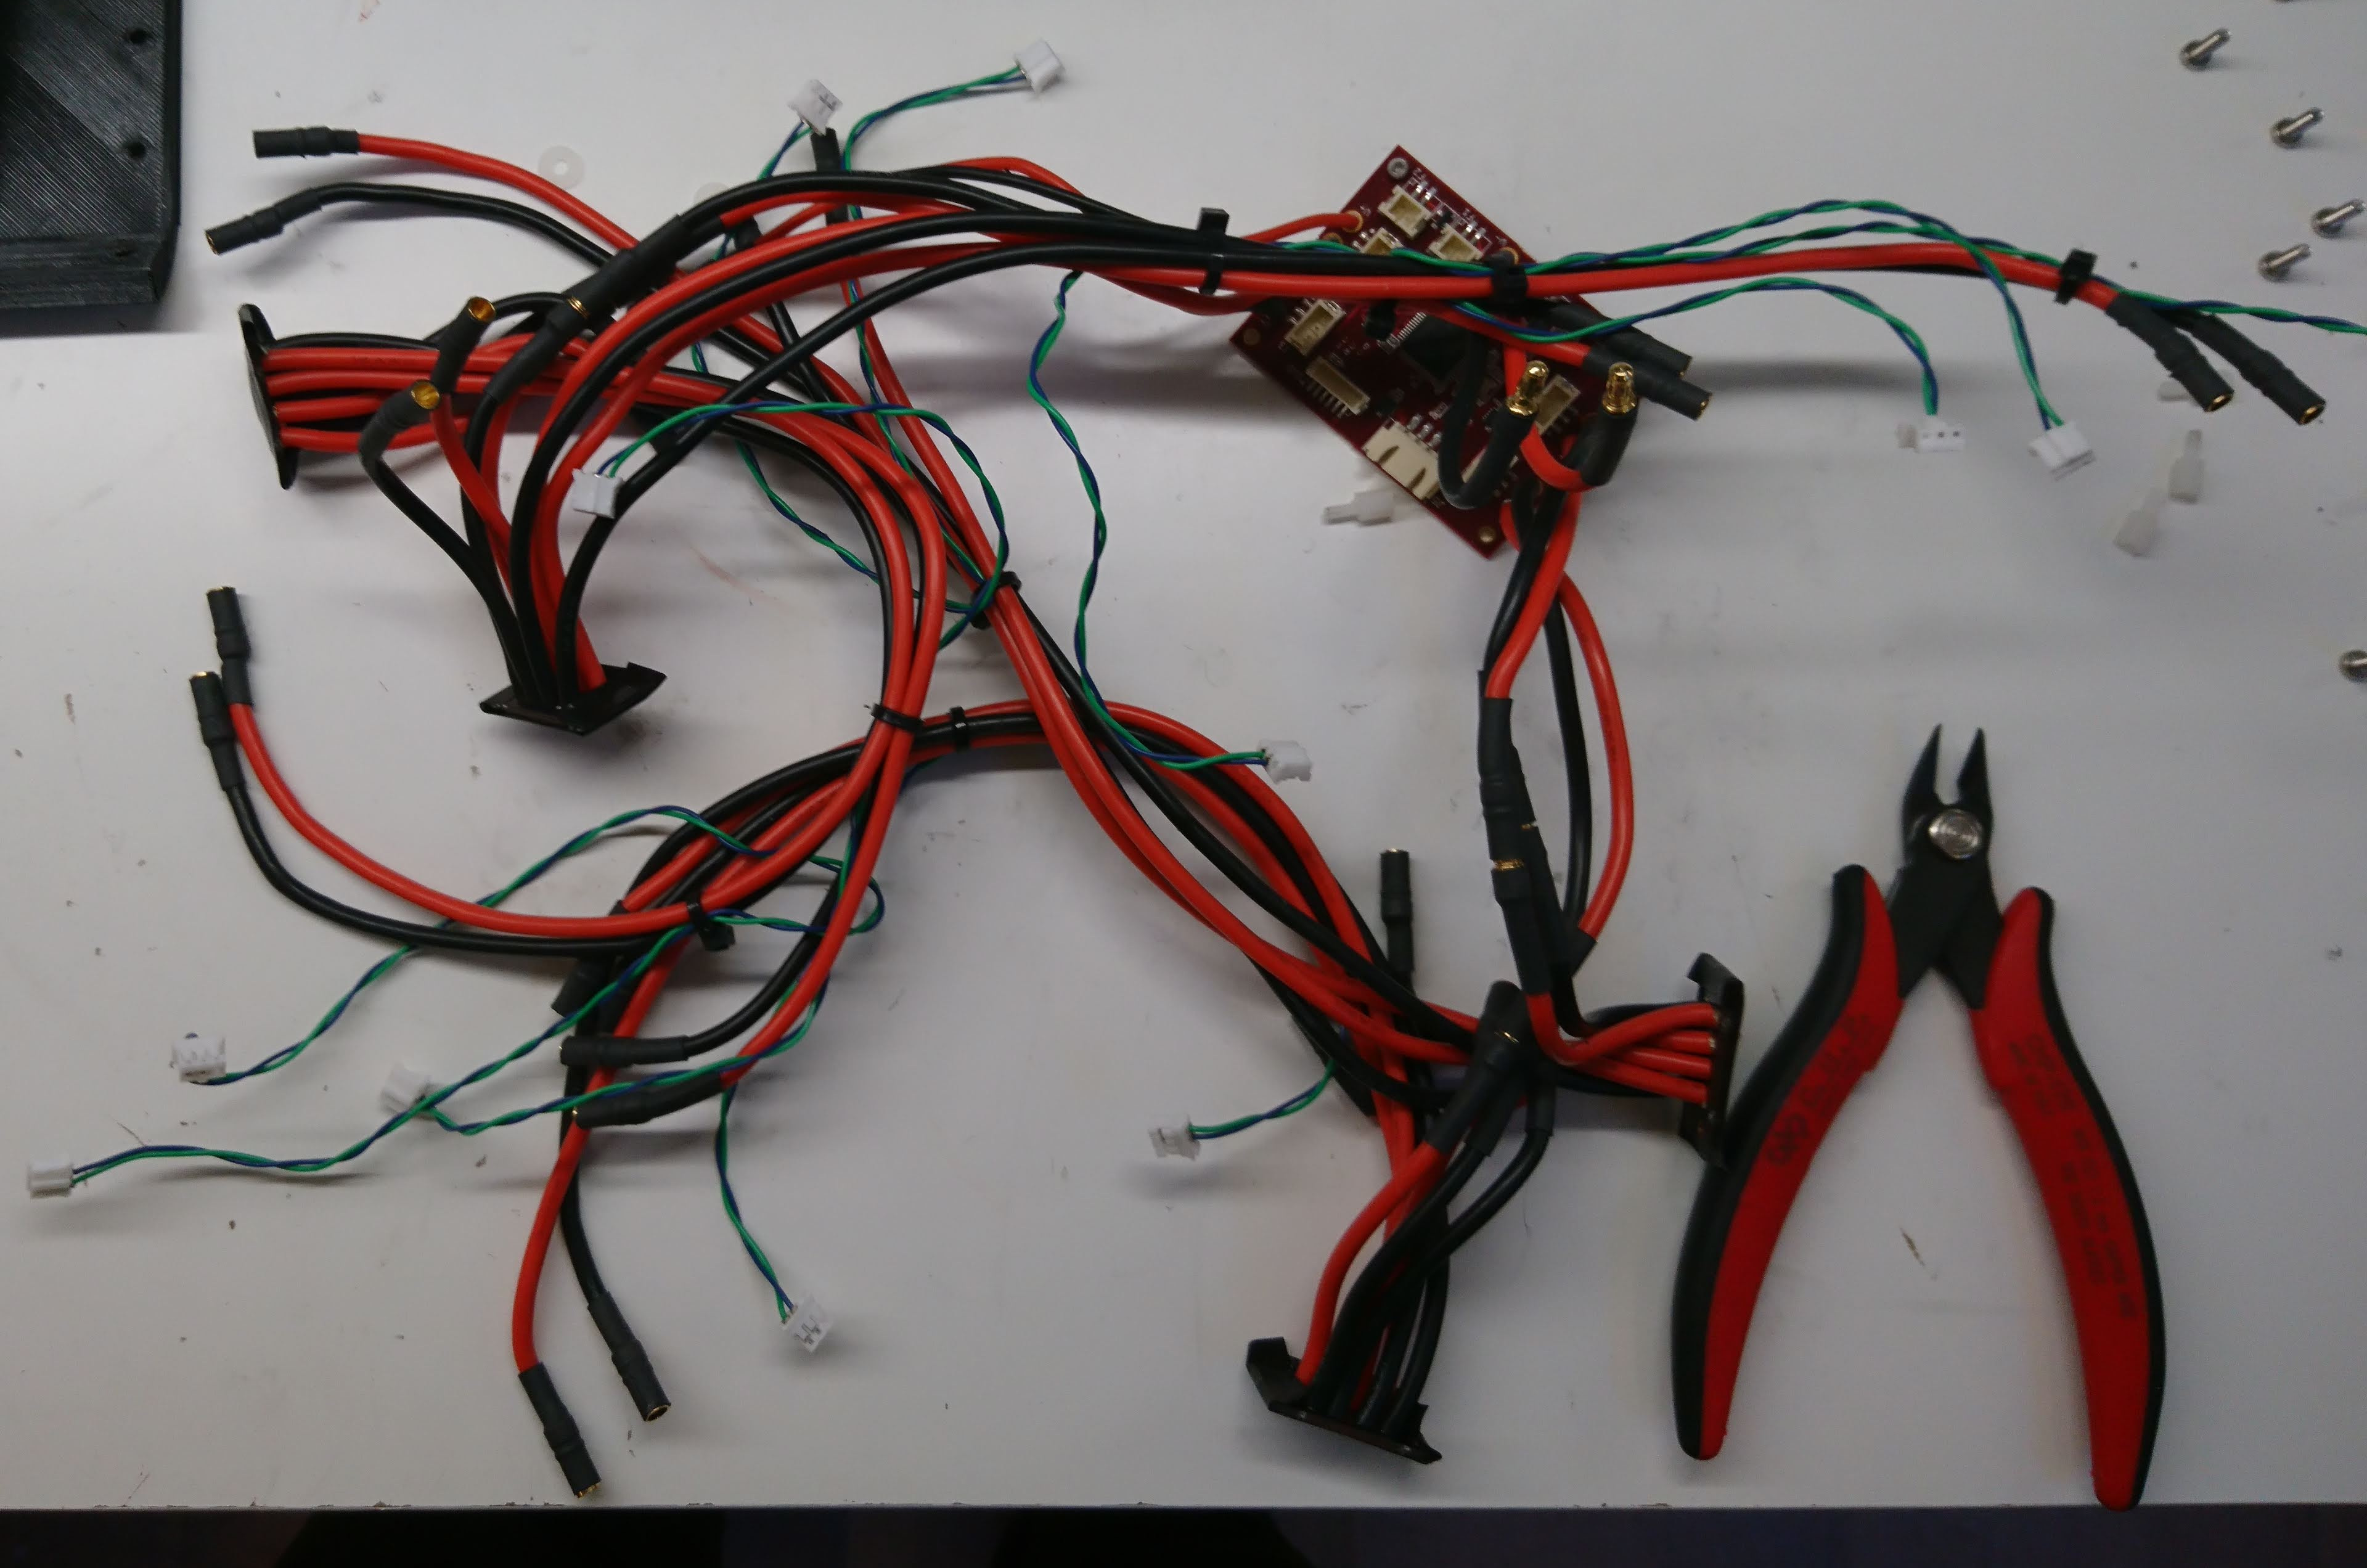
All the wiring extracted
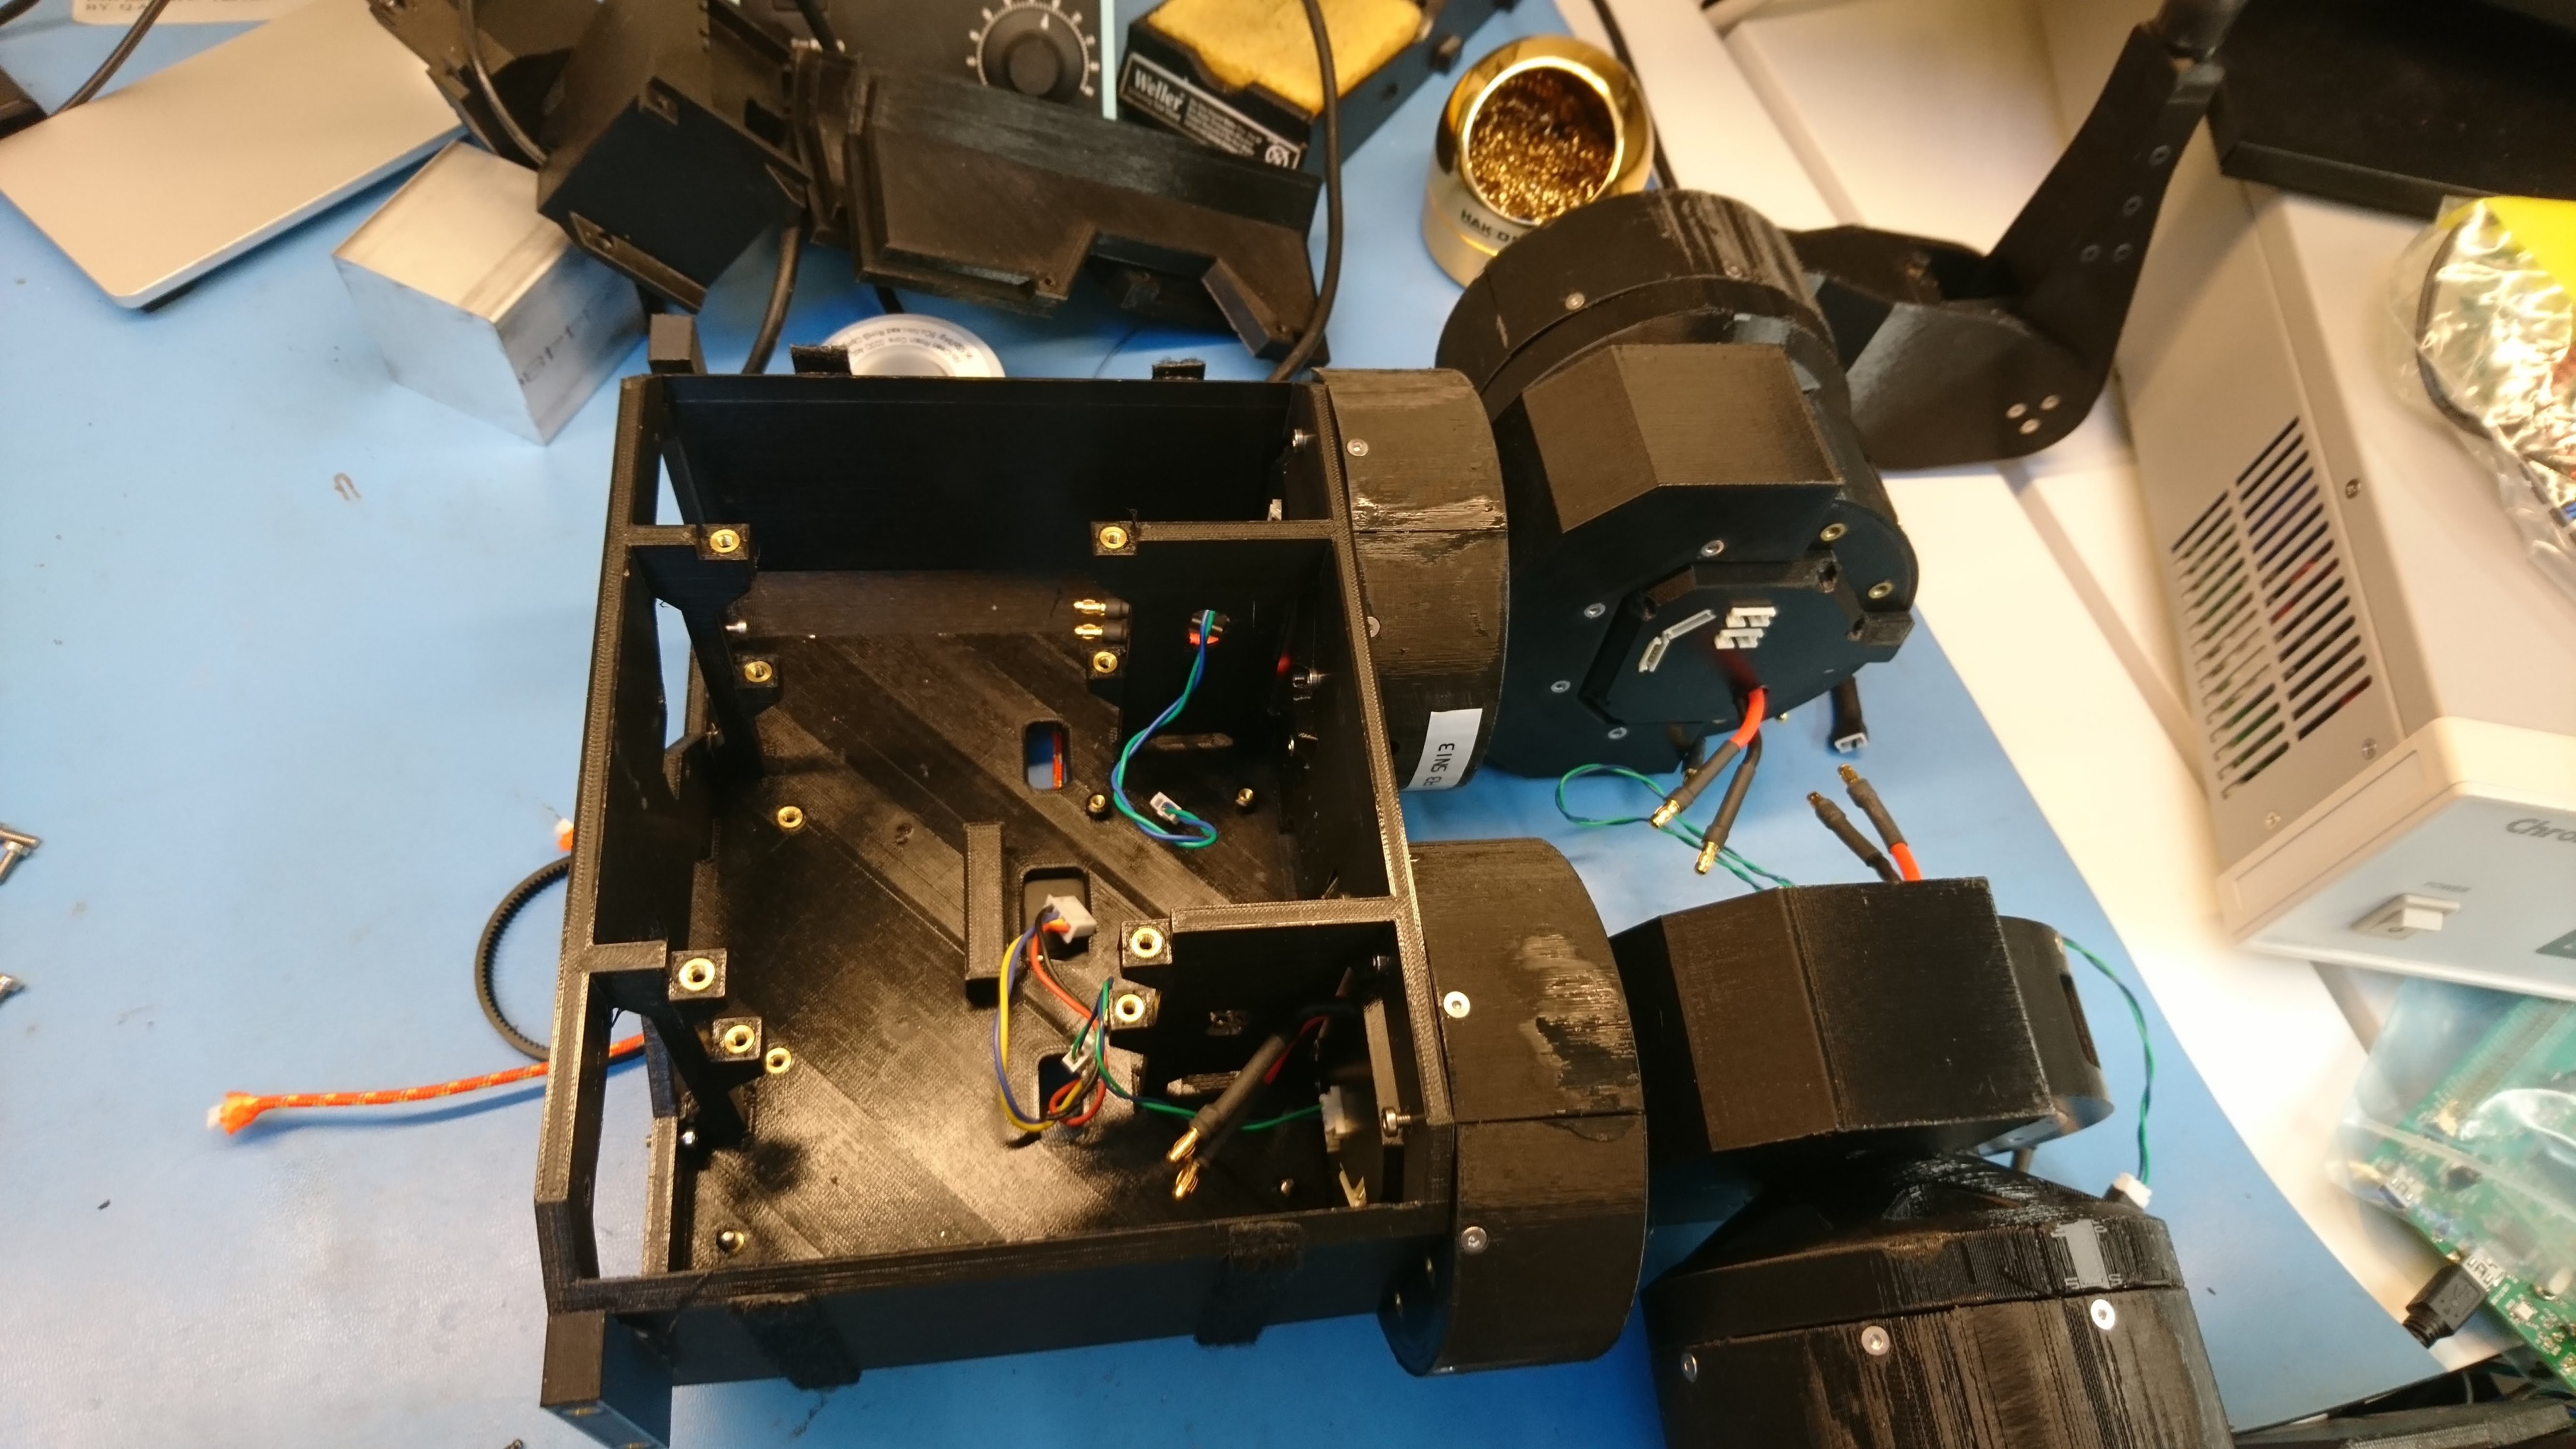
Half the legs off the old chassis
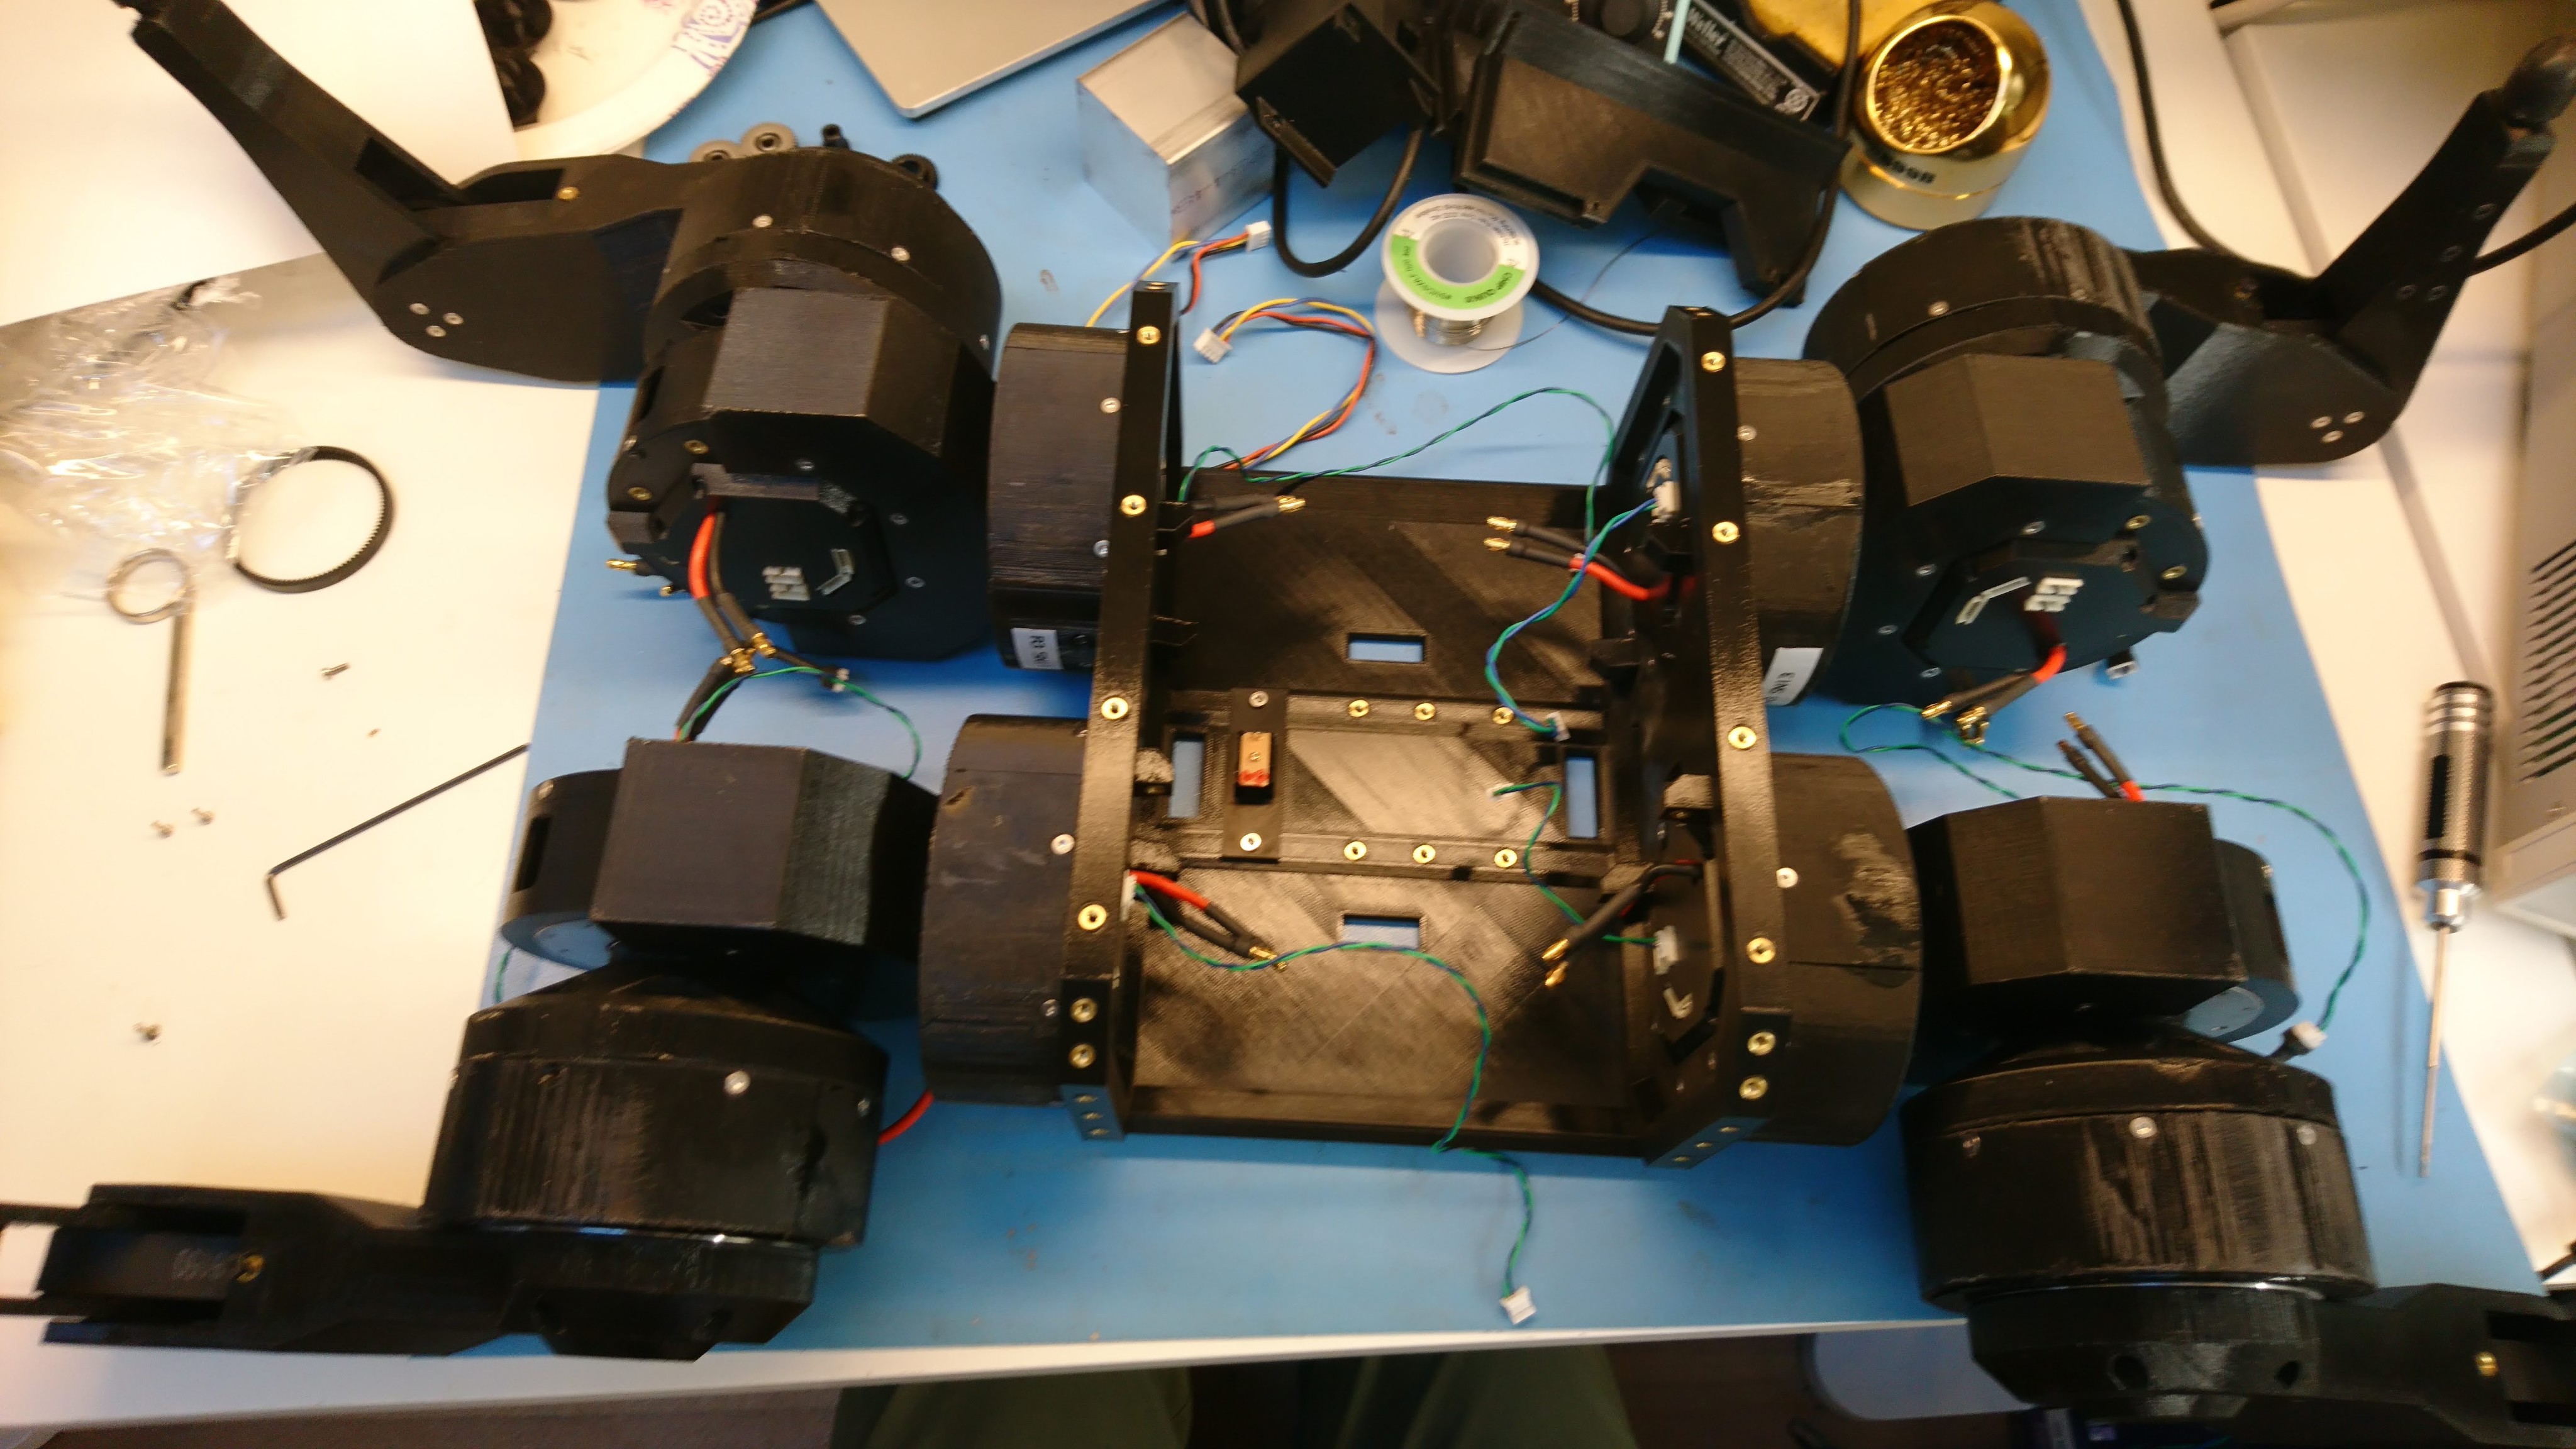
Legs re-attached to new chassis!
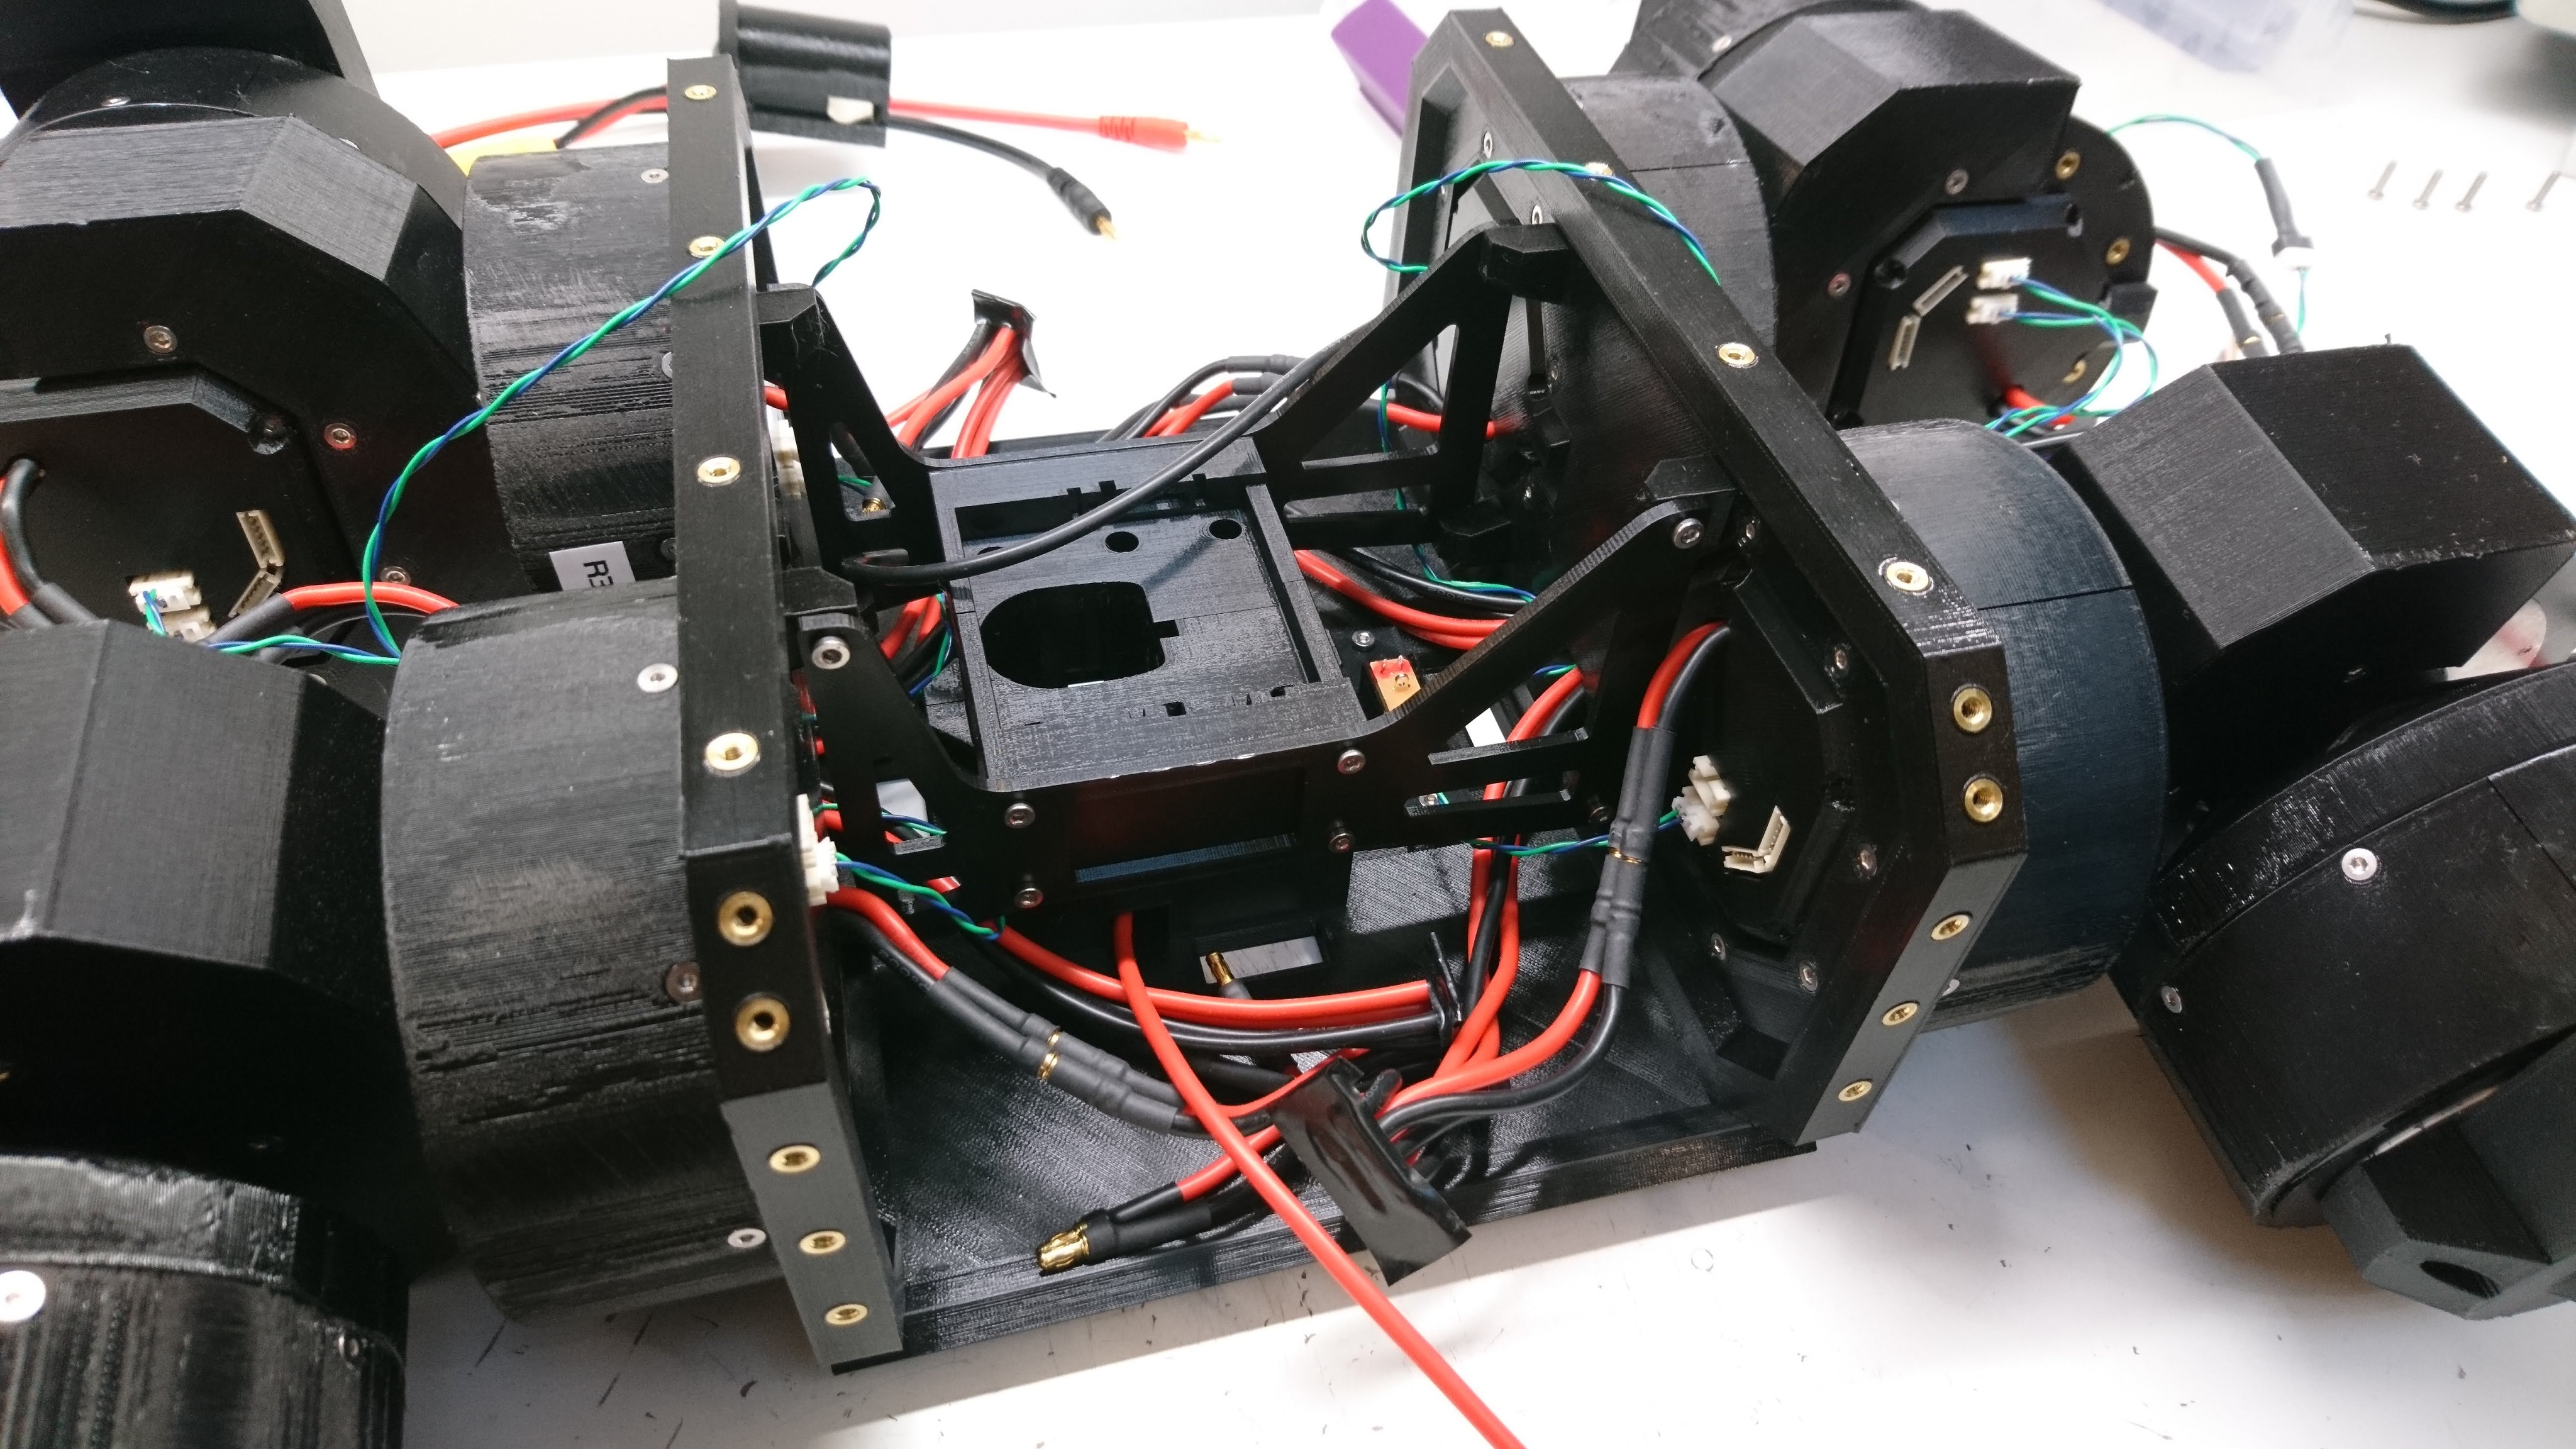
Battery stud and wiring re-installed
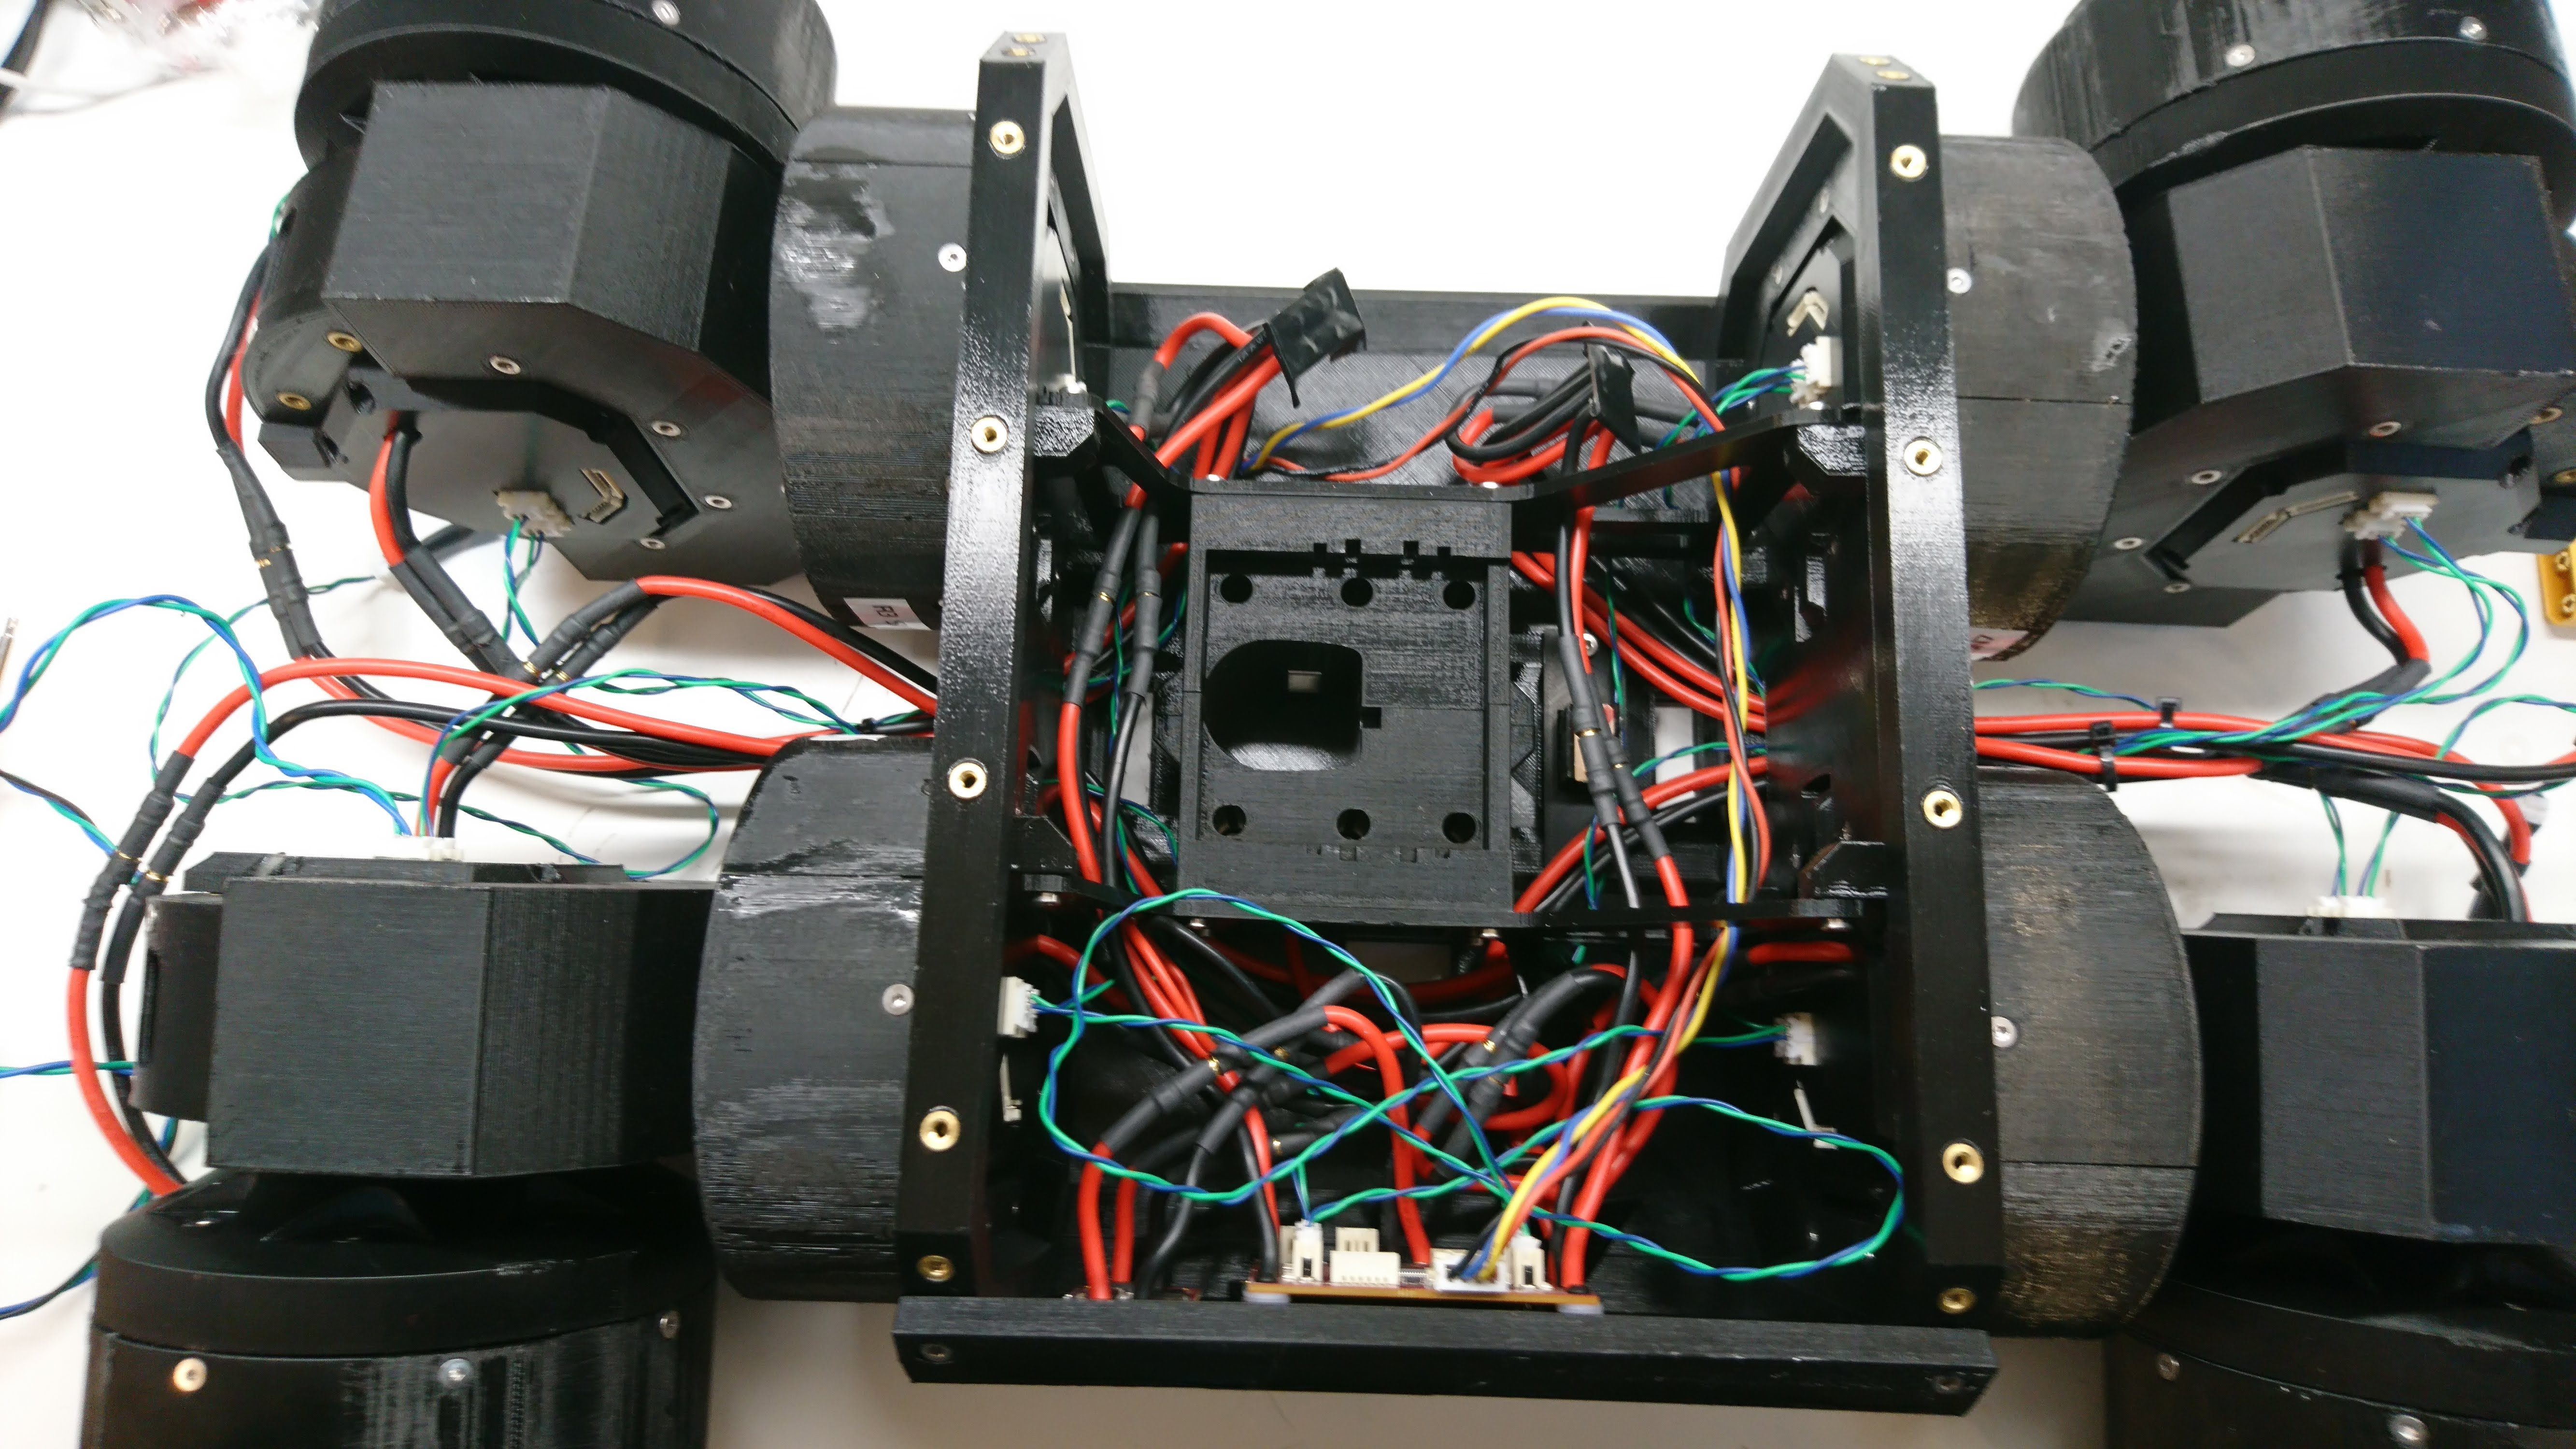
The power board installed
[wpvideo krByu9QE]
Bottom plates installed
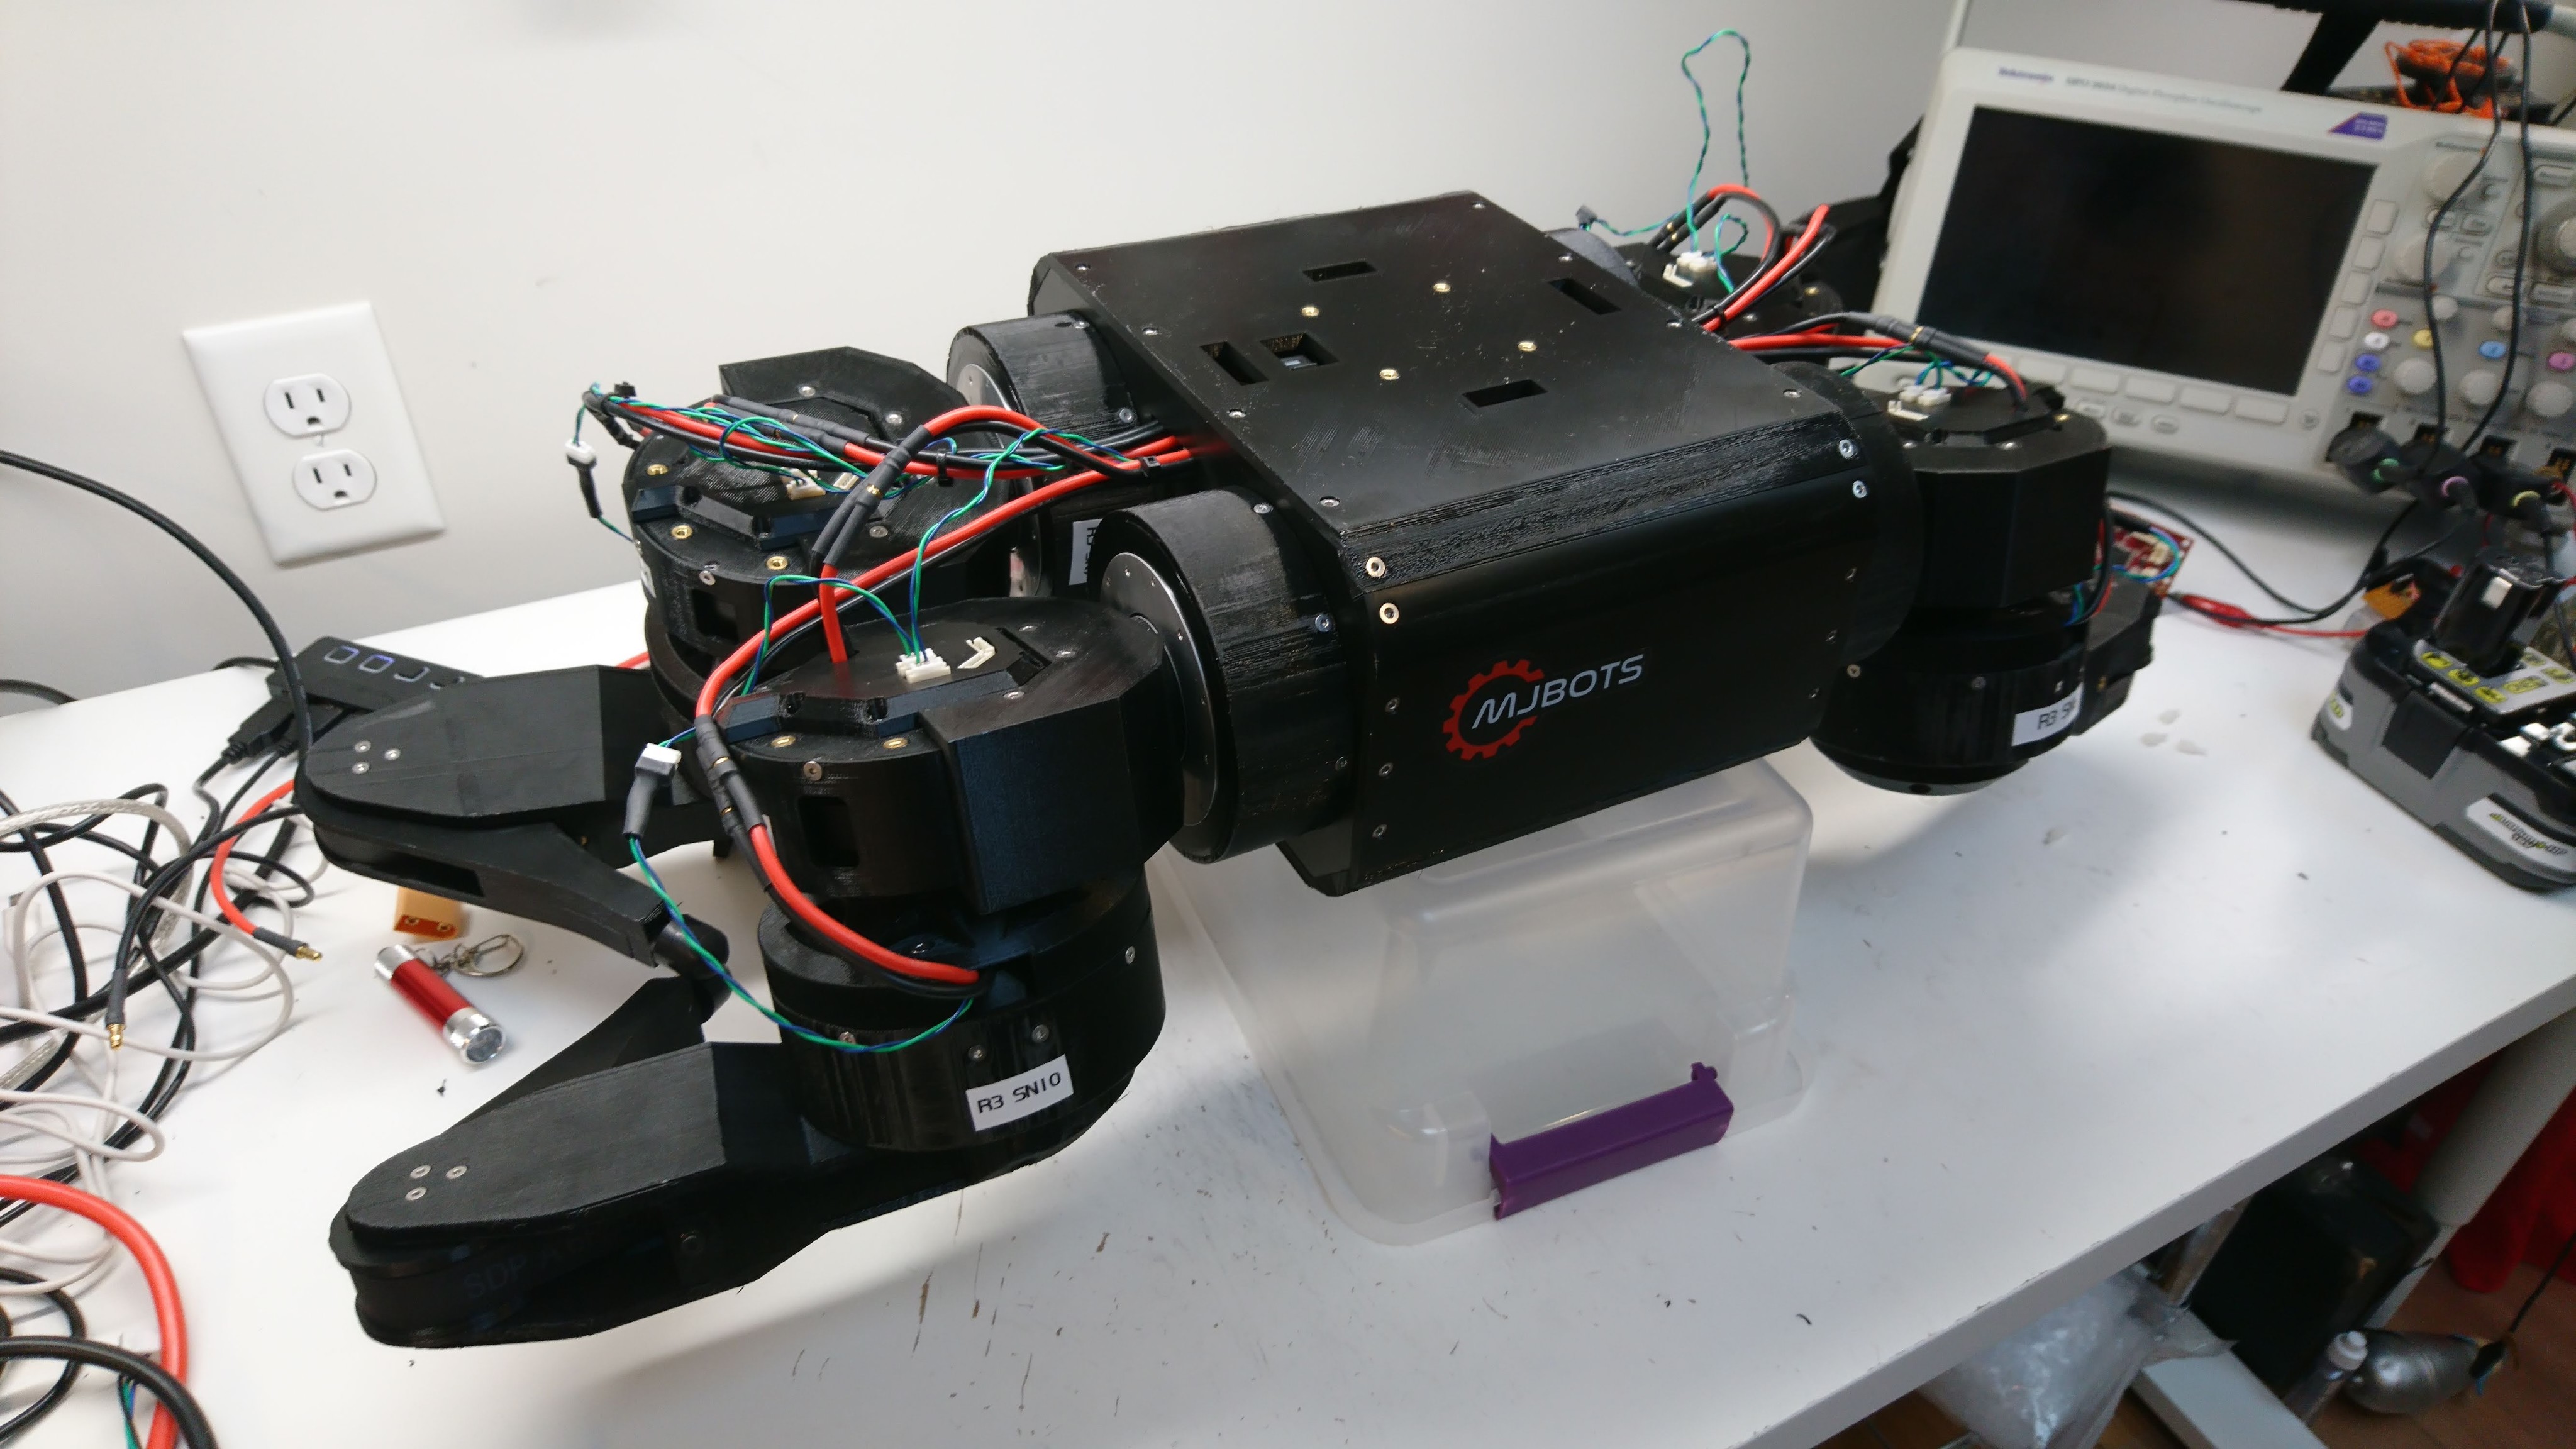
Upright with untidy wires
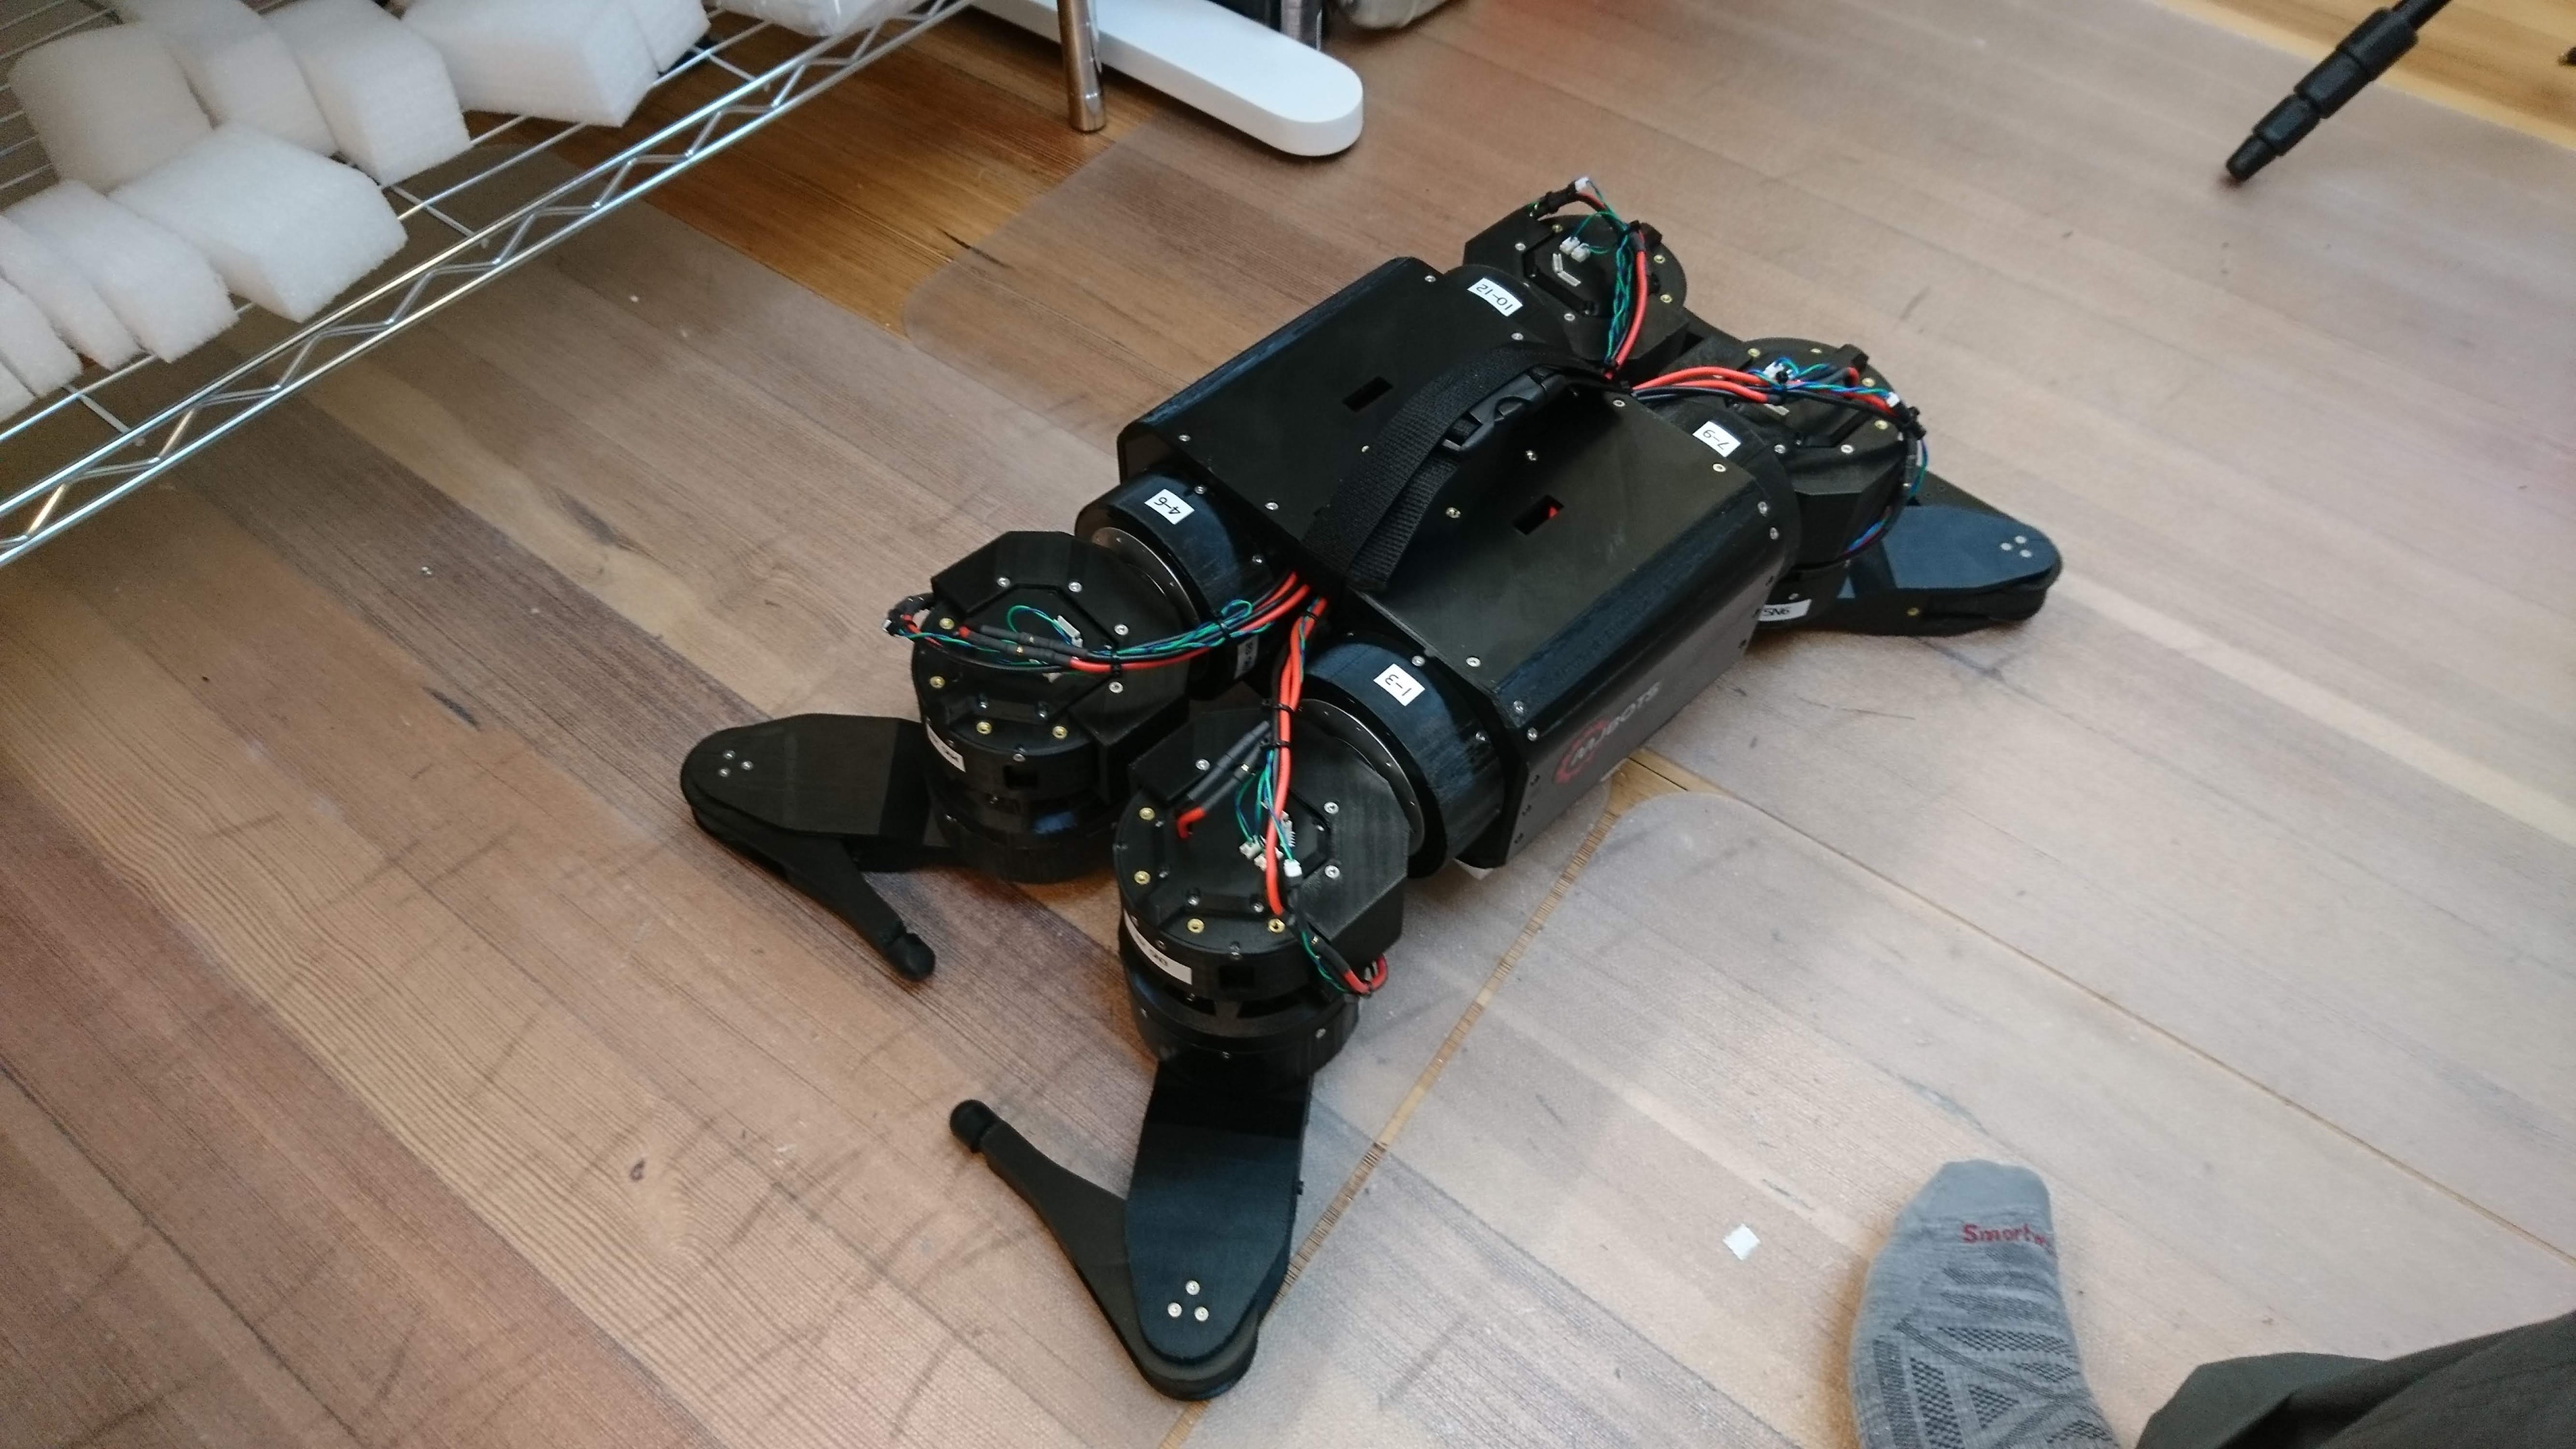
All set for testing!
Next up is continuing to try and get pronking working!