Rotor machining fixture
After getting the stator out of its housing, the next step is to do the post-machining on the rotor. Here, I didn’t want any of the original bearing housing, and just needed to drill out a hole in the middle big enough to put my sun gear holder through. I figured I would experiment with some custom fixturing, so broke out Fusion 360 and drew up a set of “soft jaws”… i.e. *really* soft jaws, since they would be 3D printed.
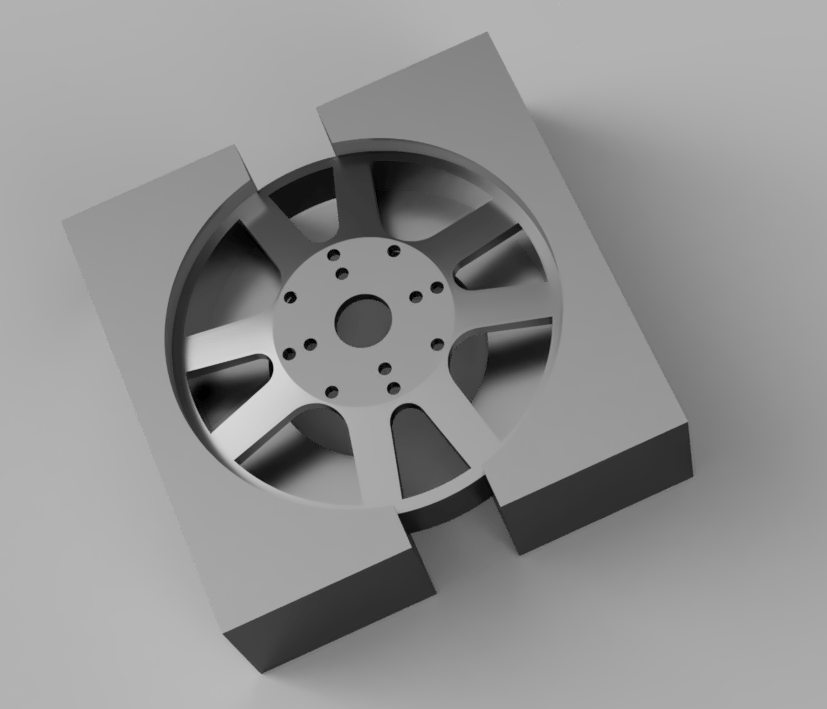
Rendering of rotor fixture
I printed these on my Prusa MK3s, at 60% infill in PETG, then mounted it up on a vise in the drill press.
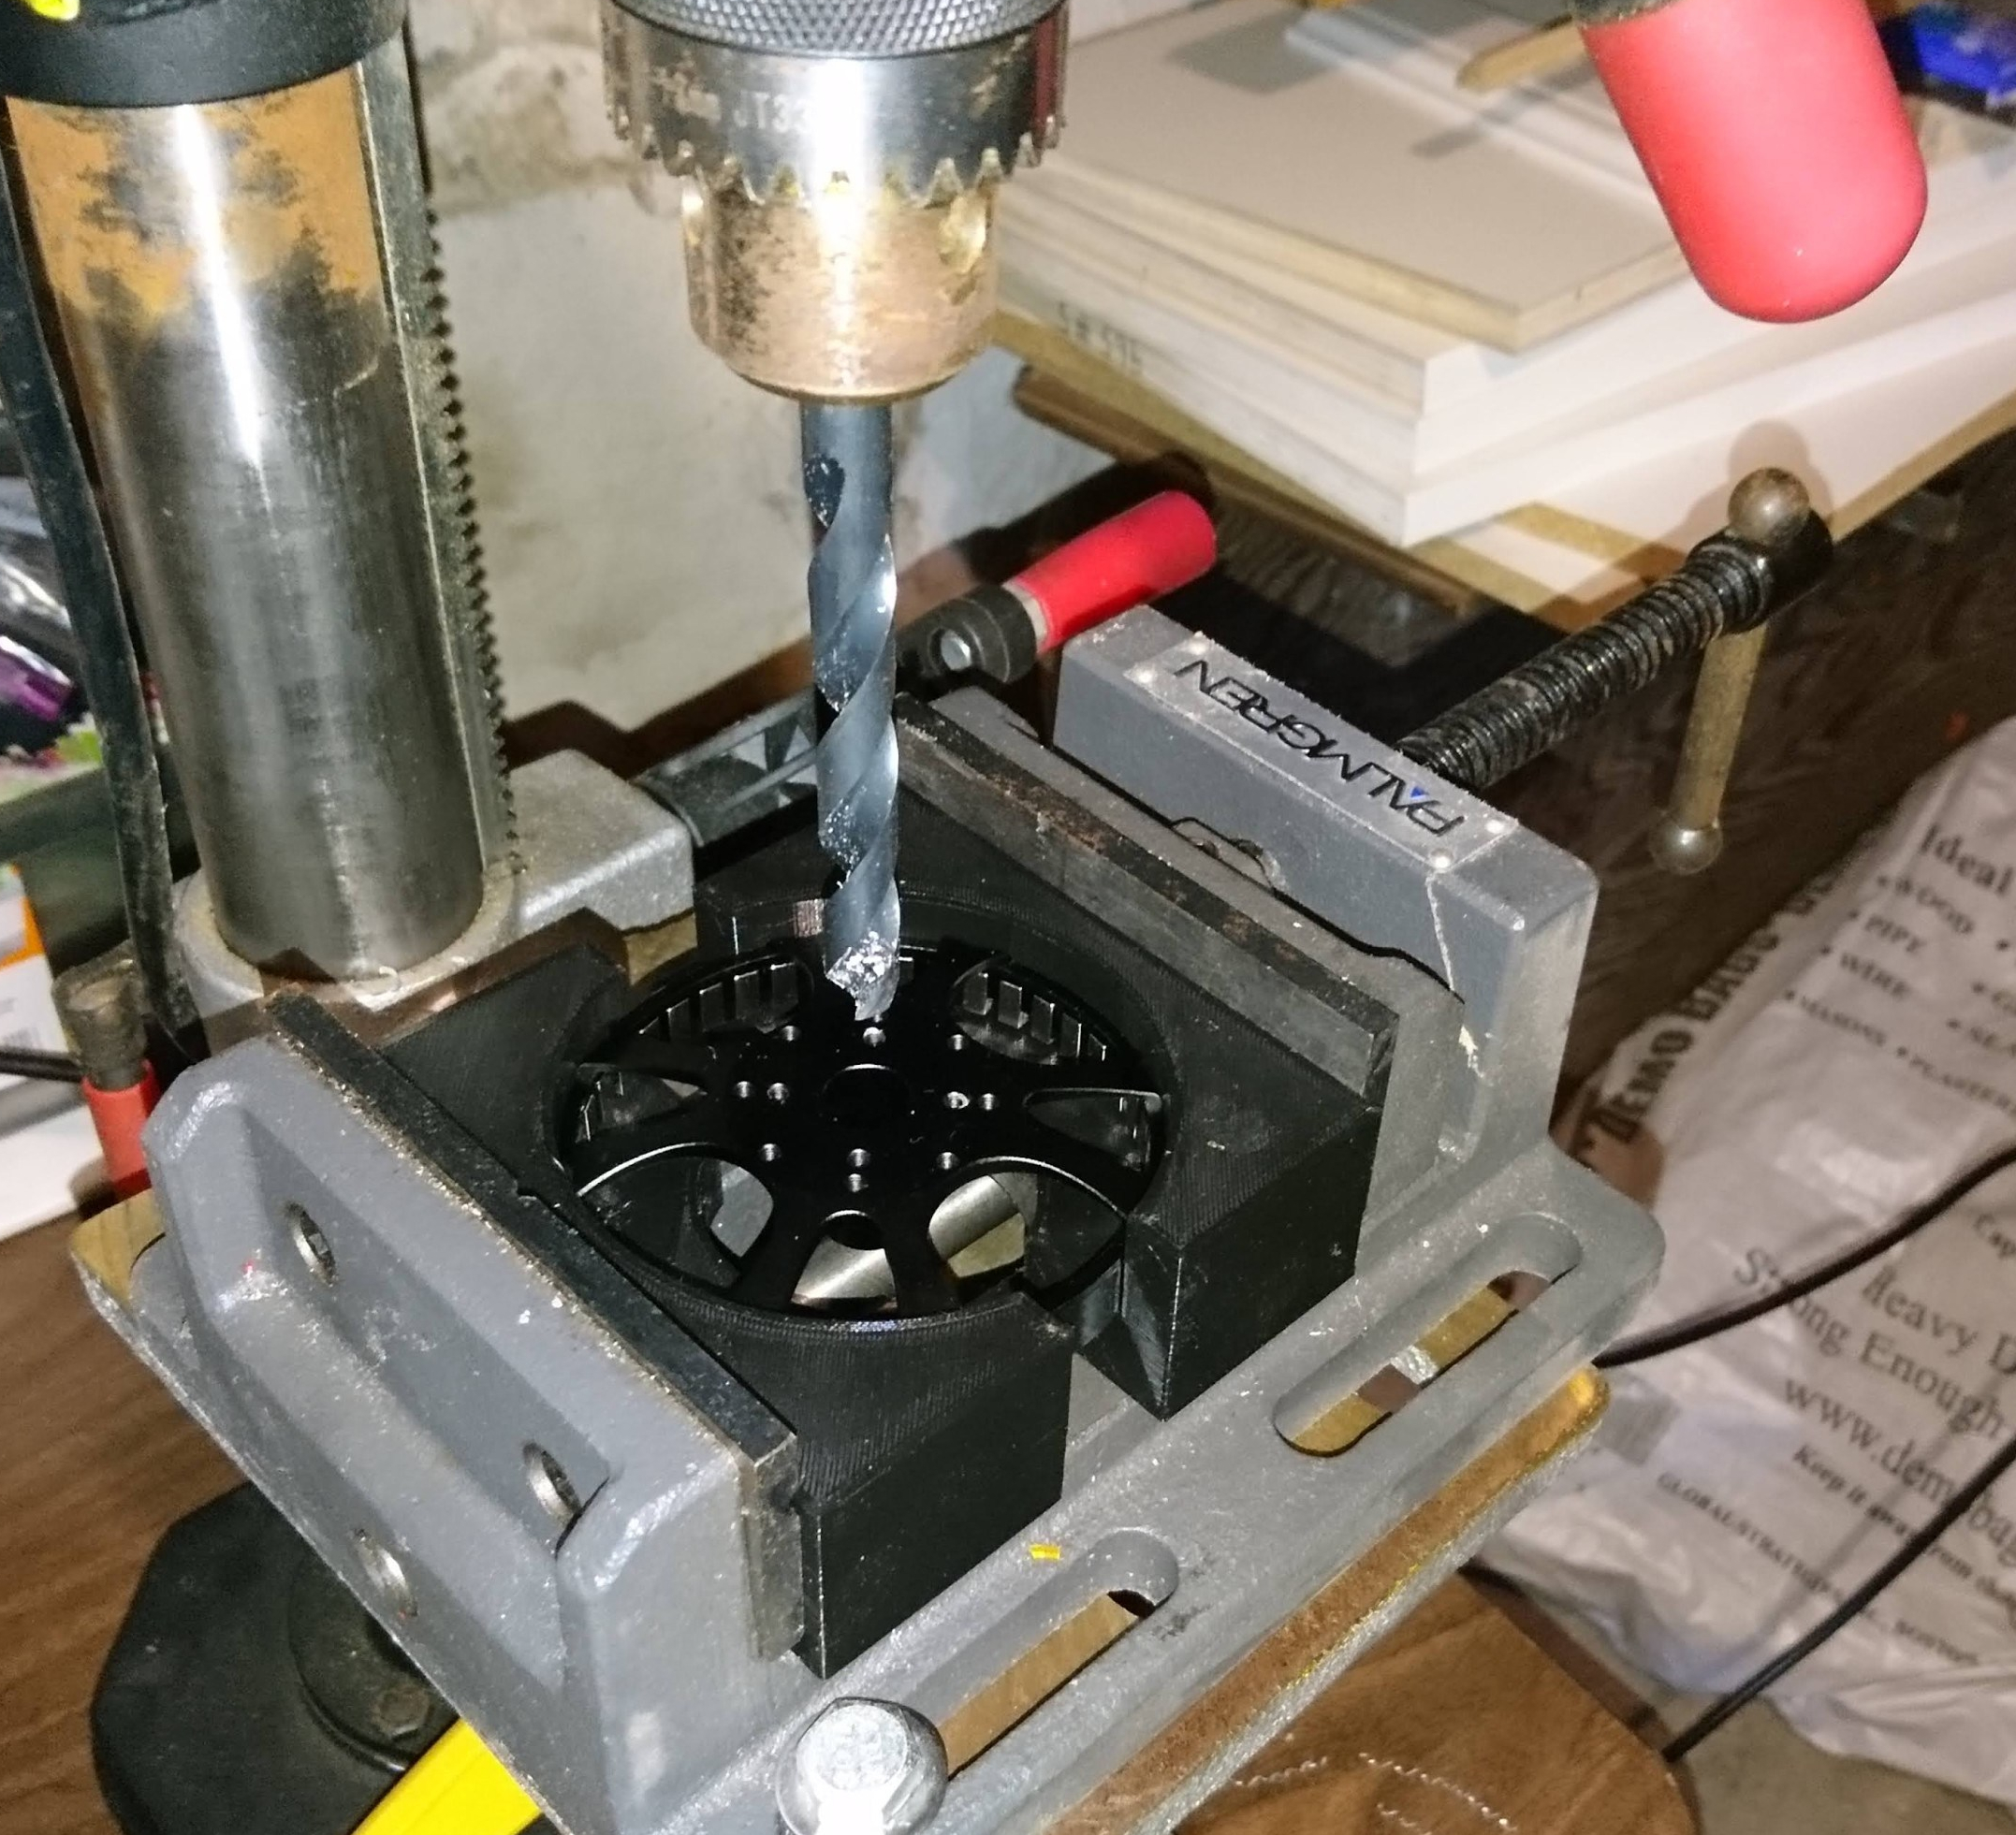
Rotor mounted in fixture
I ended up needing to get an even bigger drill bit than the biggest I had, and took a few passes with progressively larger bits, and it was still slow going.
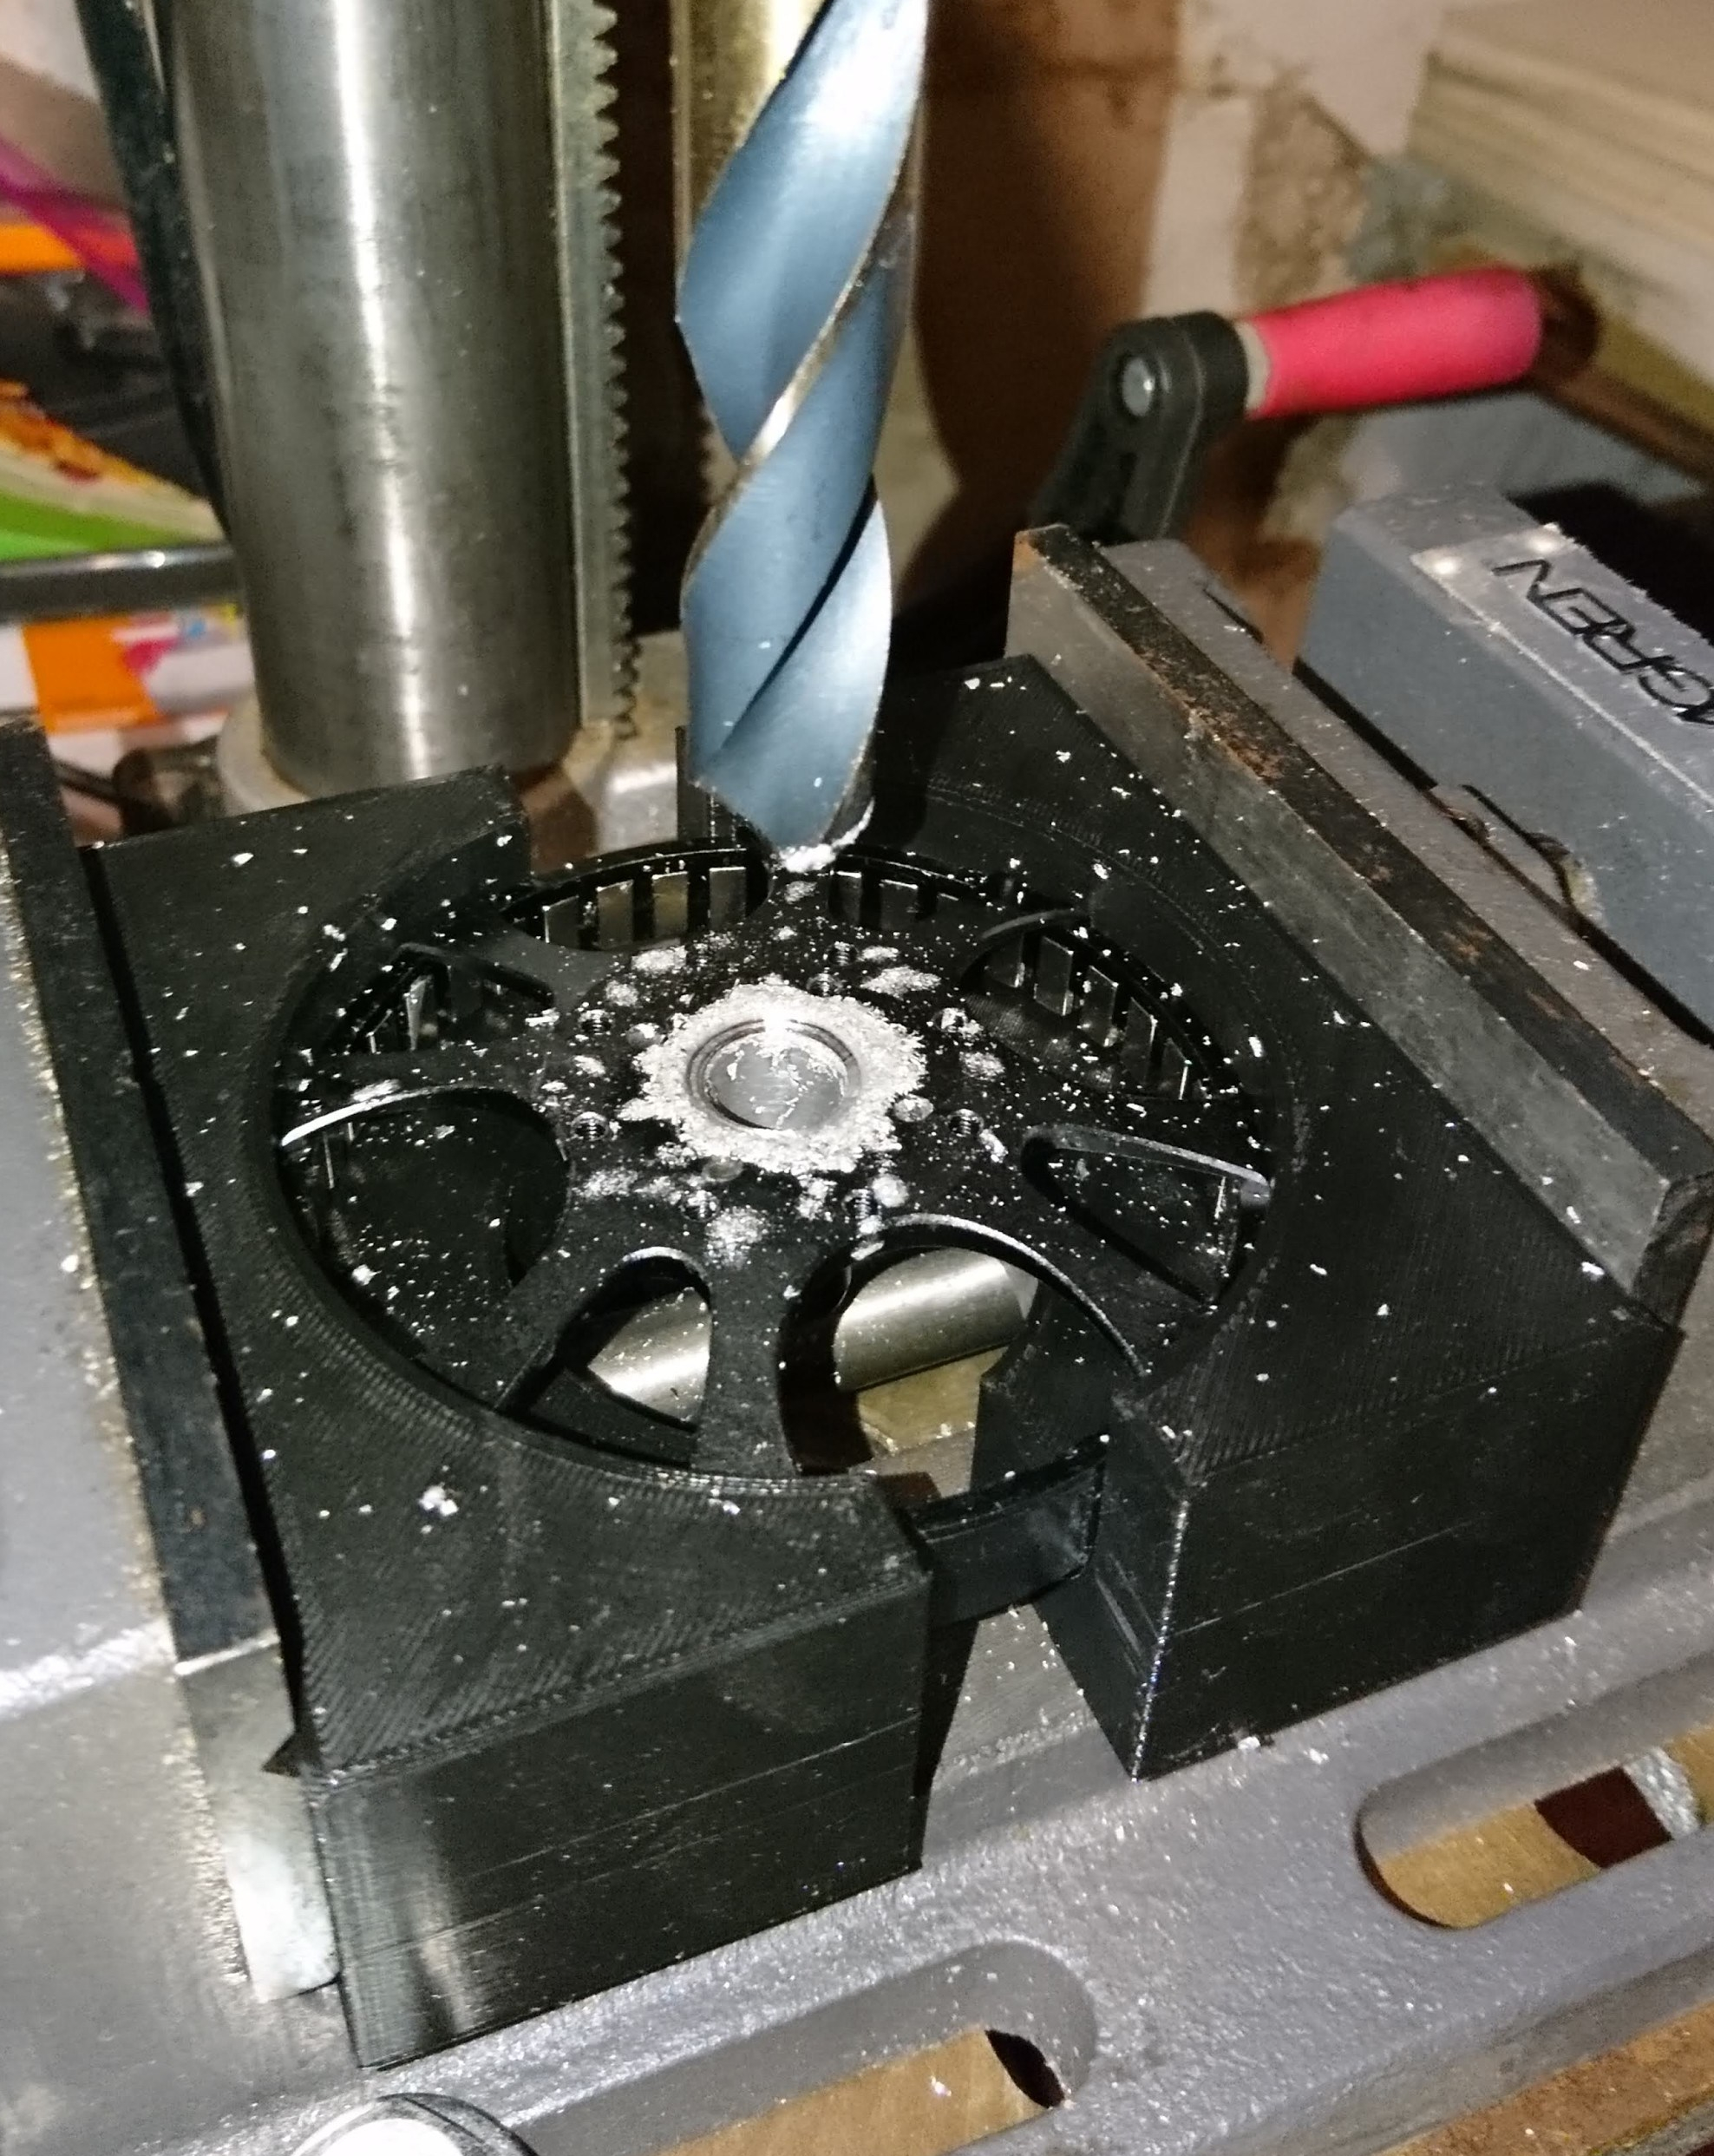
Beginning of 5/8" bit pass
Despite that, I managed to mess up my English / Metric conversions and the hole still wasn’t big enough, so I had to go at it with a dremel to finish it off. However, now the sun gear holder does fit in nicely!
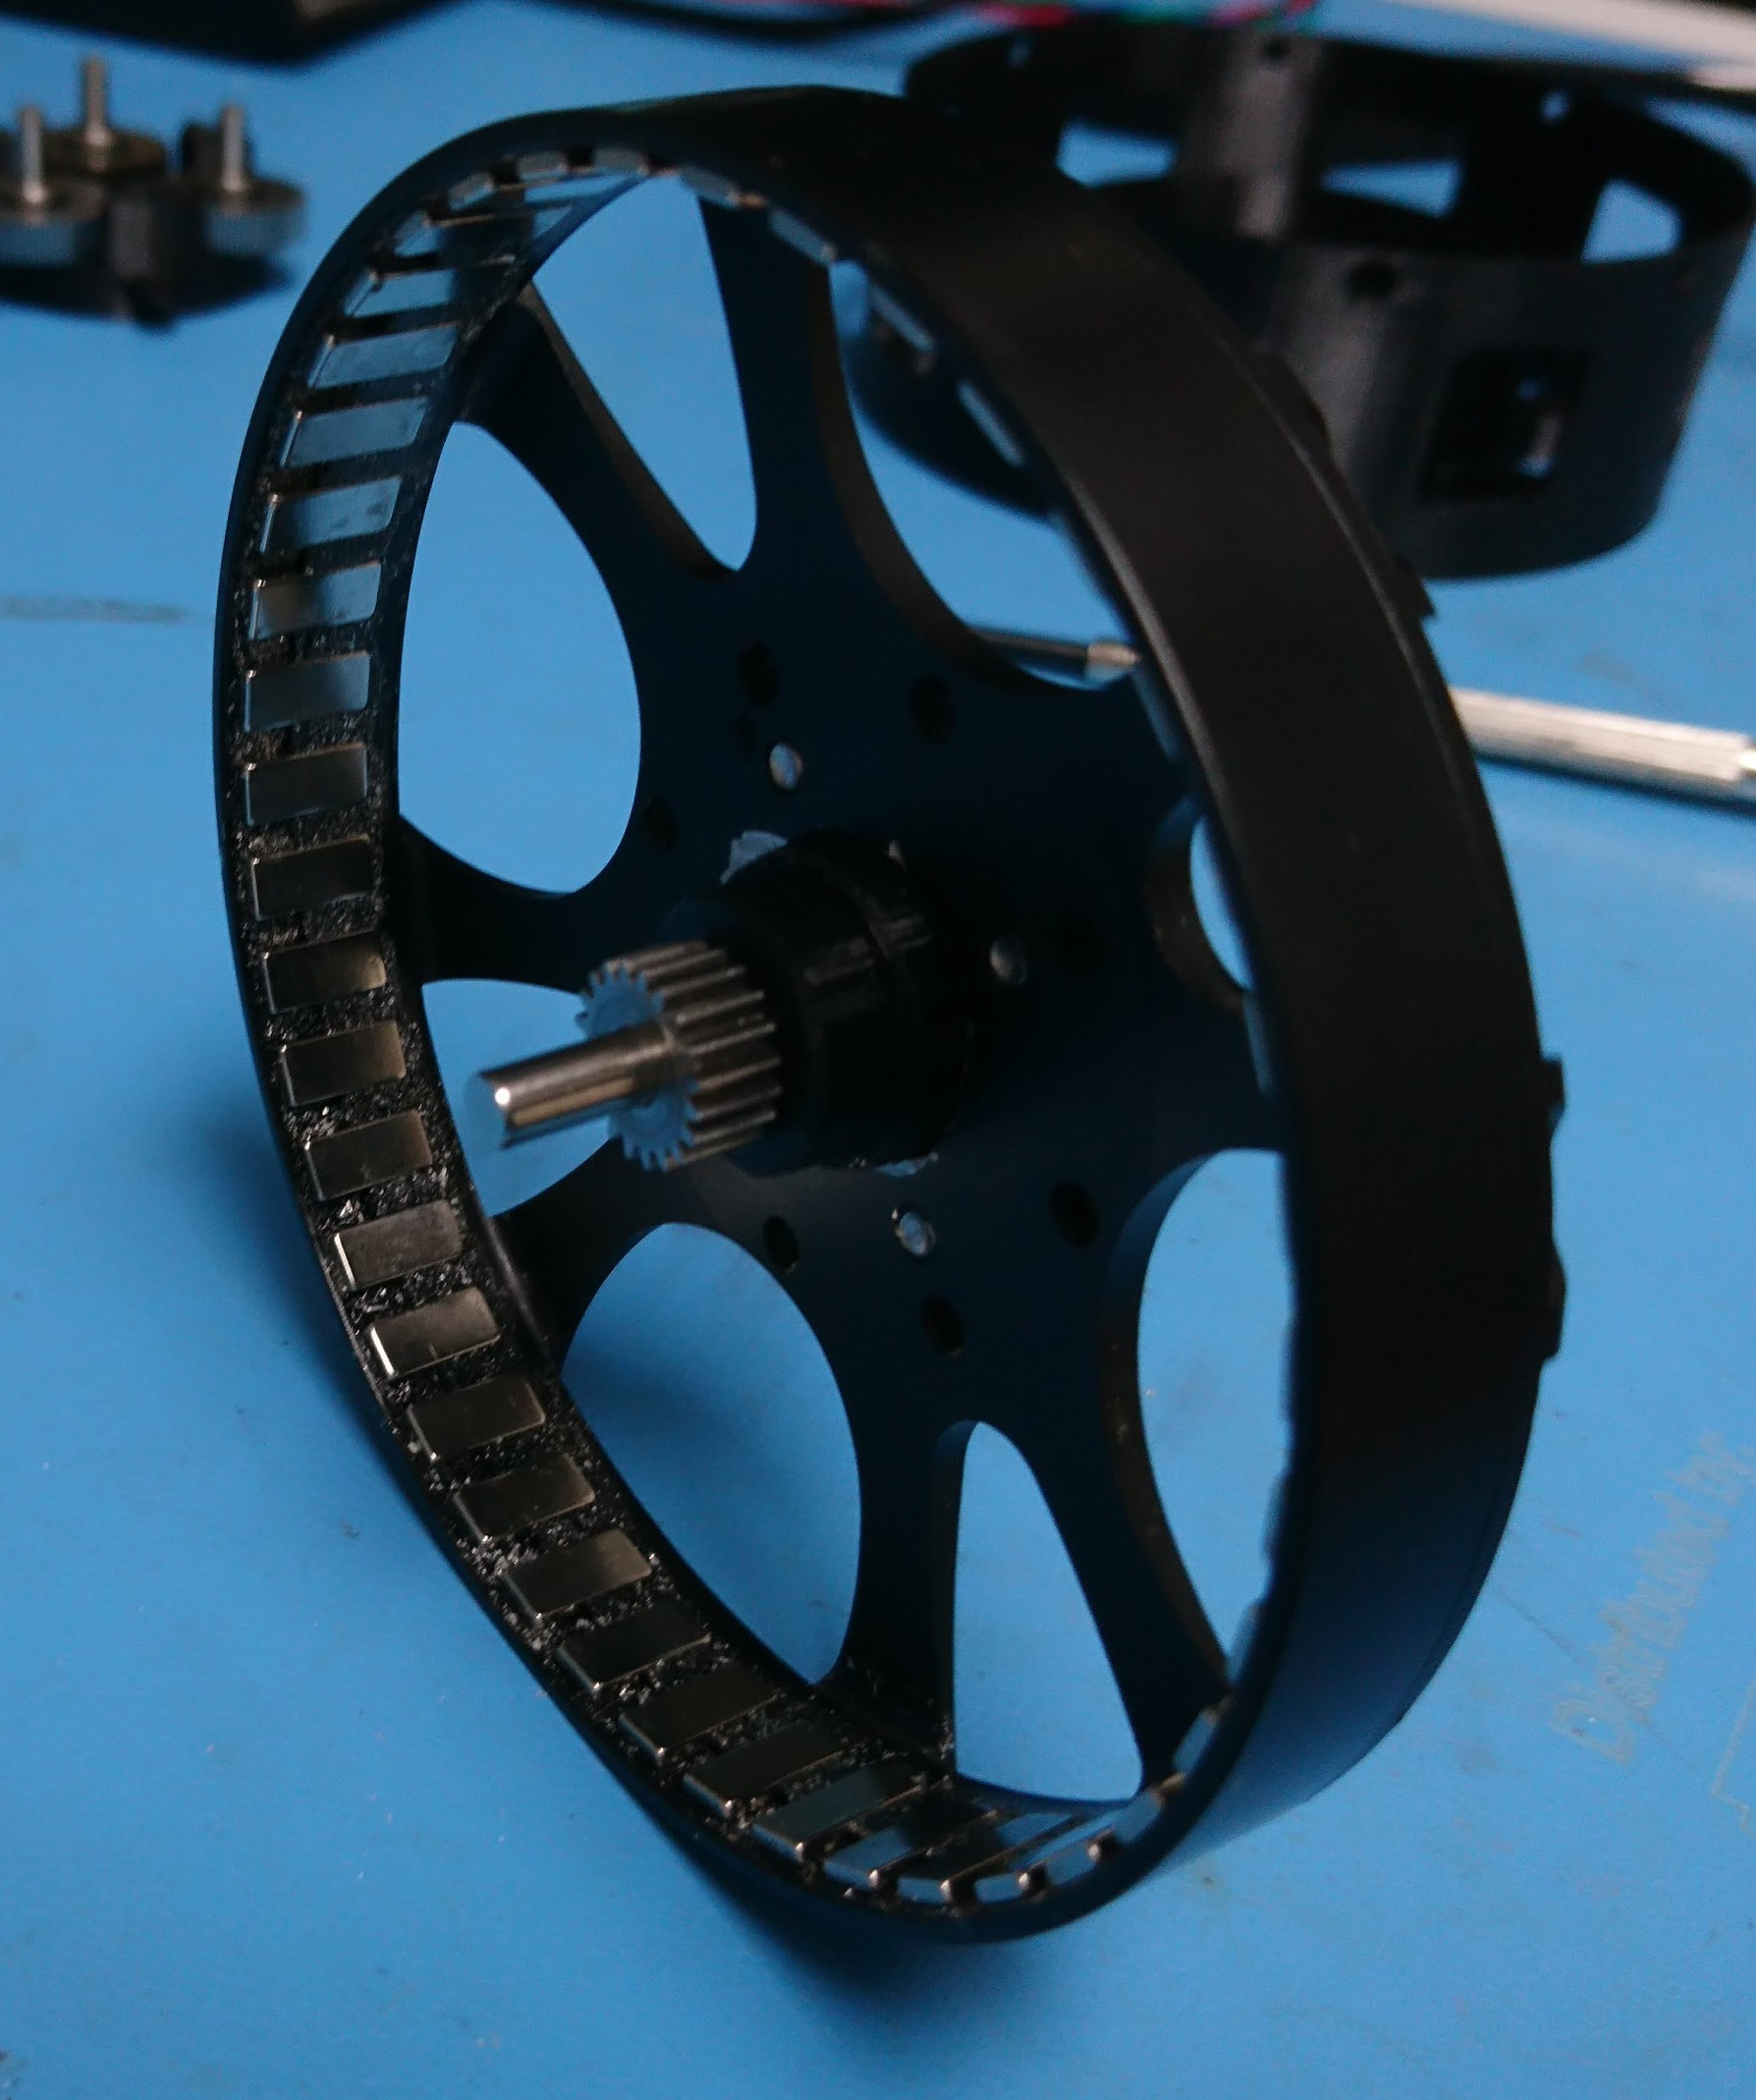
Rotor with sun gear, inside view
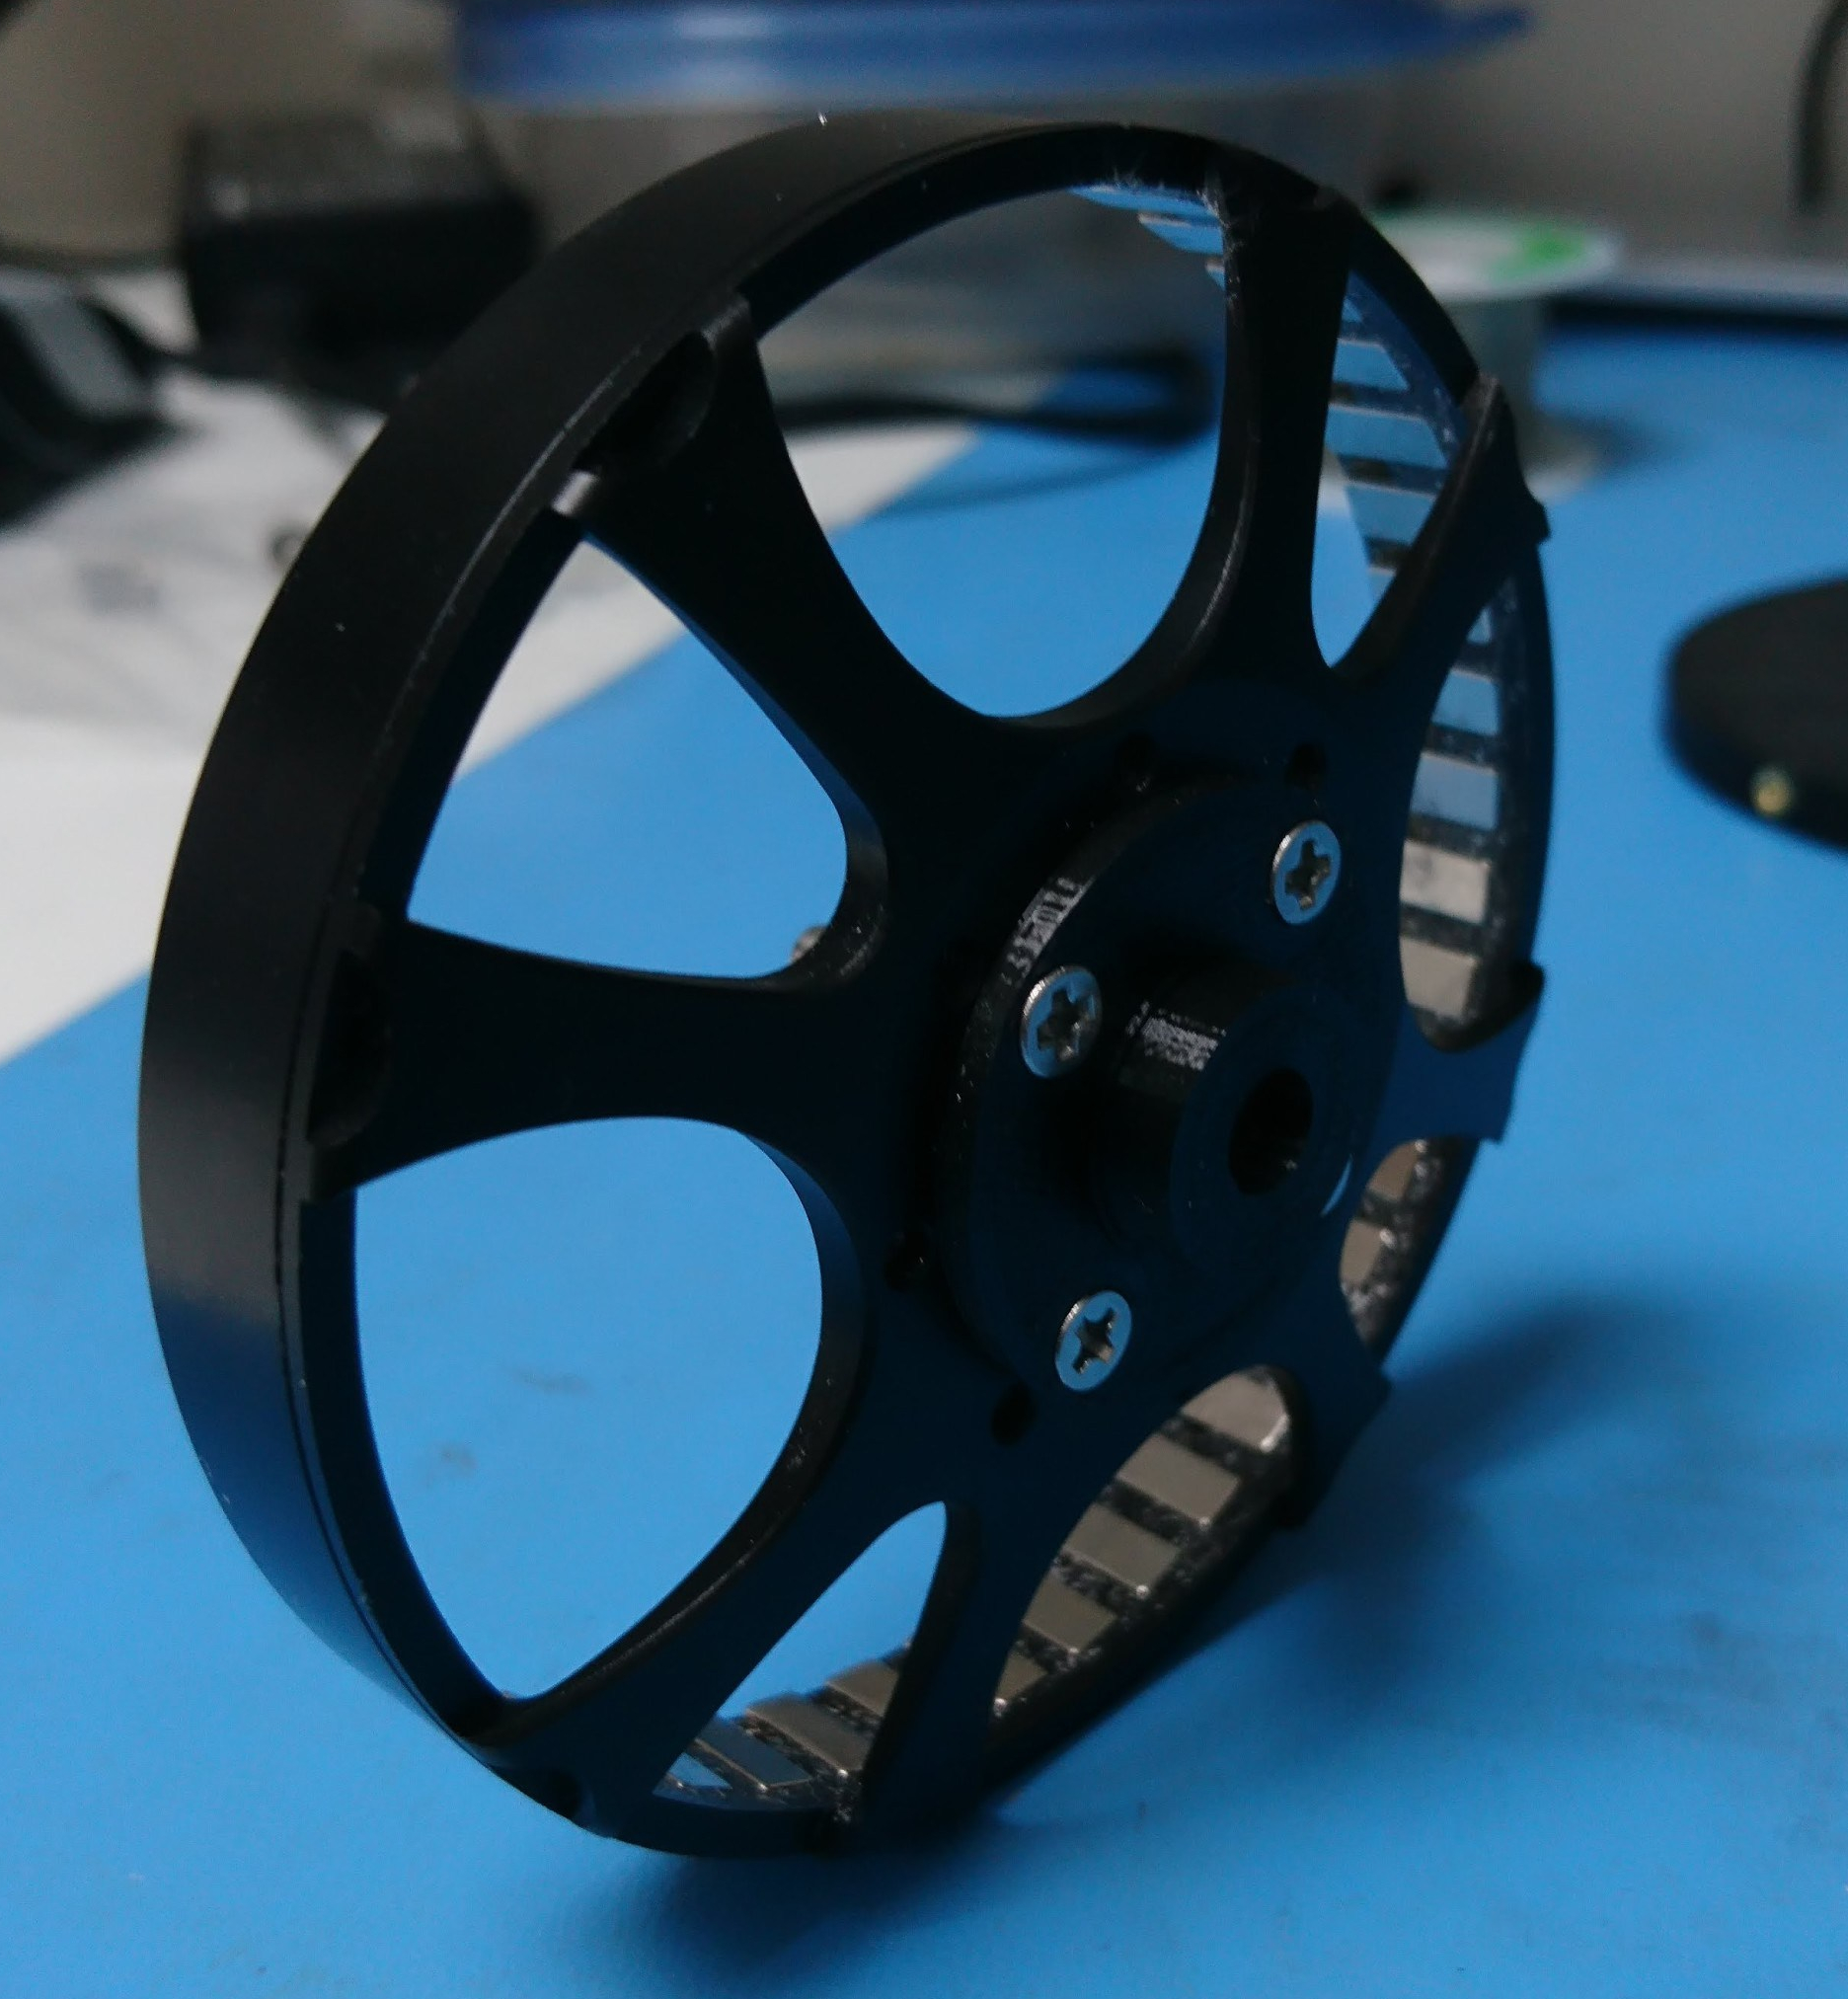
Rotor with sun gear, back view