BE8108 motor disassembly
To build the 8108 class gearbox with the geartrain inside, first I need to get the motor apart and separate out the individual pieces that I needed. Here’s the first in a few posts about the modifications.
The original unmodified 8108 motor looks like:
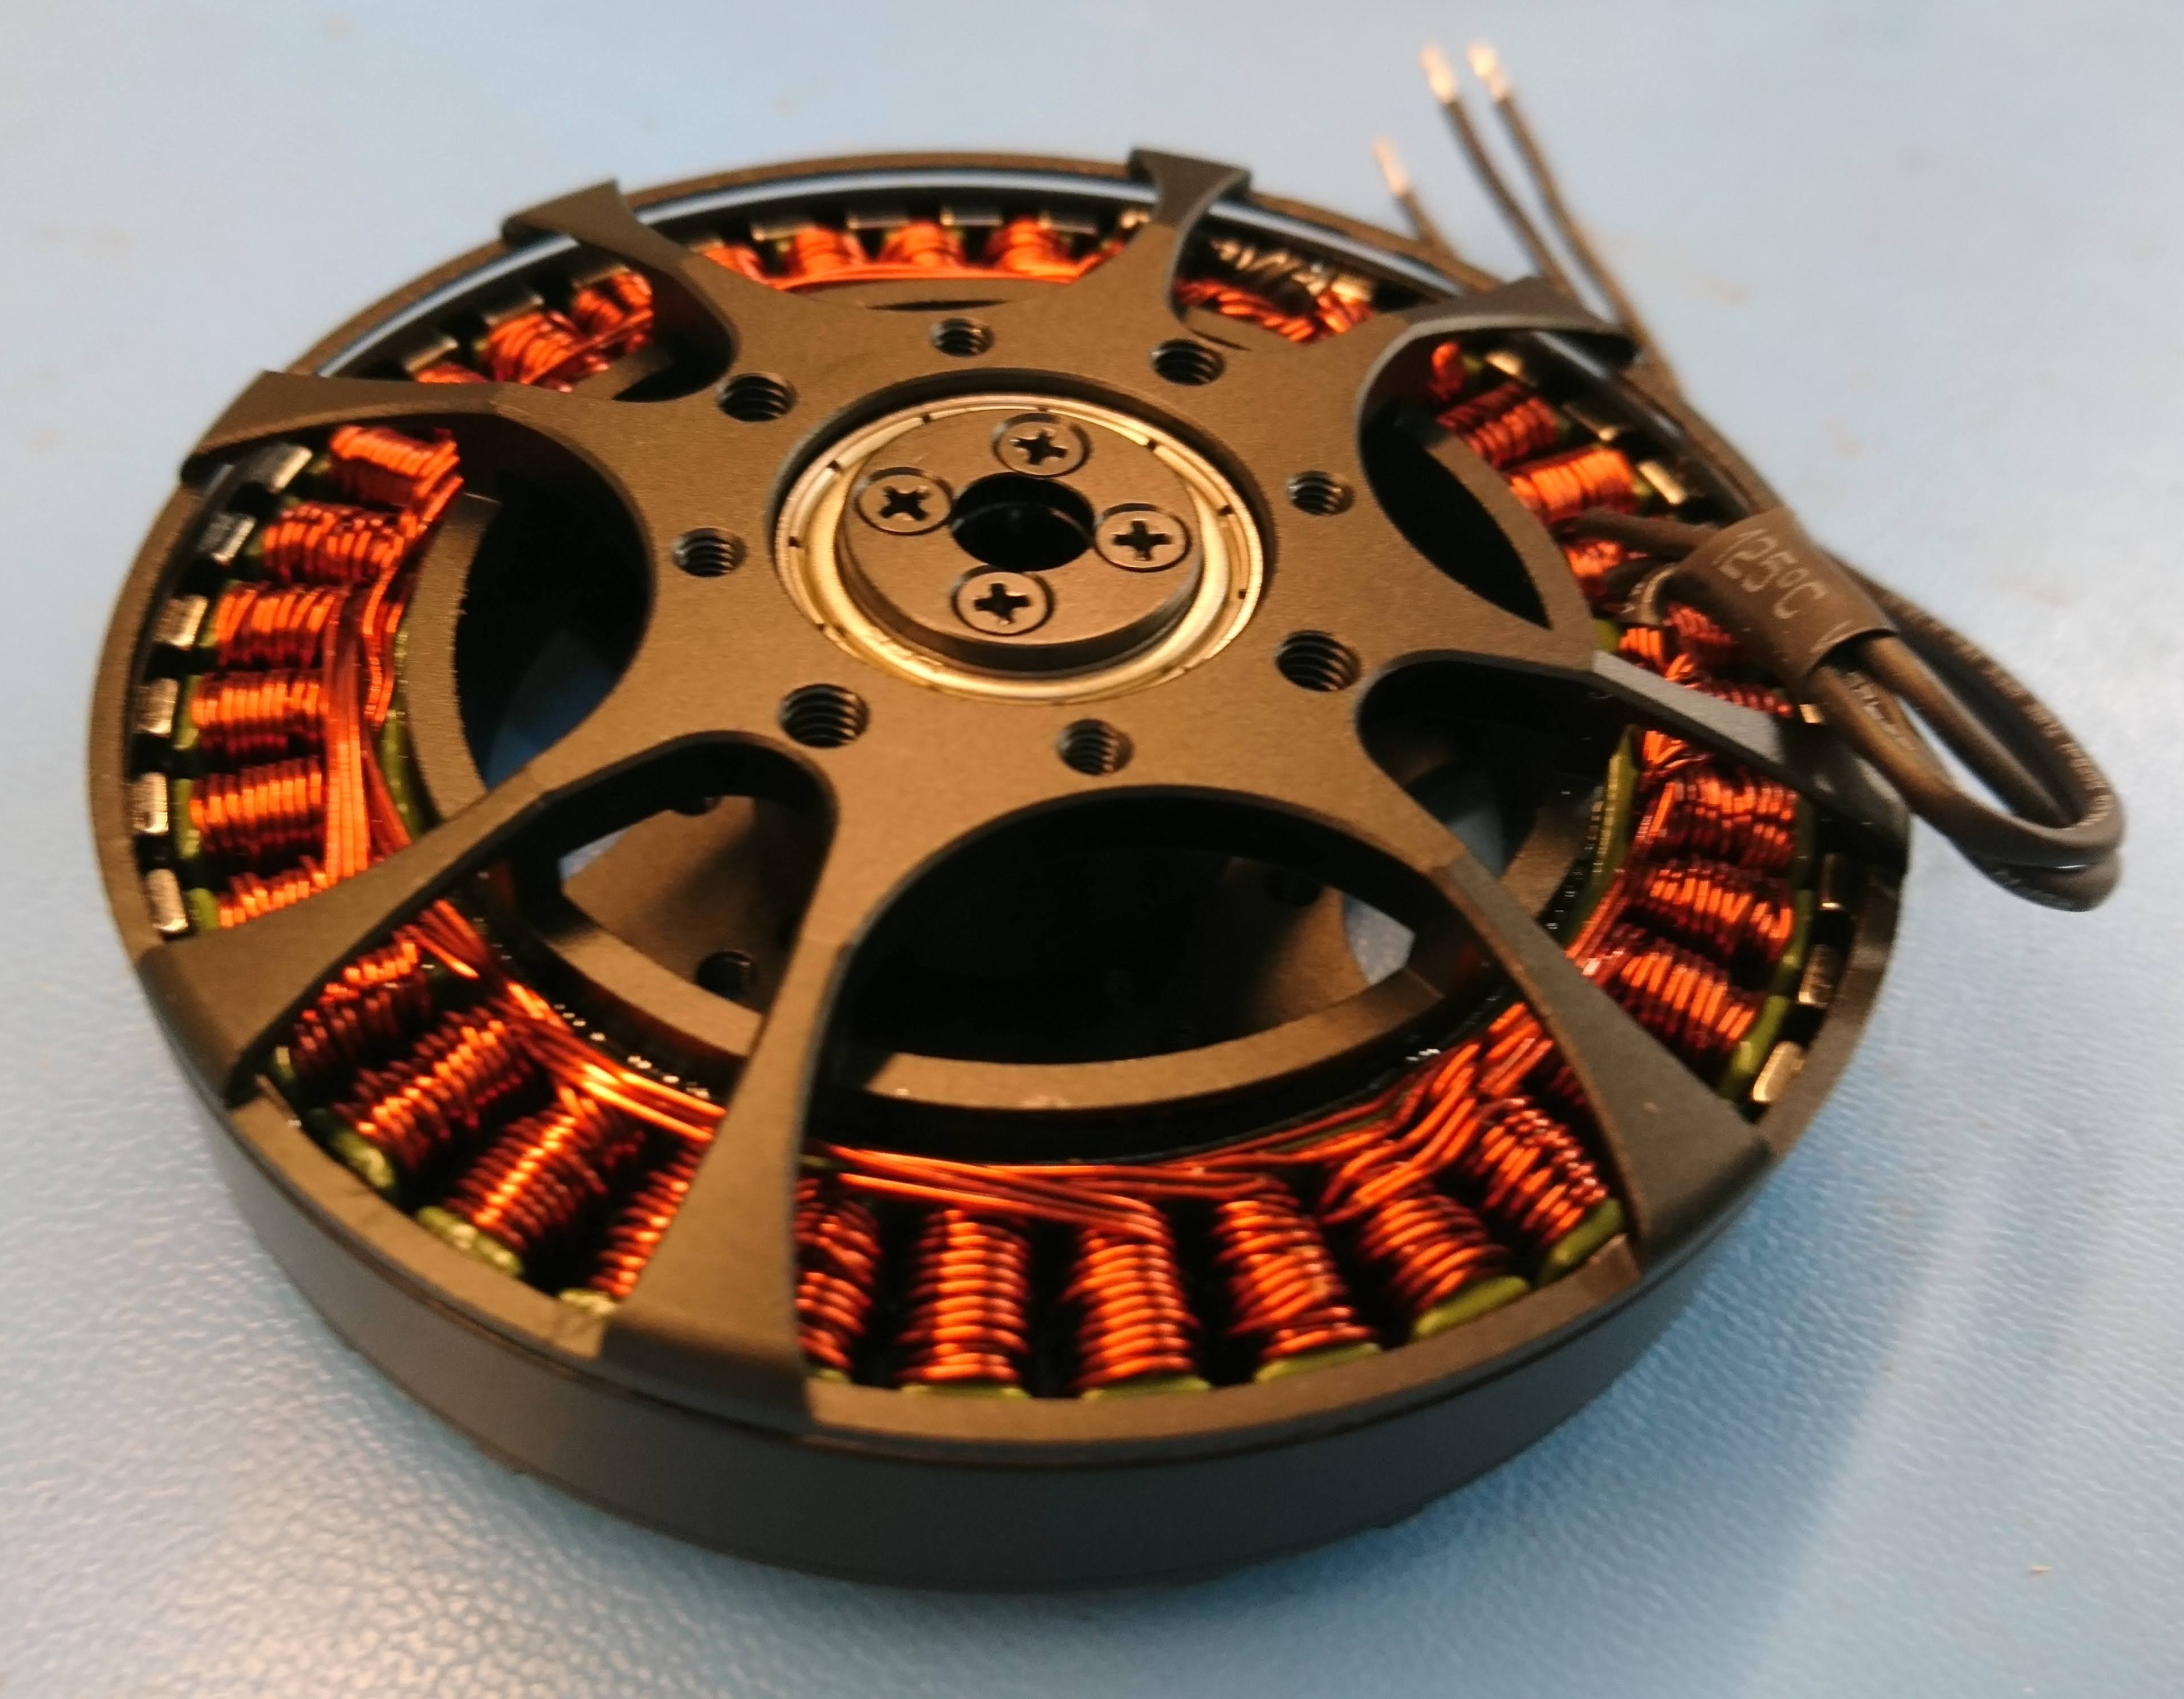
Unmodified BE8108 Motor
To begin with, I needed to separate the rotor from the stator. First, there is a small screwed on plate which needs to be removed – it just has normal Phillips head screws.
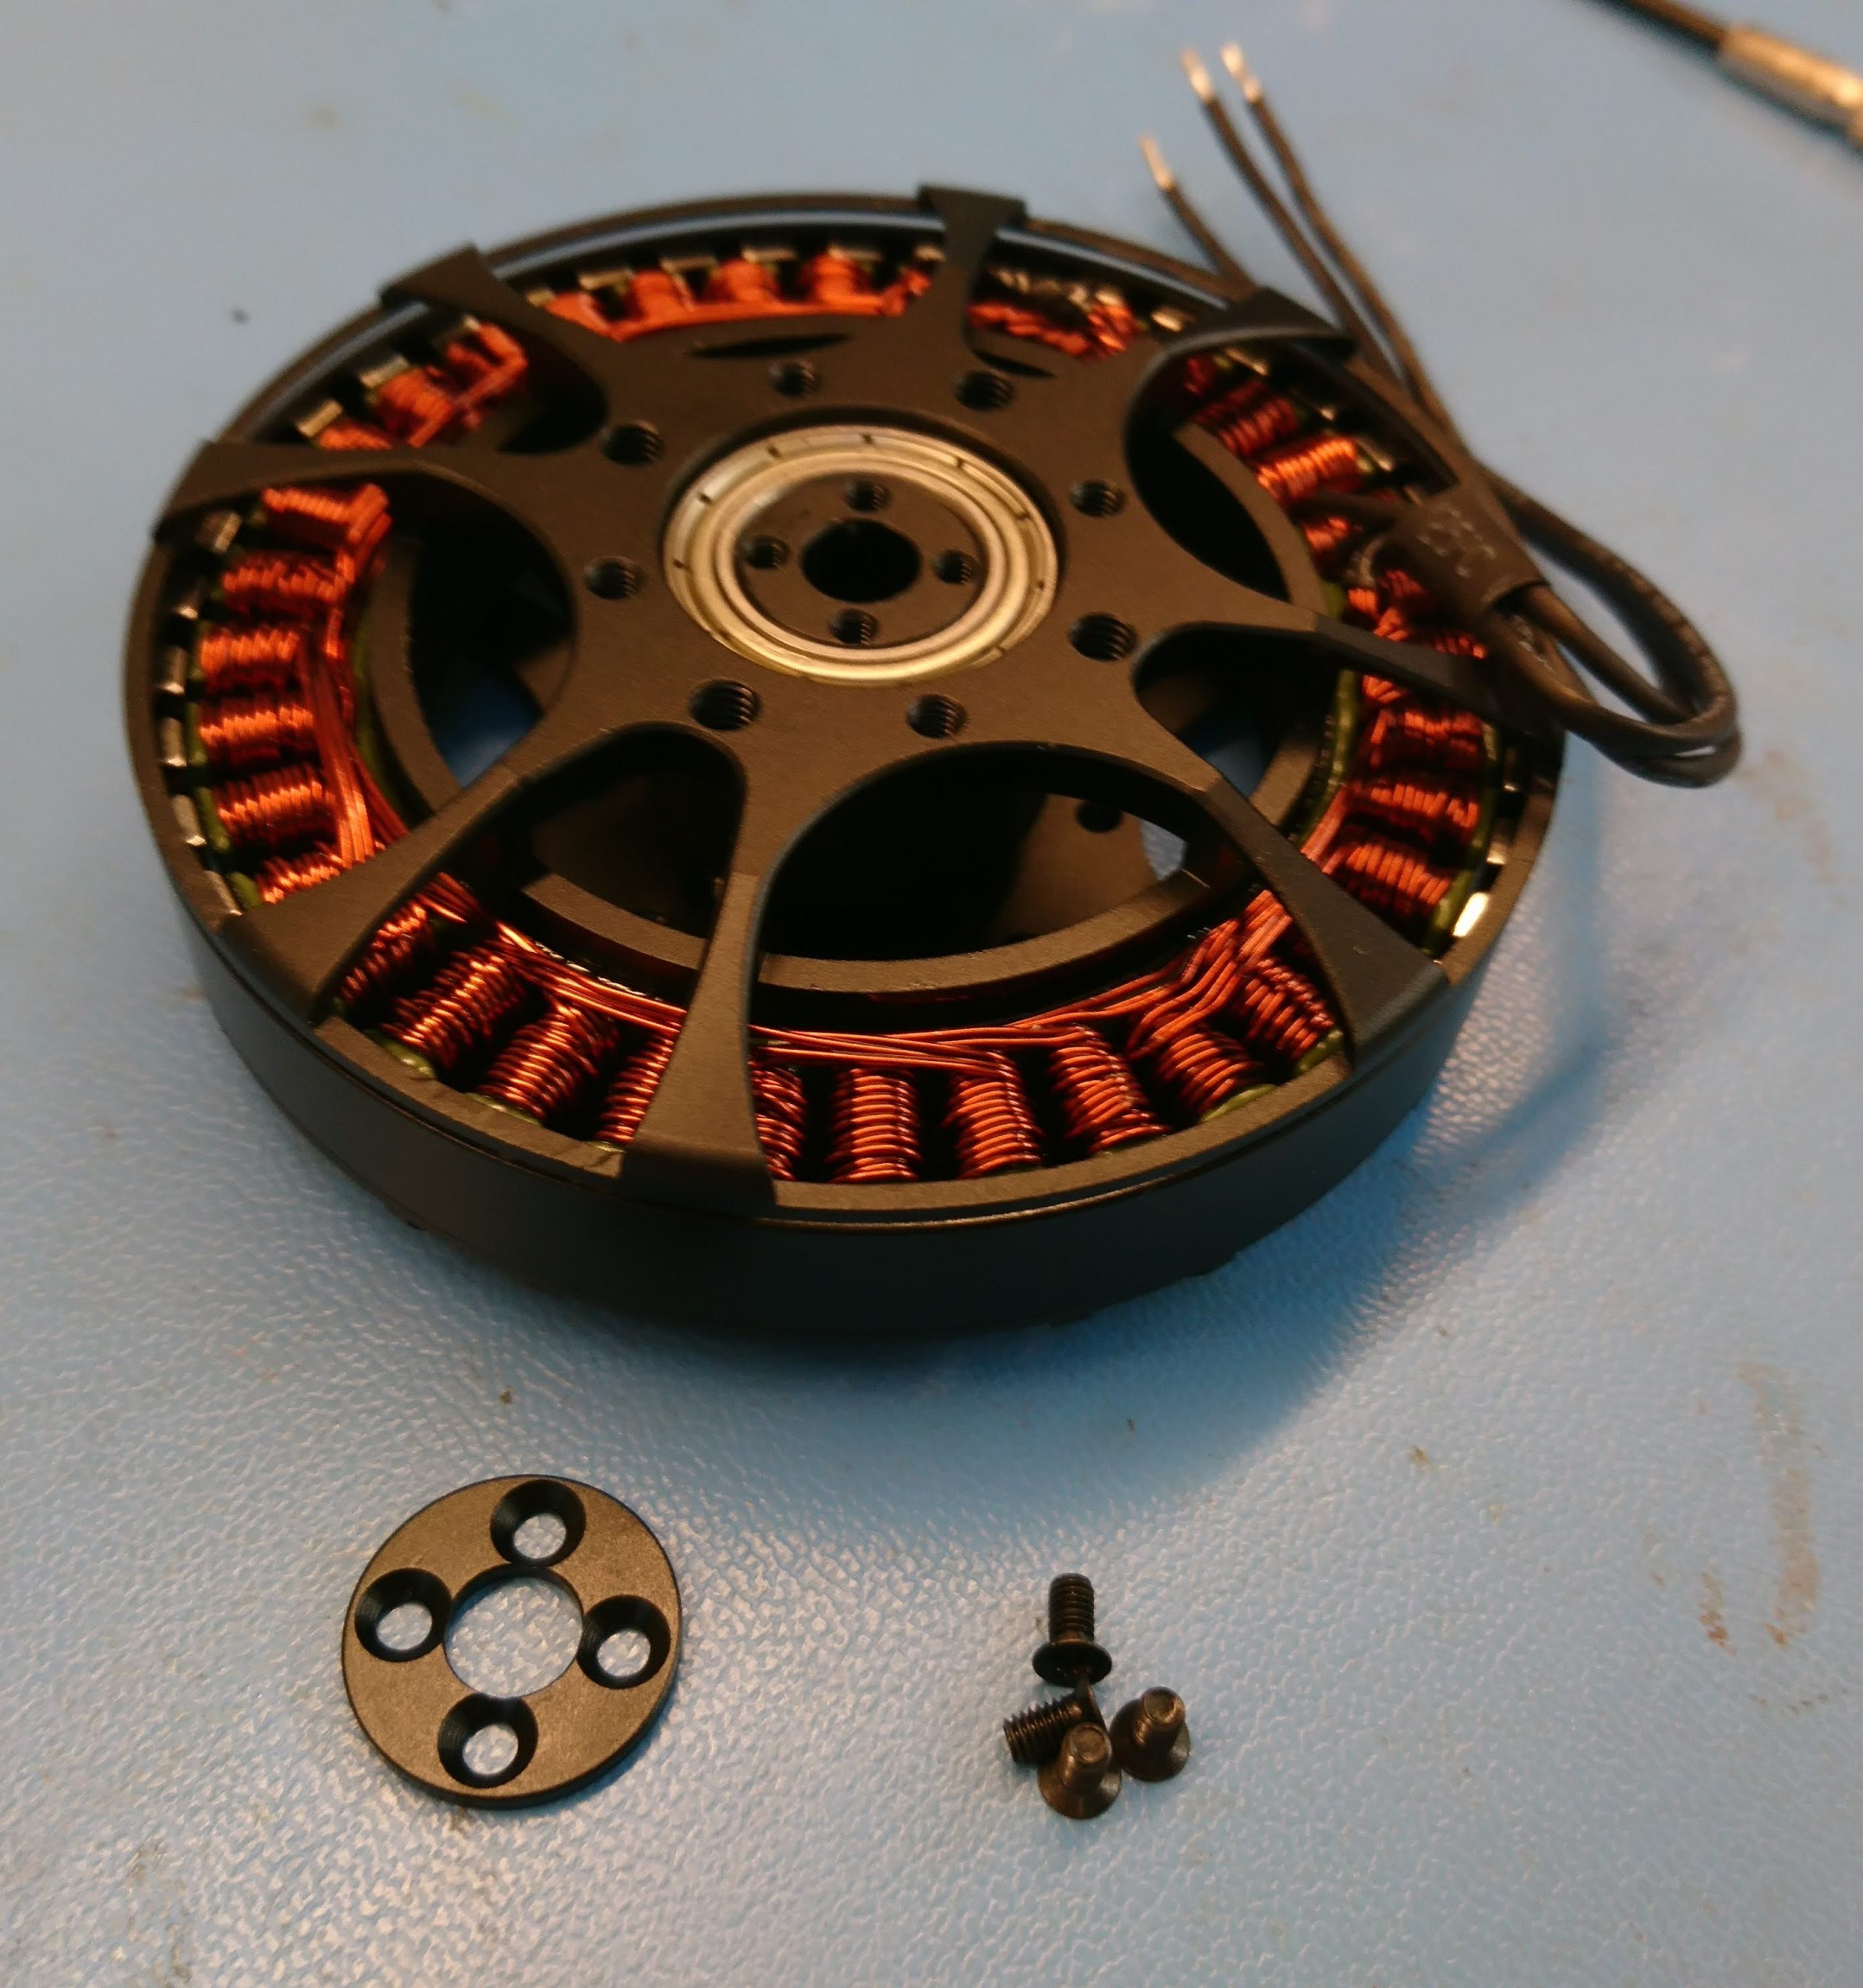
Front plate removed
After that, the rotor is pressed onto bearings. The magnets exert quite a lot of force on the stator, which makes removing them challenging by hand. I wasn’t able pull it off with all the force available just from my arms. For my first experiment, I built a simple fixture from two plates of aluminum and some bolts.
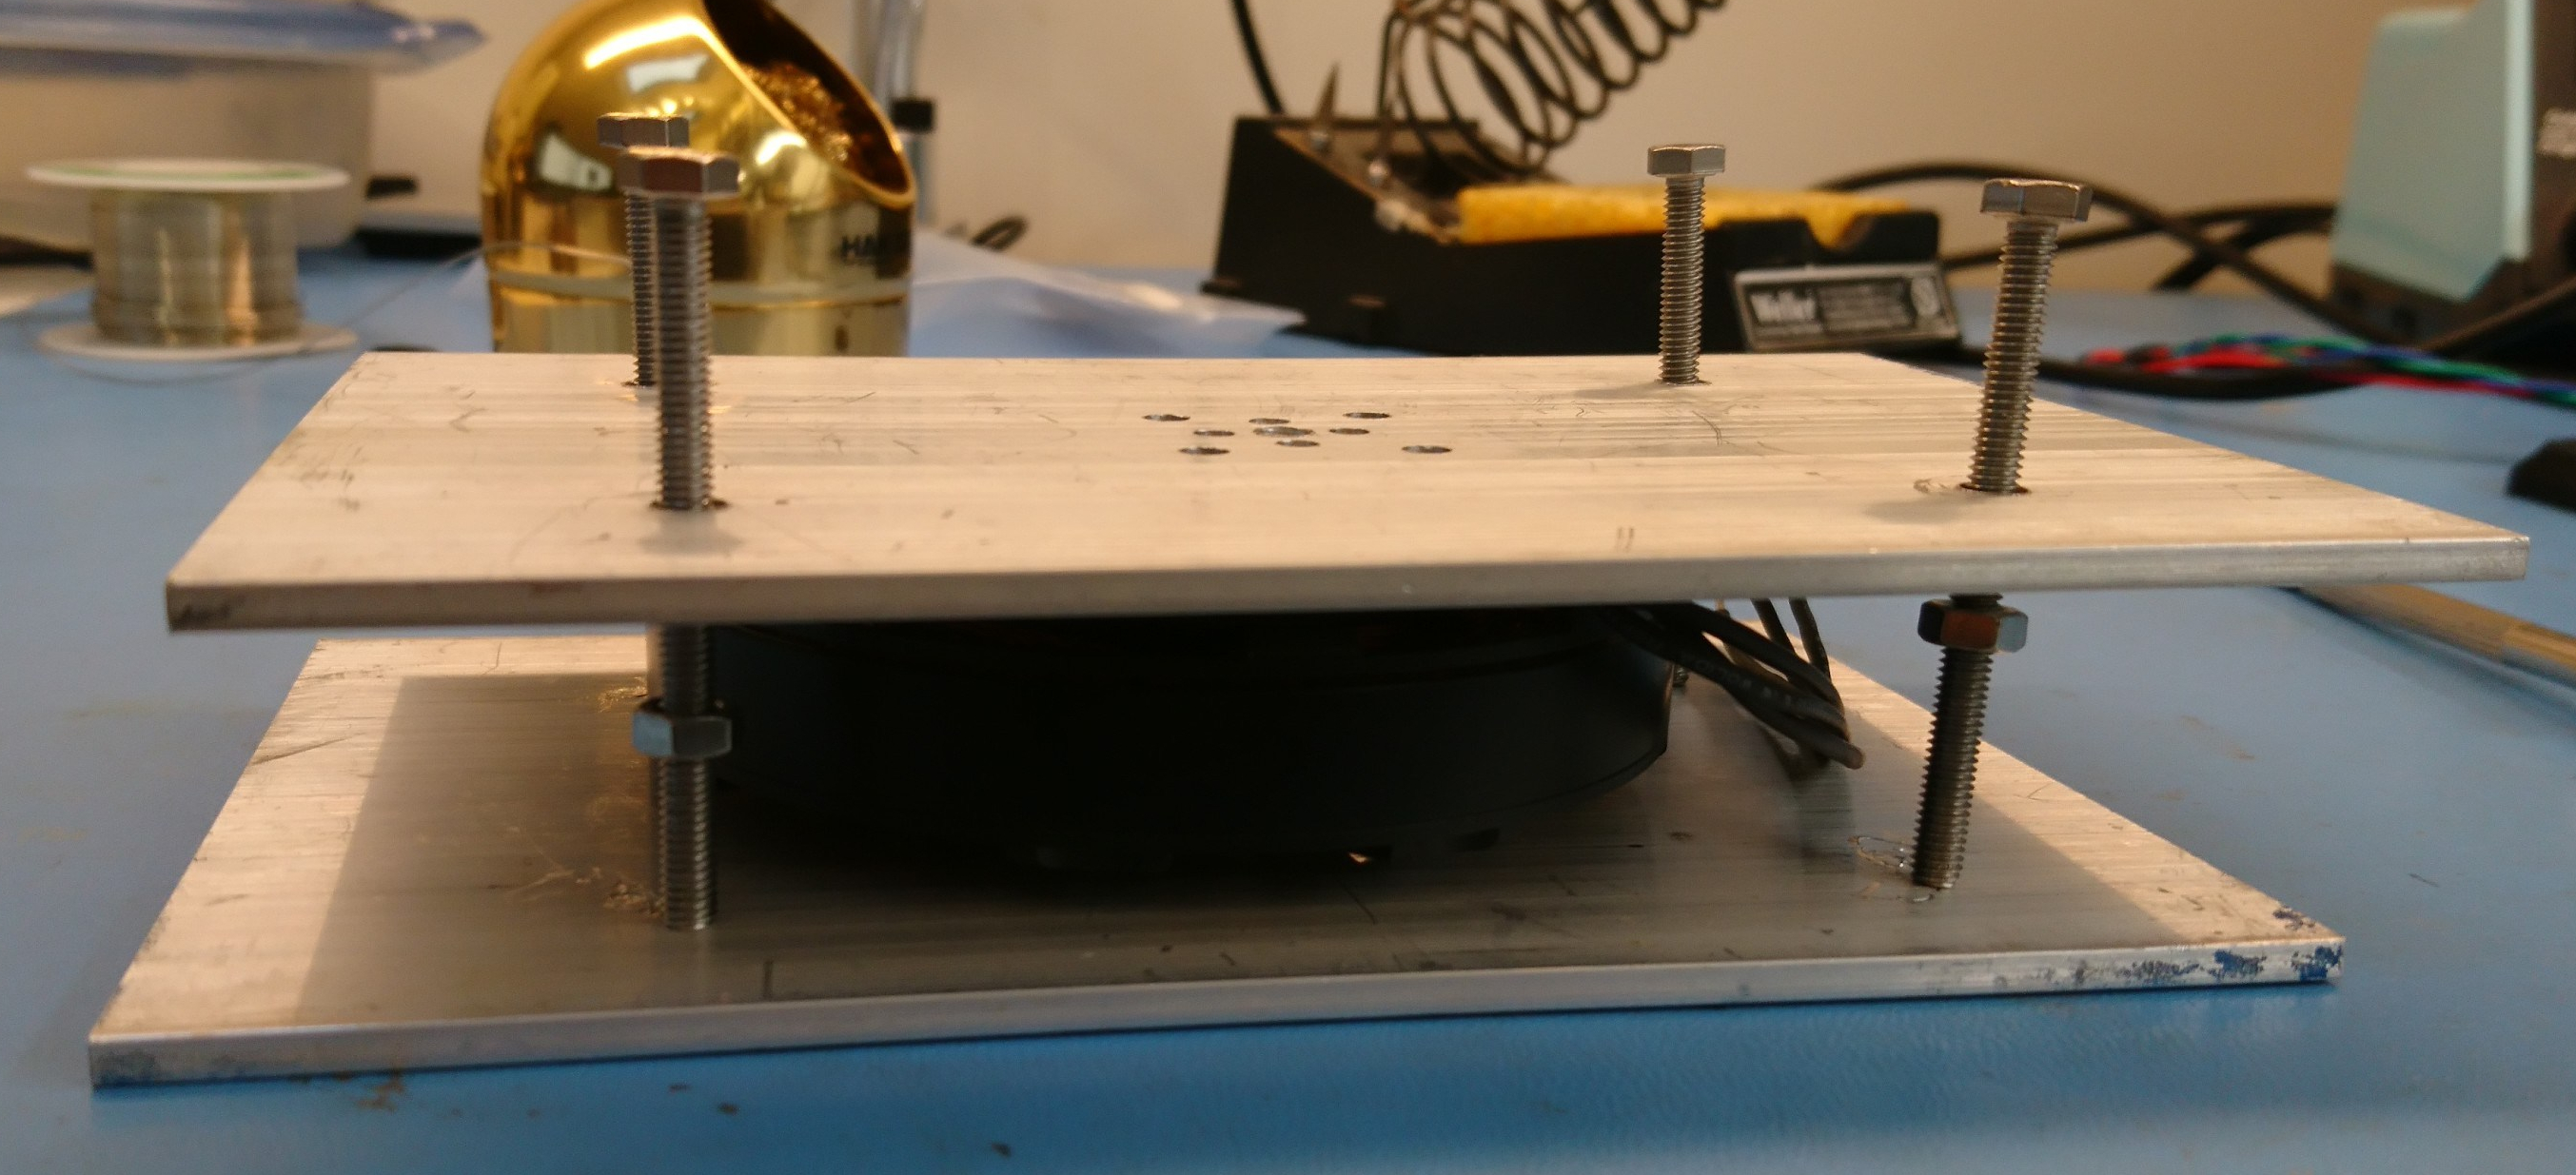
Motor in Removal Fixture
I bolted each half of the motor to one plate, and gradually tightened the bolts. This eventually liberated the rotor from the stator. Clearly something more robust and repeatable would be necessary to do this more than a couple of times, but this worked for a first iteration.