Archives: Pocketnc

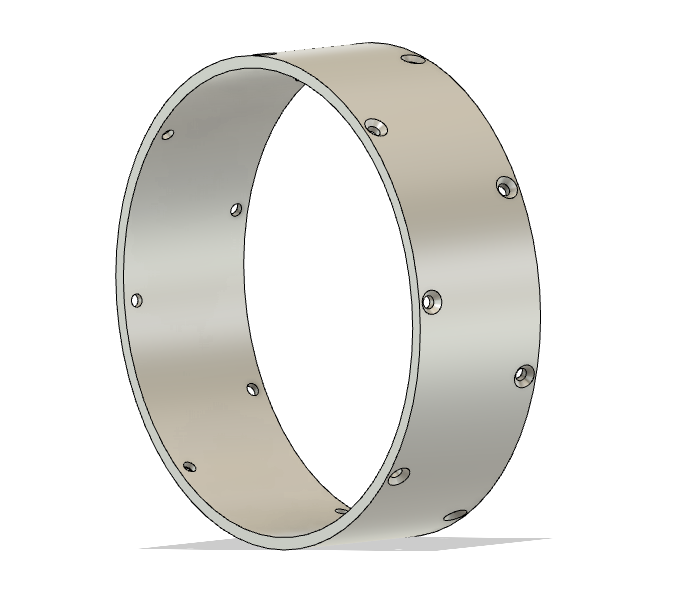
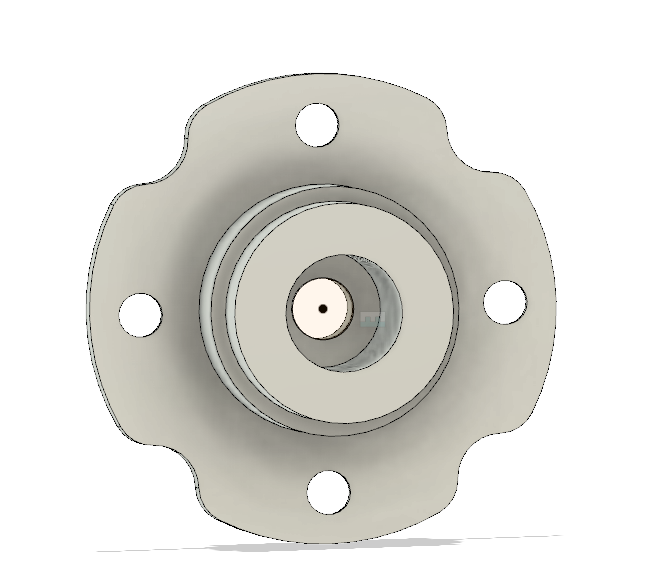
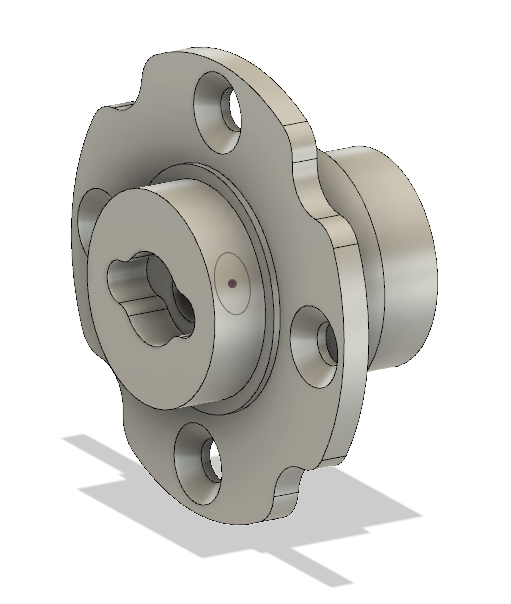
moteus servo mk2: Front housing

The front housing is the most complex machined piece in the moteus servo mk2, as it was in the mk1.  It is relatively large and mates with many other components with the associated tight tolerance surfaces.  For mk2, the front housing is even larger in diameter, but otherwise has the same basic features.
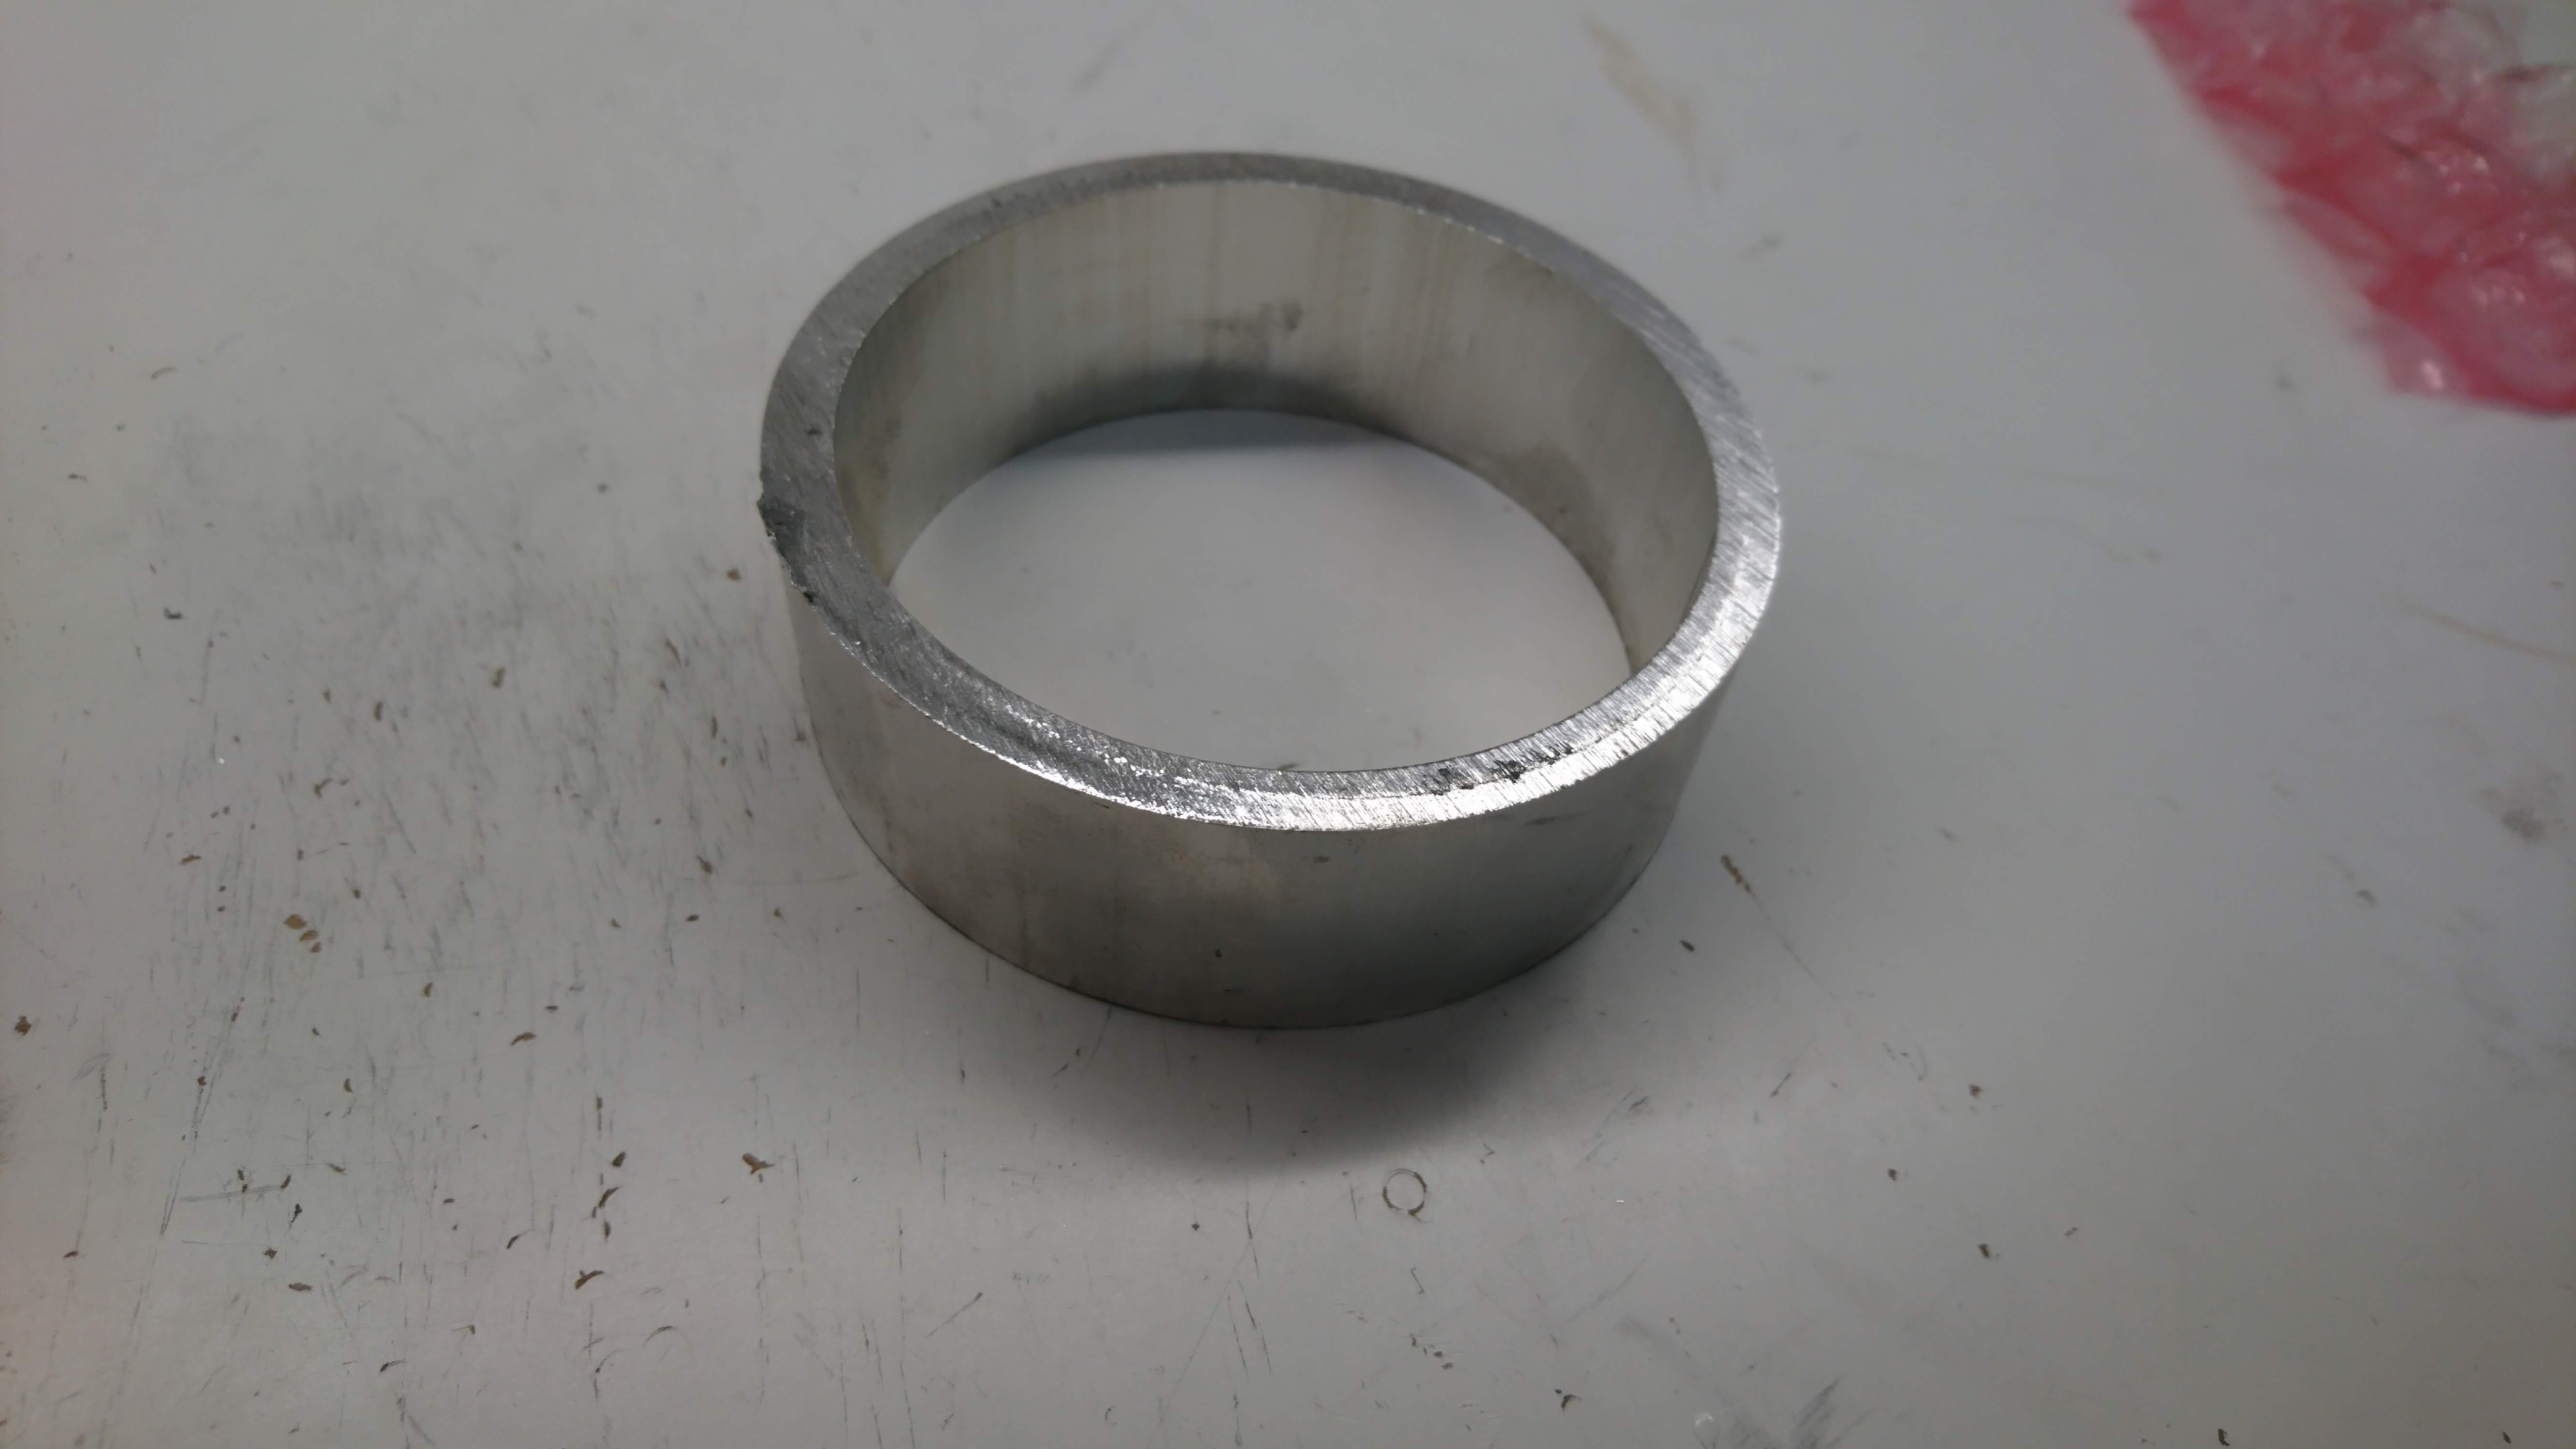
front_housing_exploded.png

Manufacturing

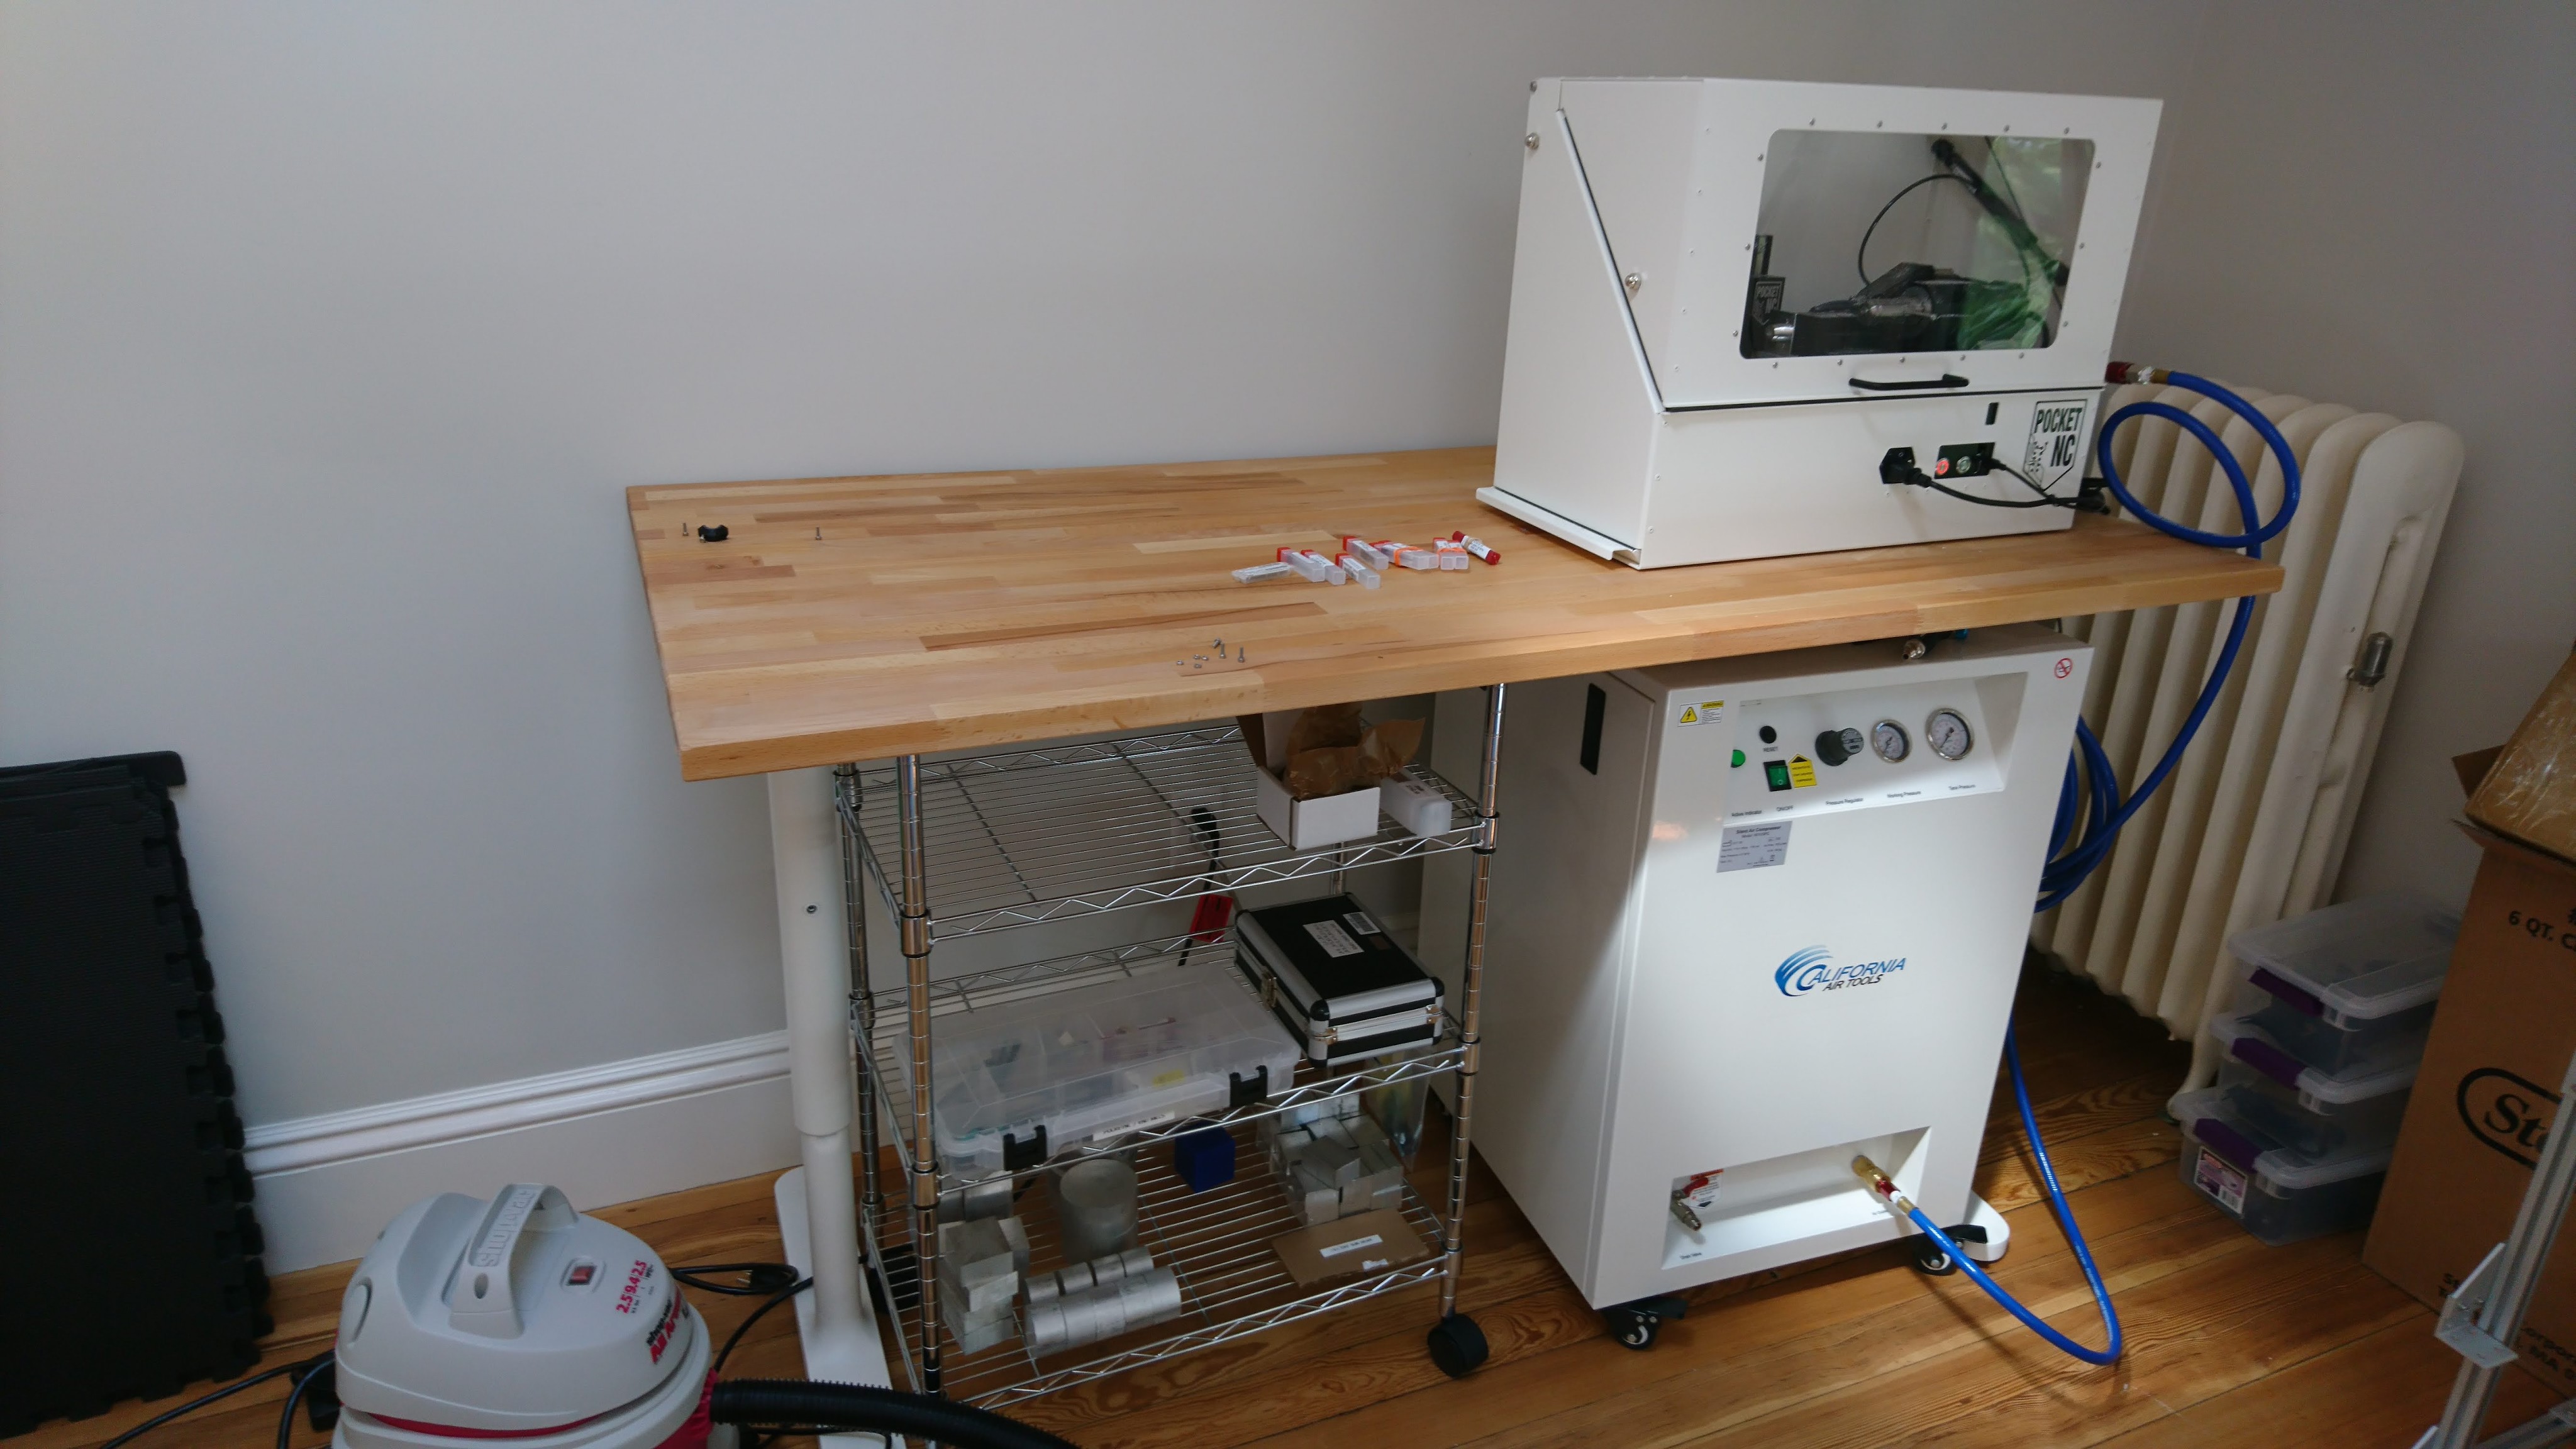
Building a prototype of this was a real challenge given the tools I have available to me now.  For mk1, I didn’t even try and just had Xometry build my prototypes, and was lucky enough that the first ones worked.  My only CNC currently is the Pocket NC v2-50, which is just barely big enough to deal with this part, and has no convenient workholding that can be used for the stock.  Also, it has a low material removal rate, such that starting from stock here would be prohibitively time consuming.

moteus servo mk2: Outer housing

The outer housing for the moteus servo mk2 is just a precision round tube with some mounting holes drilled peripherally.  Still, manufacturing it was slightly annoying, mostly because of my available machining resources.

outer_housing_cad.png

Manufacturing

I started off with round tube stock with some extra margin on the inside and outside:

dsc_1789

Then I went and used the manual lathe at Artisan’s Asylum to get the correct ID, OD and length:

moteus servo mk2: Planet Input

As the first part of the new moteus servo mk2, and continuing in my series of learning about CNC by building parts for the quadruped, next up I machined the input to the planet gears on my Pocket NC V2-50.  This was a part, that for my quad A0 build, I used a 3d printed part in PETG as it is probably the least stringent part in the gearbox in terms of tolerances and load, although I still expect the plastic ones will likely wear and fail after some time with heavy use.

Thread milling on the Pocket NC v2-50

UPDATE 2019-11-27: The feeds and speeds have been tweaked based on further experimentation.

To date I’ve managed to not do any threading on the parts I’ve made on my Pocket NC v2-50.  However, I’m about to do a number that require both M3 and M2.5 threads, so I figured it was time to figure out how to do it.

Online tutorials are kinda all over the place in both how you handle things in the model, and how you program the CAM.  Some assume you model threads as a hole of the major diameter, some as a hole of the minor diameter, although none that I could find used the new Fusion 360 “threaded” hole type, which is what I wanted to use.  That said, using the “threaded” hole type appears to be treated basically as a minor diameter hole with a minor caveat.  You would expect that since Fusion knows the minor and major diameter, the “pitch diameter offset” would be relative to a zero tolerance thread, but in fact it appears to be relative to the minor diameter as if you had modeled a minor diameter hole.  Oh well, I just experimented with increasing pitch diameters until I had threads that fit relatively tight for the two that I cared about, which fortunately can be both made using identical tools, although the M2.5 hole is only on the edge.

Revisiting machining the sun gear holder

My very first sun gear holder I machined myself was something of an artistic feat.  Each operation was re-run many times, and as a result the part was largely a one-off.  The final part properties were not really indicative of the final program.  My next step in my learning adventure was to up my Pocket NC game and get to a single reproducible program that would emit a part that I could use, then be able to run it over and over again.

Improved lighting for Pocket NC

Now that I’m making a lot of videos of machining with my Pocket NC, it was getting annoying setting up lighting for each one.  Thus I rigged up some LED strips in the interior of the enclosure.  Now I can shoot 60fps video any time of the night without having to set up external lighting!  Here’s to hoping a chip doesn’t short it out.

The strip enters through a small drilled hole

The strip enters through a small drilled hole

Pocket NC 4 jaw chuck workholding

Workholding on the Pocket NC is still, well, a work in progress for me, and it is for many people.  There aren’t a lot of off the shelf solutions.  The machine does come with a mini-vise, which can hold a surprising amount, but it has some limitations.  For one, it isn’t referenced to the axis of rotation of the B axis.  Another, anything held in it can often be far away from the furthest Z travel available, resulting in the need to use extended reach tooling.

Improved Pocket NC installation

After having used my PocketNC V2-50 for a while just sitting on top of the air compressor, I decided to try and improve its installation a bit.  For one, when the compressor kicked on or off, it would impart a significant vibration to the whole assembly.  Also, I needed a place to hold stock, tools, and intermediate parts.  Here’s a picture of my new setup.

dsc_1449

The table isn’t particularly rigid, but at least it is now decoupled from the compressor.  The wire shelving below satisfies my storage requirements for now.

Fusion 360 3D adaptive and thin walls

I have been trying to improve the tool paths for the BE8108 gearbox sun gear holder.  The first time, I ended up slowing things down a lot and actually took some of the initial adaptive passes in several iterations as I fixed problems, so it wasn’t clear that any one iteration would be functional from start to finish.

So,  I tried it on a fresh piece of stock, with settings that I thought would resolve the pullout issues I had seen earlier.  Lo and behold, what did I find but more pullout!  It appeared to happen in exactly the same situations as before.  The adaptive clearance would leave a thin sliver of material, then “round it off” very rapidly, resulting in a large chunk of sliver hitting the mill at once.  Increasing the minimum cutting radius and tolerance helped reduce the problems some, but didn’t get rid of them entirely.

Machining a sun gear holder on the Pocket NC v2-50

After doing my first cuts in aluminum, I wanted to actually try and make a real part, to prove that the Pocket NC v2-50 was capable of making things that I can actually use.  My first attempt, was the same part I did my first aluminum cuts in, the sun gear holder from the BE8108 planetary gearbox.

This part attaches to the rotor, the sun gear, the position sense magnet, and has bearing interfaces to the planet input and the back housing.  While not terribly big, the number of features and mating surfaces is relatively large.