Archives: Mech_warfare

Primitive turret automatic tracking

Continuing in my series of developments with the Mech Warfare turret, I’ve now managed to replicate the primitive target tracking functionality I had in the v2 version of the turret.  This works using a pretty simple principle:

  • raspicam is used to read the raspberry pi camera
  • ArUco is used to find any fiducials in view
  • The target closest to the center is deemed, the “active target”
  • The pitch and yaw rate are set based on a simple P controller to bring that target to a known point

This works passably, as shown in the video below:

nrfusb multiple slave support

The Mech Warfare turret concept I’m developing involves having basically two independent robots, the actual robot and the turret.  To make that be controllable in a sane way, the control station will command and receive telemetry from both simultaneously, allowing control actions to be given in the camera frame of reference.  Otherwise, remote piloting is… very challenging.

This could be done just by having two separate transmitters.  Since the nrfusb that I’m using is spread spectrum, many transmitters can easily co-exist at the same time.  However, the protocol is designed such that a single transmitter can simultaneously communicate with multiple slaves at the same time, simply by switching channels more frequently.

Turret active inertial stabilization

This post will be short, because it is just re-implementing the functionality I had in my turrets version 1 and 2, but this time using the raspberry pi as the master controller and two moteus controllers on each gimbal axis.

I have the raspberry pi running the primary control loop at 400Hz.  At each time step it reads the IMU from the pi3 hat, and reads the current state of each servo (although it doesn’t actually use the servo state at the moment).  It then runs a simple PID control loop on each axis, aiming to achieve a desired position and rate, which results in a torque command that is sent to each servo.  Here’s the video proof!

moteus controllers with gimbal motors

To date, I’ve used the moteus controllers exclusively for joints in dynamic quadrupedal robots.  However, they are a relatively general purpose controller when you need something that is compact with an integrated magnetic encoder.  For the v3 of my Mech Warfare turret I’m using the moteus controllers in a slightly new configuration, with a gimbal motor, one for each of the pitch and yaw axes.

Gimbal motor theory and current sensing

From an electrical perspective, gimbal motors are not that all that different from regularly wound brushless outrunners.  The primary difference being that they are wound with a much higher winding resistance.  That enables them to be driven with a much lower current, at the expense of a lower maximum angular velocity.  In this case, I’m using the GM3506 from iFlight which has a winding resistance of 6 ohms, that results in working currents being on the order of 2A maximum.

New Mech Warfare turret

Another of the tasks I’ve set for myself with regards to future Mech Warfare competitions is redesigning the turret.  The previous turret I built had some novel technical features, such as active inertial gimbal stabilization and automatic optical target tracking, however it had some problems too.  The biggest one for my purposes now, was that it still used the old RS485 based protocol and not the new CAN-FD based one.  Second, the turret had some dynamic stability and rigidity issues.  The magazine consisted of an aluminum tube sticking out of the top which made the entire thing very top heavy.  The 3d printed fork is the same I one I had made at Shapeways 5 years ago.  It is amazingly flexible in the lateral direction, which results in a lot of undesired oscillation if the base platform isn’t perfectly stable.  I’ve learned a lot about 3d printing and mechanical design in the meantime (but of course still have a seemingly infinite amount more to learn!) and think I can do better.  Finally, cable management between the top and bottom was always challenging.  You want to have a large range of motion, but keeping power and data flowing between the two rotating sections was never easy.

Overlaying video on telemetry data with ffmpeg and OpenGL

While not its primary purpose, I still plan on entering my walking robots in Mech Warfare events when I can.  In that competition, pilots operate the robots remotely, using FPV video feeds.  I eventually aim to get my inertially stabilized turret working again, and when it is working I would like to be able to overlay the telemetry and targeting information on top of the video.

In our previous incarnation of Super Mega Microbot, we had a simple UI which accomplished that purpose, although it had some limitations.  Being based on gstreamer, it was difficult to integrate with other software.  Rendering things in a performant manner on top was certainly possible, although it was challenging enough that in the end we did nothing but render text as that didn’t require quite the extremes of hoop jumping.  Unfortunately, that meant things like the targeting reticule and other features were just ASCII art carefully positioned on the screen.

Improved startup shutdown kinematics

Back when I was getting Super Mega Microbot “Junior” ready for Maker Fair Bay Area 2019, I made it minimally self sufficient through a quick hack of adding some PVC pipe that allowed it to manipulate its feet into a known good position while the robot was safely up in the air.

This worked, but had a number of obvious disadvantages.  For one, it looked ugly!  Second, the machine couldn’t squat down very far before getting stranded on the “resting legs”.  I’ve finally gotten around to doing at least a first attempt at something better!

Results from Maker Faire 2019

After a concerted push, I managed to get Super Mega Microbot “Junior” walking, for all of 15 minutes, then packed it up and went off to compete in Maker Faire.  Needless to say, with that much testing, I wasn’t expecting stellar results, and I wasn’t disappointed.  However, I did learn a lot.  Here’s some of the things that went wrong:

Gimbal and Turret EMI

For this new revision of SMMB, I updated the gimbal board to use RS485 and support the 5S system voltage.  I tested it some, but apparently not enough.  While I observed no problems during Thursday or Friday’s testing at the site, during the first Saturday match, after firing the gun a few times, the gimbal went into a fault state and stopped applying power.  The control scheme for SMMB relies on the turret being operational, so this not only made it impossible to aim, but also made it nearly impossible to drive.

Mech Warfare 2019 - First look

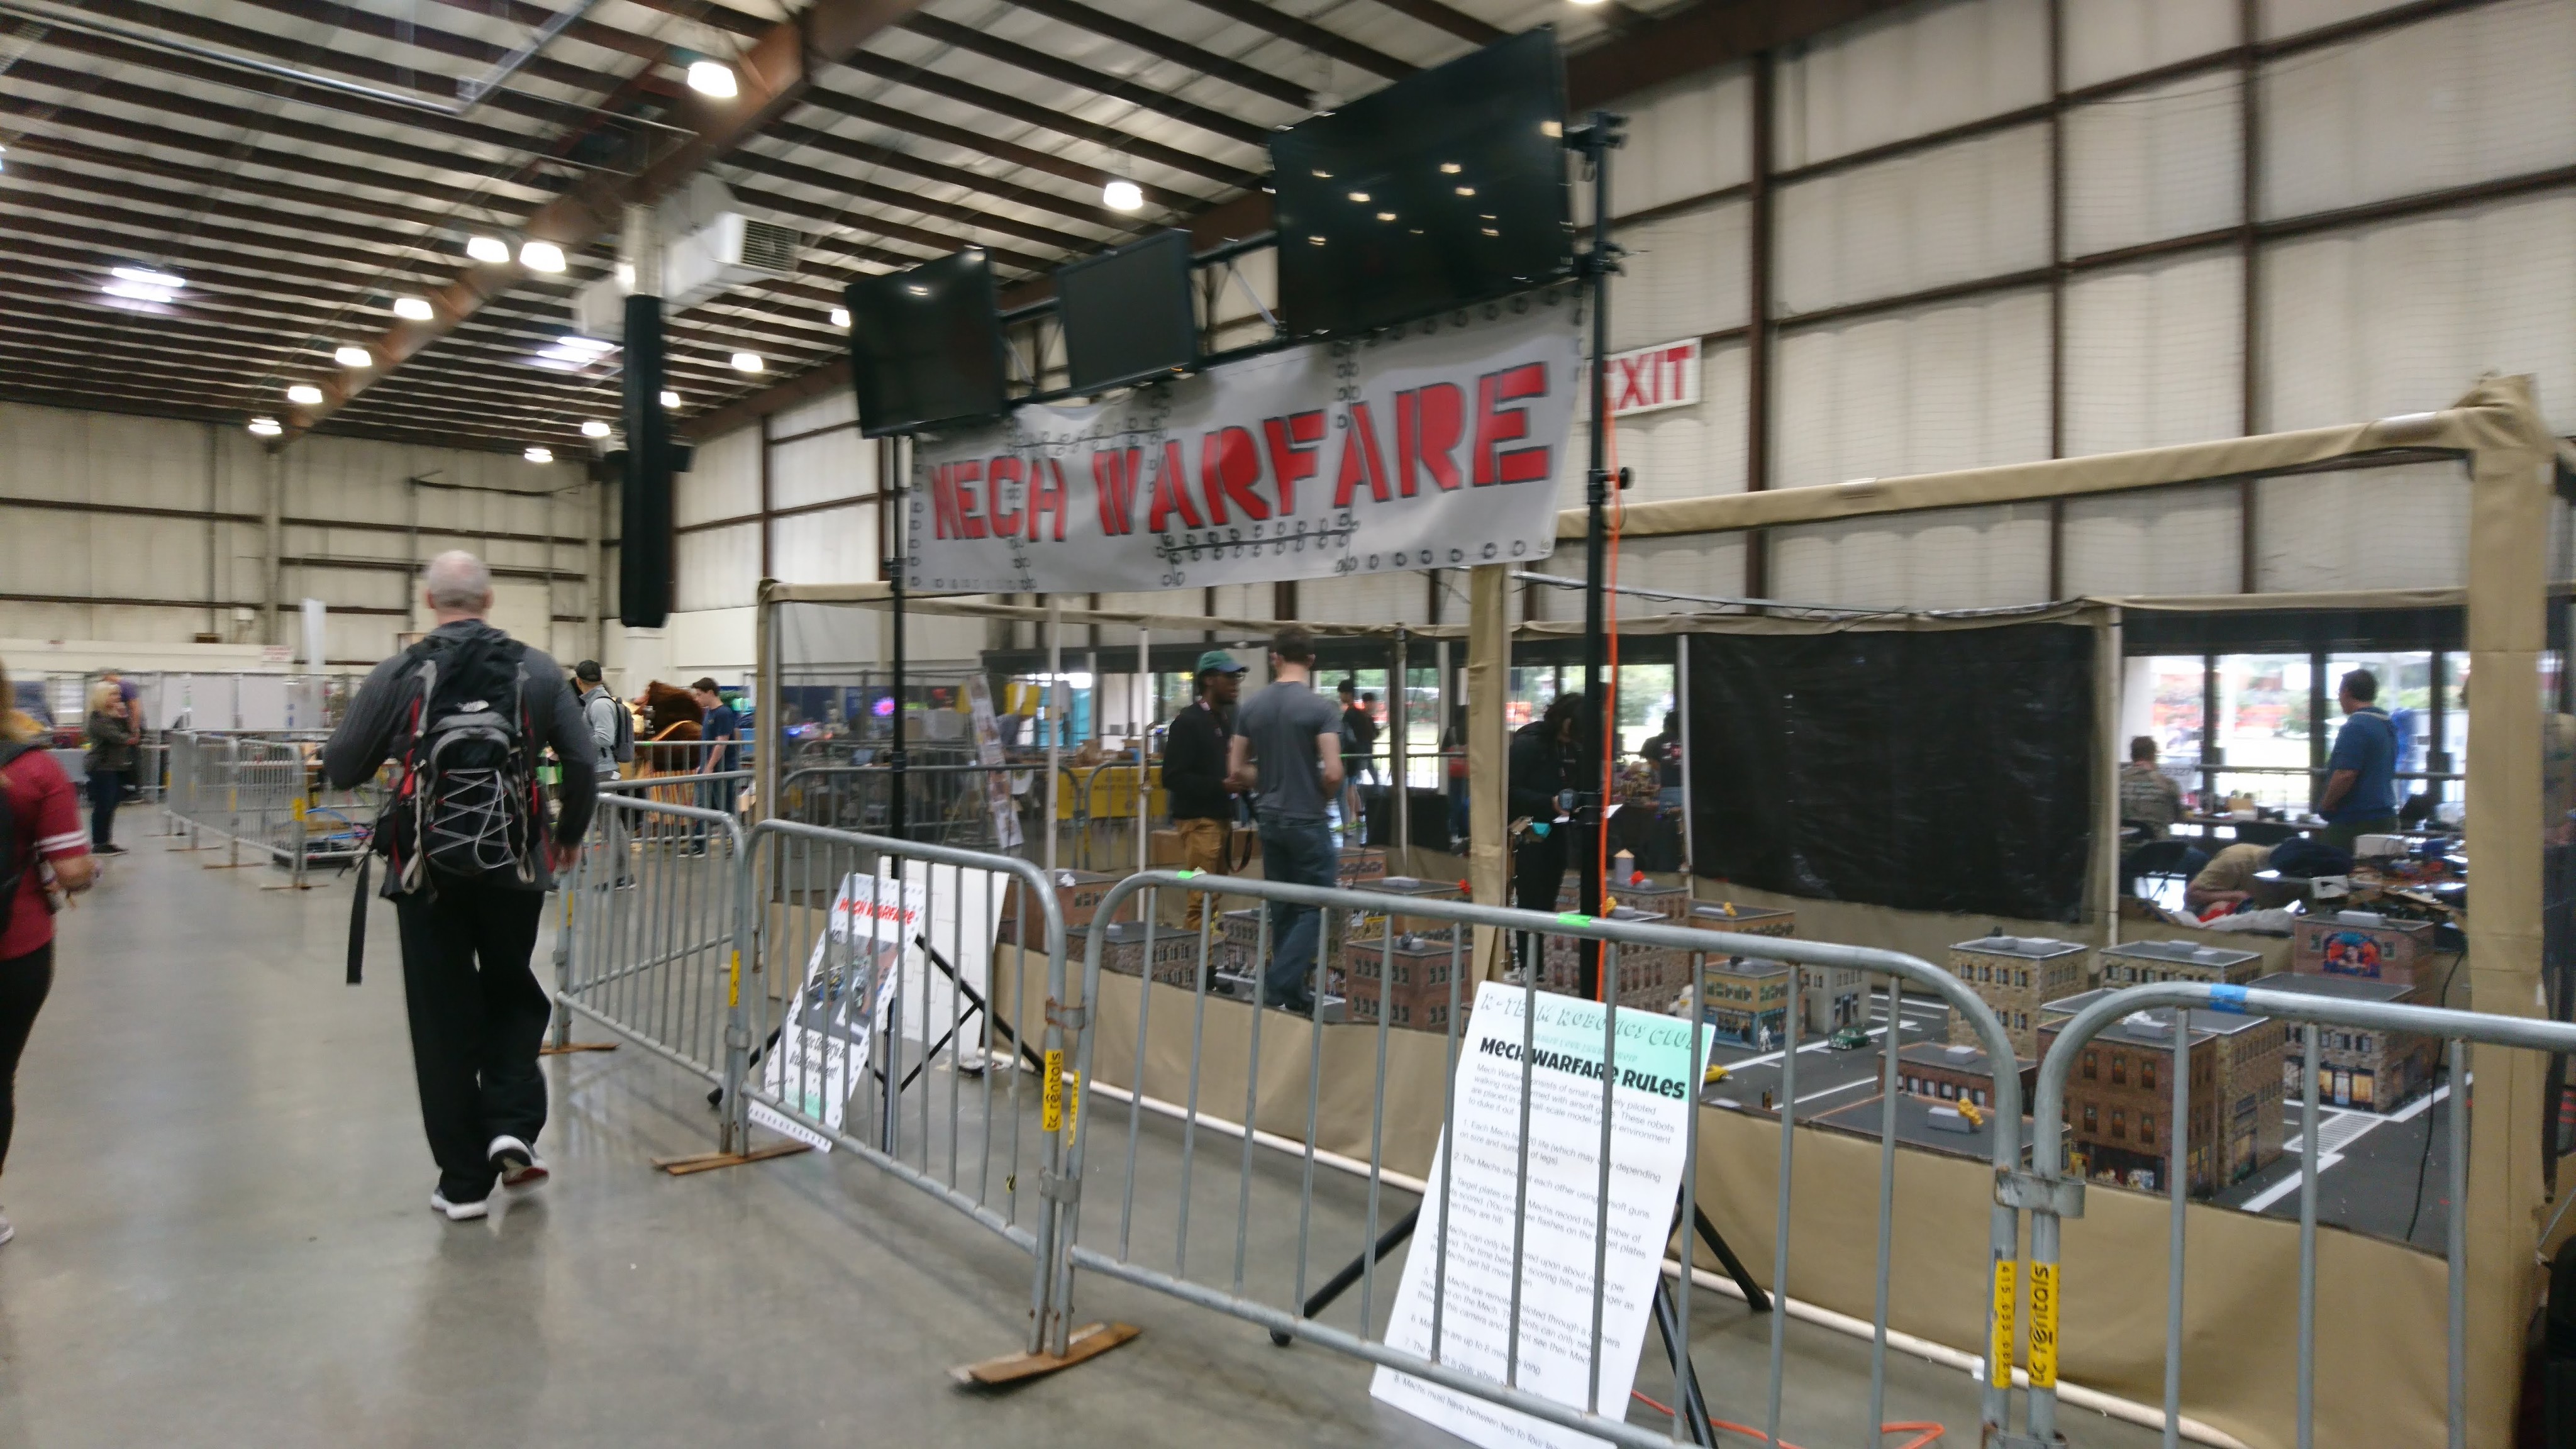
Well, Mech Warfare at Maker Faire 2019 has come and gone.  Maker Faire was a really awe inspiring event, and RTeam did an excellent job organizing the Mech Warfare competition.  There were something like 13 teams with moderately functioning mechs who competed across the 3 days.

dsc_0037

Super Mega Microbot “Junior”

My entry, Super Mega Microbot Junior, did manage to walk a bit in 3 matches, but had a previously unseen failure in the turret system that rendered it inoperable a short while into each match.  At the end of the 3rd match, one of the leg joints sheared off, and some other of the 3D printed parts were about to fail as well, so I declared it unrepairable at that point.

Walking and Maker Faire!

Alert!  I’m at Maker Faire Bay Area all weekend in the Mech Warfare area in Zone 2 (May 17-19, 2019 for you time travelers from the future).  Drop by and say hi!

If you were left in suspense last time, yes, the robot can walk!  Getting it to do so in a minimal way was relatively painless.  What I found, which hadn’t happened in earlier iterations, is that many types of dynamic motions would cause the lower leg belts to jump a tooth.  Needless to say, this was nearly universally fatal, as there is no direct position sensing of the lower leg.  This robot is heavy enough that my simulacrum 3d-printed timing belt pulleys just don’t cut it.