Archives: Chassis

quad A1 chassis updates

I finally got around to fixing a number of minor glitches in the quad A1’s chassis recently.

1. The raspberry pi is now far enough away from the left panel that you can connect the HDMI if you choose.

20200506-rpi_mounting

2. I no longer have vestigal studs for the pre quad A0 junction board on the other side.

20200506-power_dist

3. The switch got moved down to between the legs.

dsc_0631

quad A0 chassis v2 - final assembly

In the last post in this series, I conducted a fit test on the new chassis.  After my ignominious belly-flop, I now had a more urgent need to complete the switch.

A busted robot

A busted robot

An even bigger close-up

An even bigger close-up

The chassis cracked in the corner, completely separating.  Doing anything more with this chassis was likely to result in many more things breaking very quickly.

Build process

So, here are the photos as I put everything together.

quad A0 chassis v2 - construction

After CADing up the second revision of the chassis, I set to work with the 3d printer and printed up all the pieces.

dsc_1575

There were a few minor post-modifications I had to make, which were all much faster than printing the pieces again.  All the holes for M3 bolts were slightly undersized, so I drilled them out.  The battery holder had a channel to let the power wires out, which inexplicably terminated before reaching the edge of the holder.  I also had to install all the heat set inserts.

quad A0 chassis v2 - design

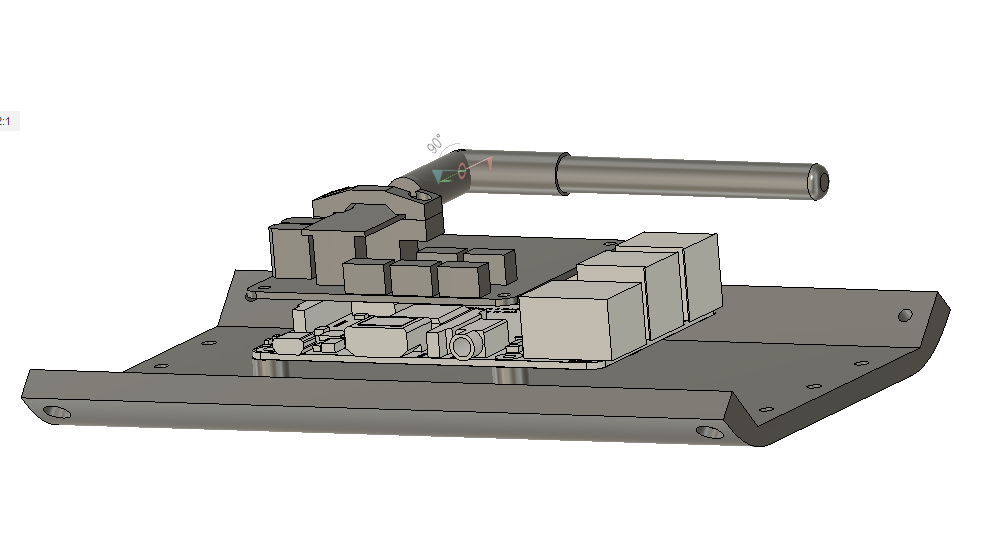
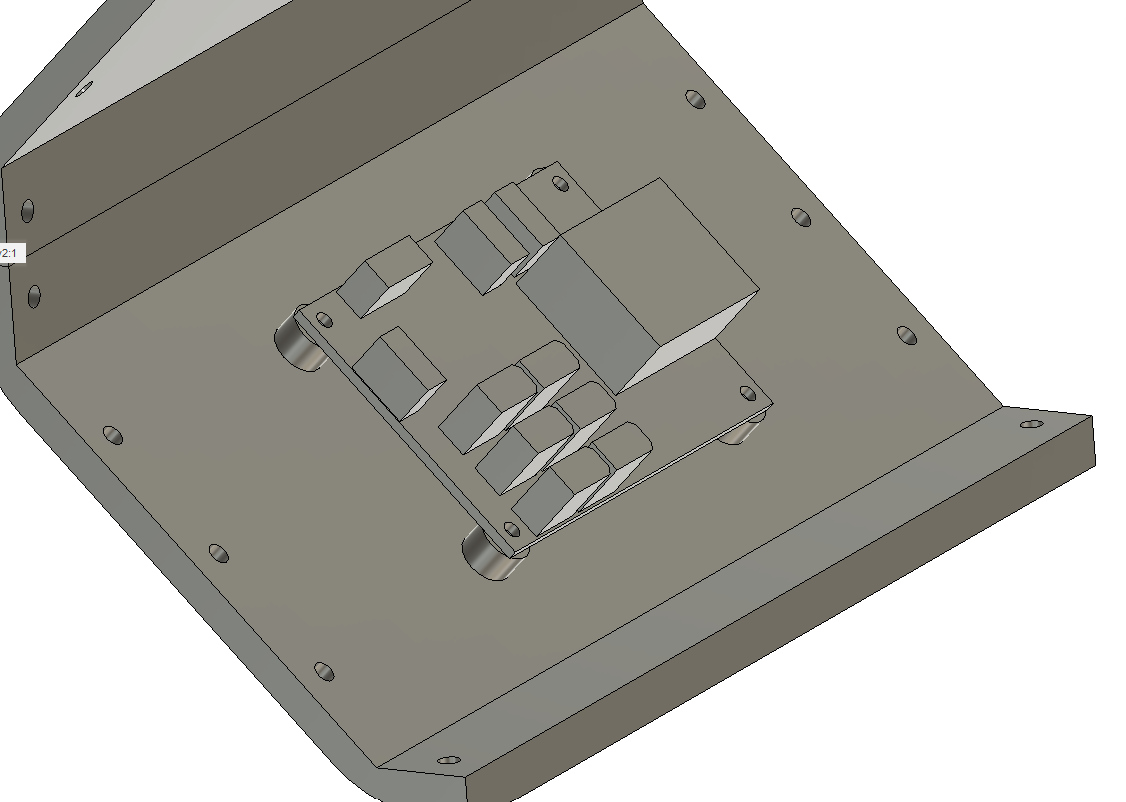
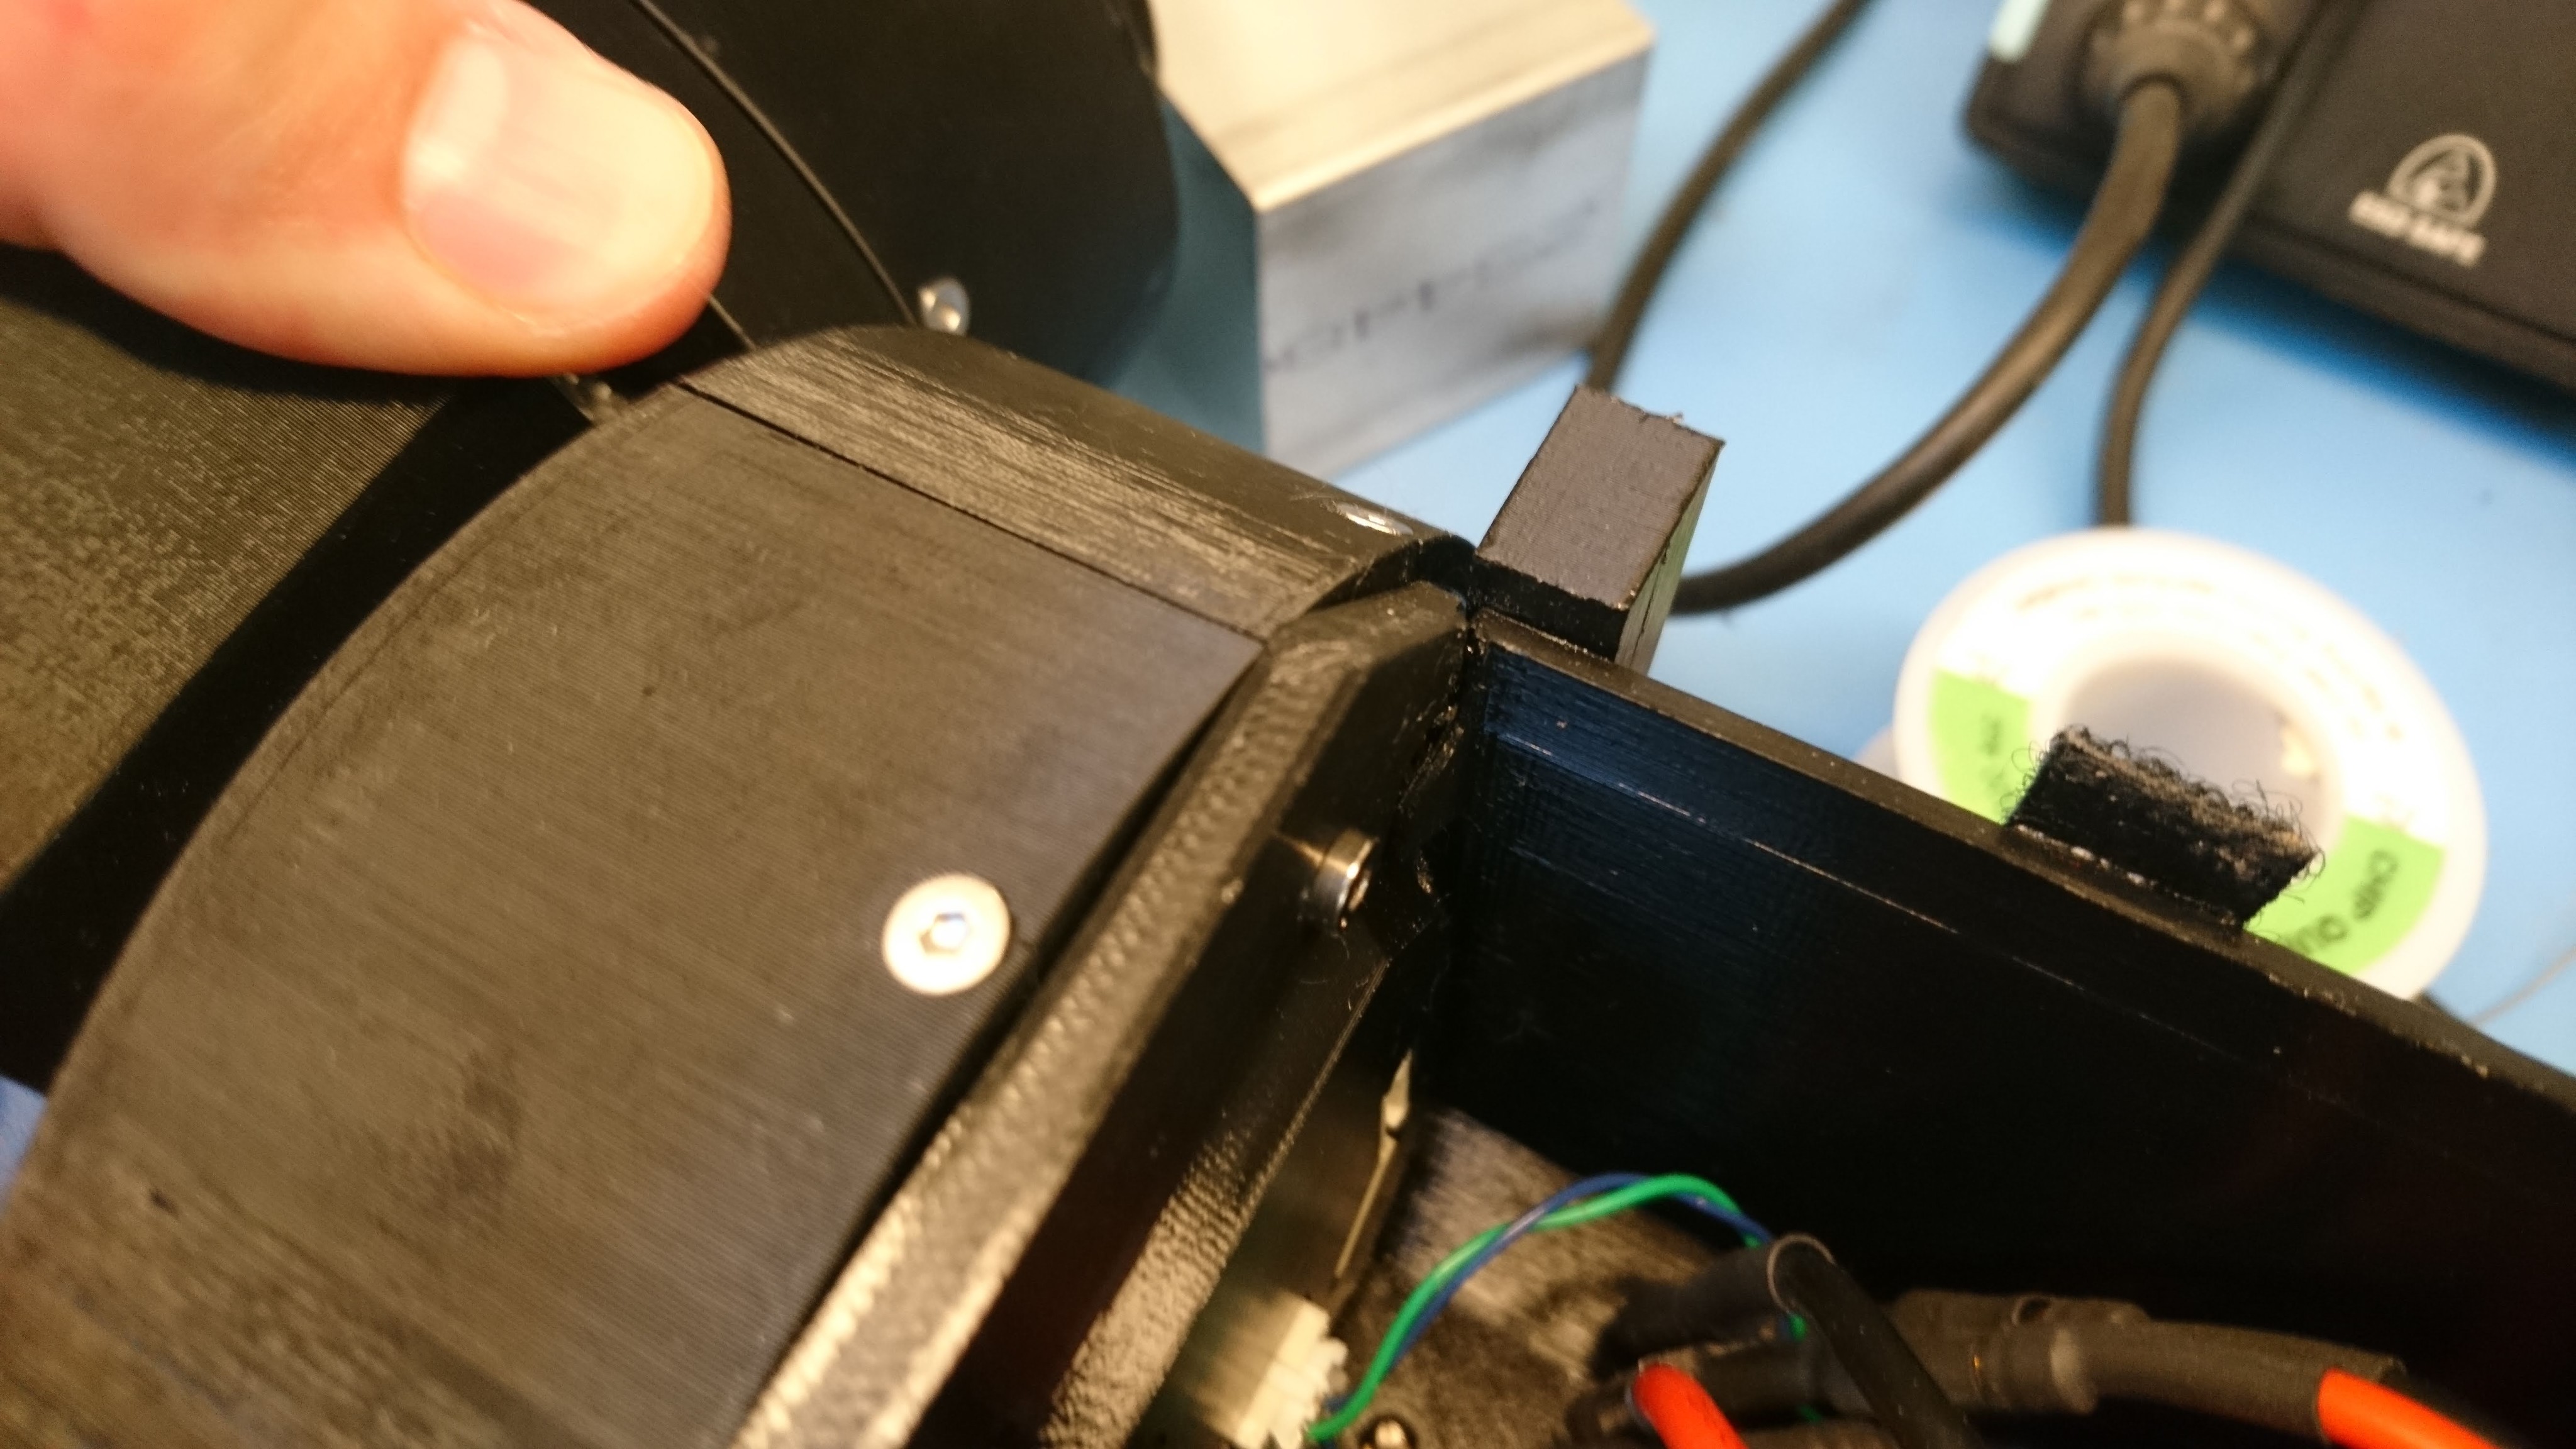
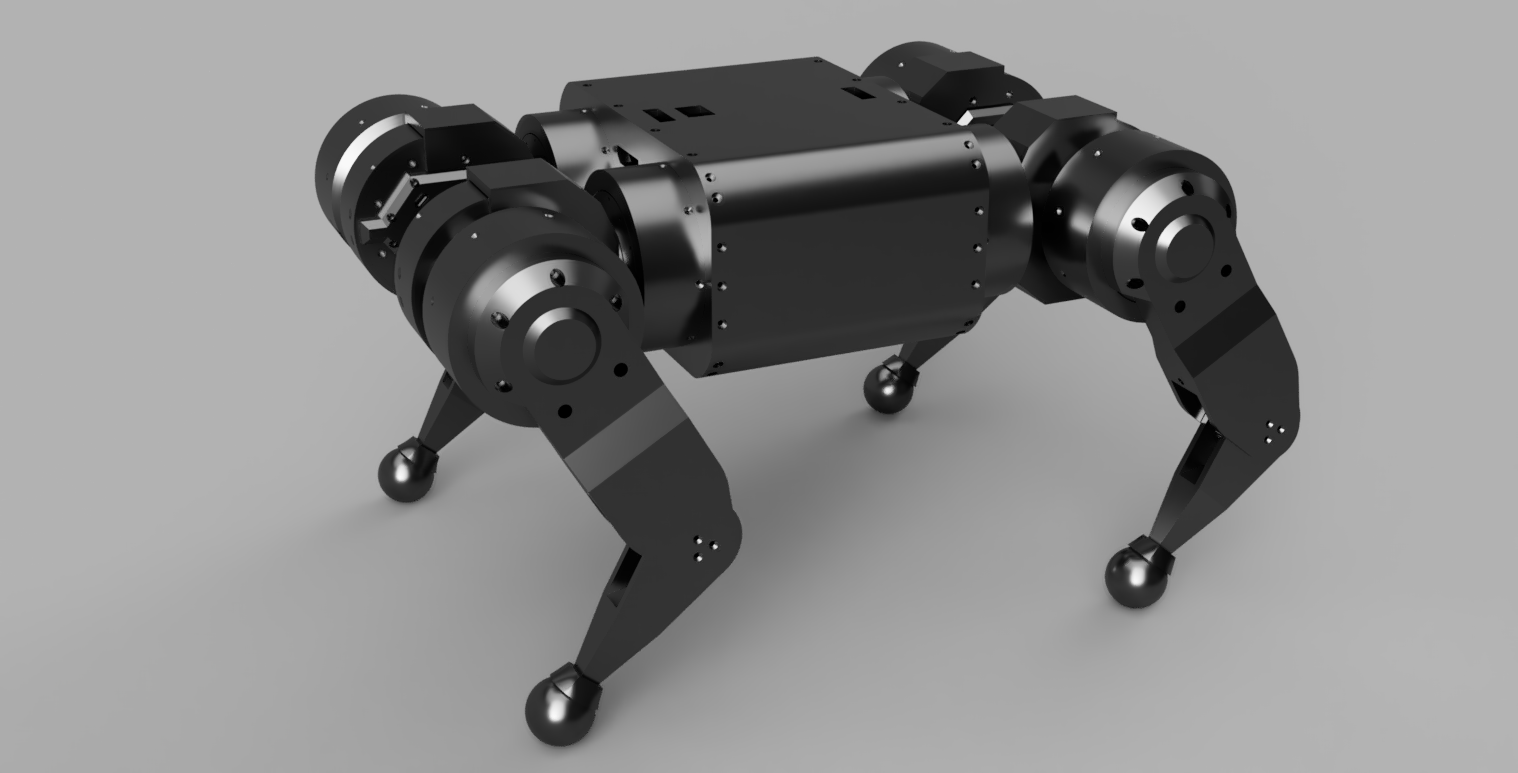
As described in my roadmap, the chassis for the quad A0 was on the verge of failing, or causing the shoulder motors themselves to fail, after only a few hours of walking around.  Also, it was nigh impossible to assemble, disassemble, or change anything about it.  Thus, the chassis v2!
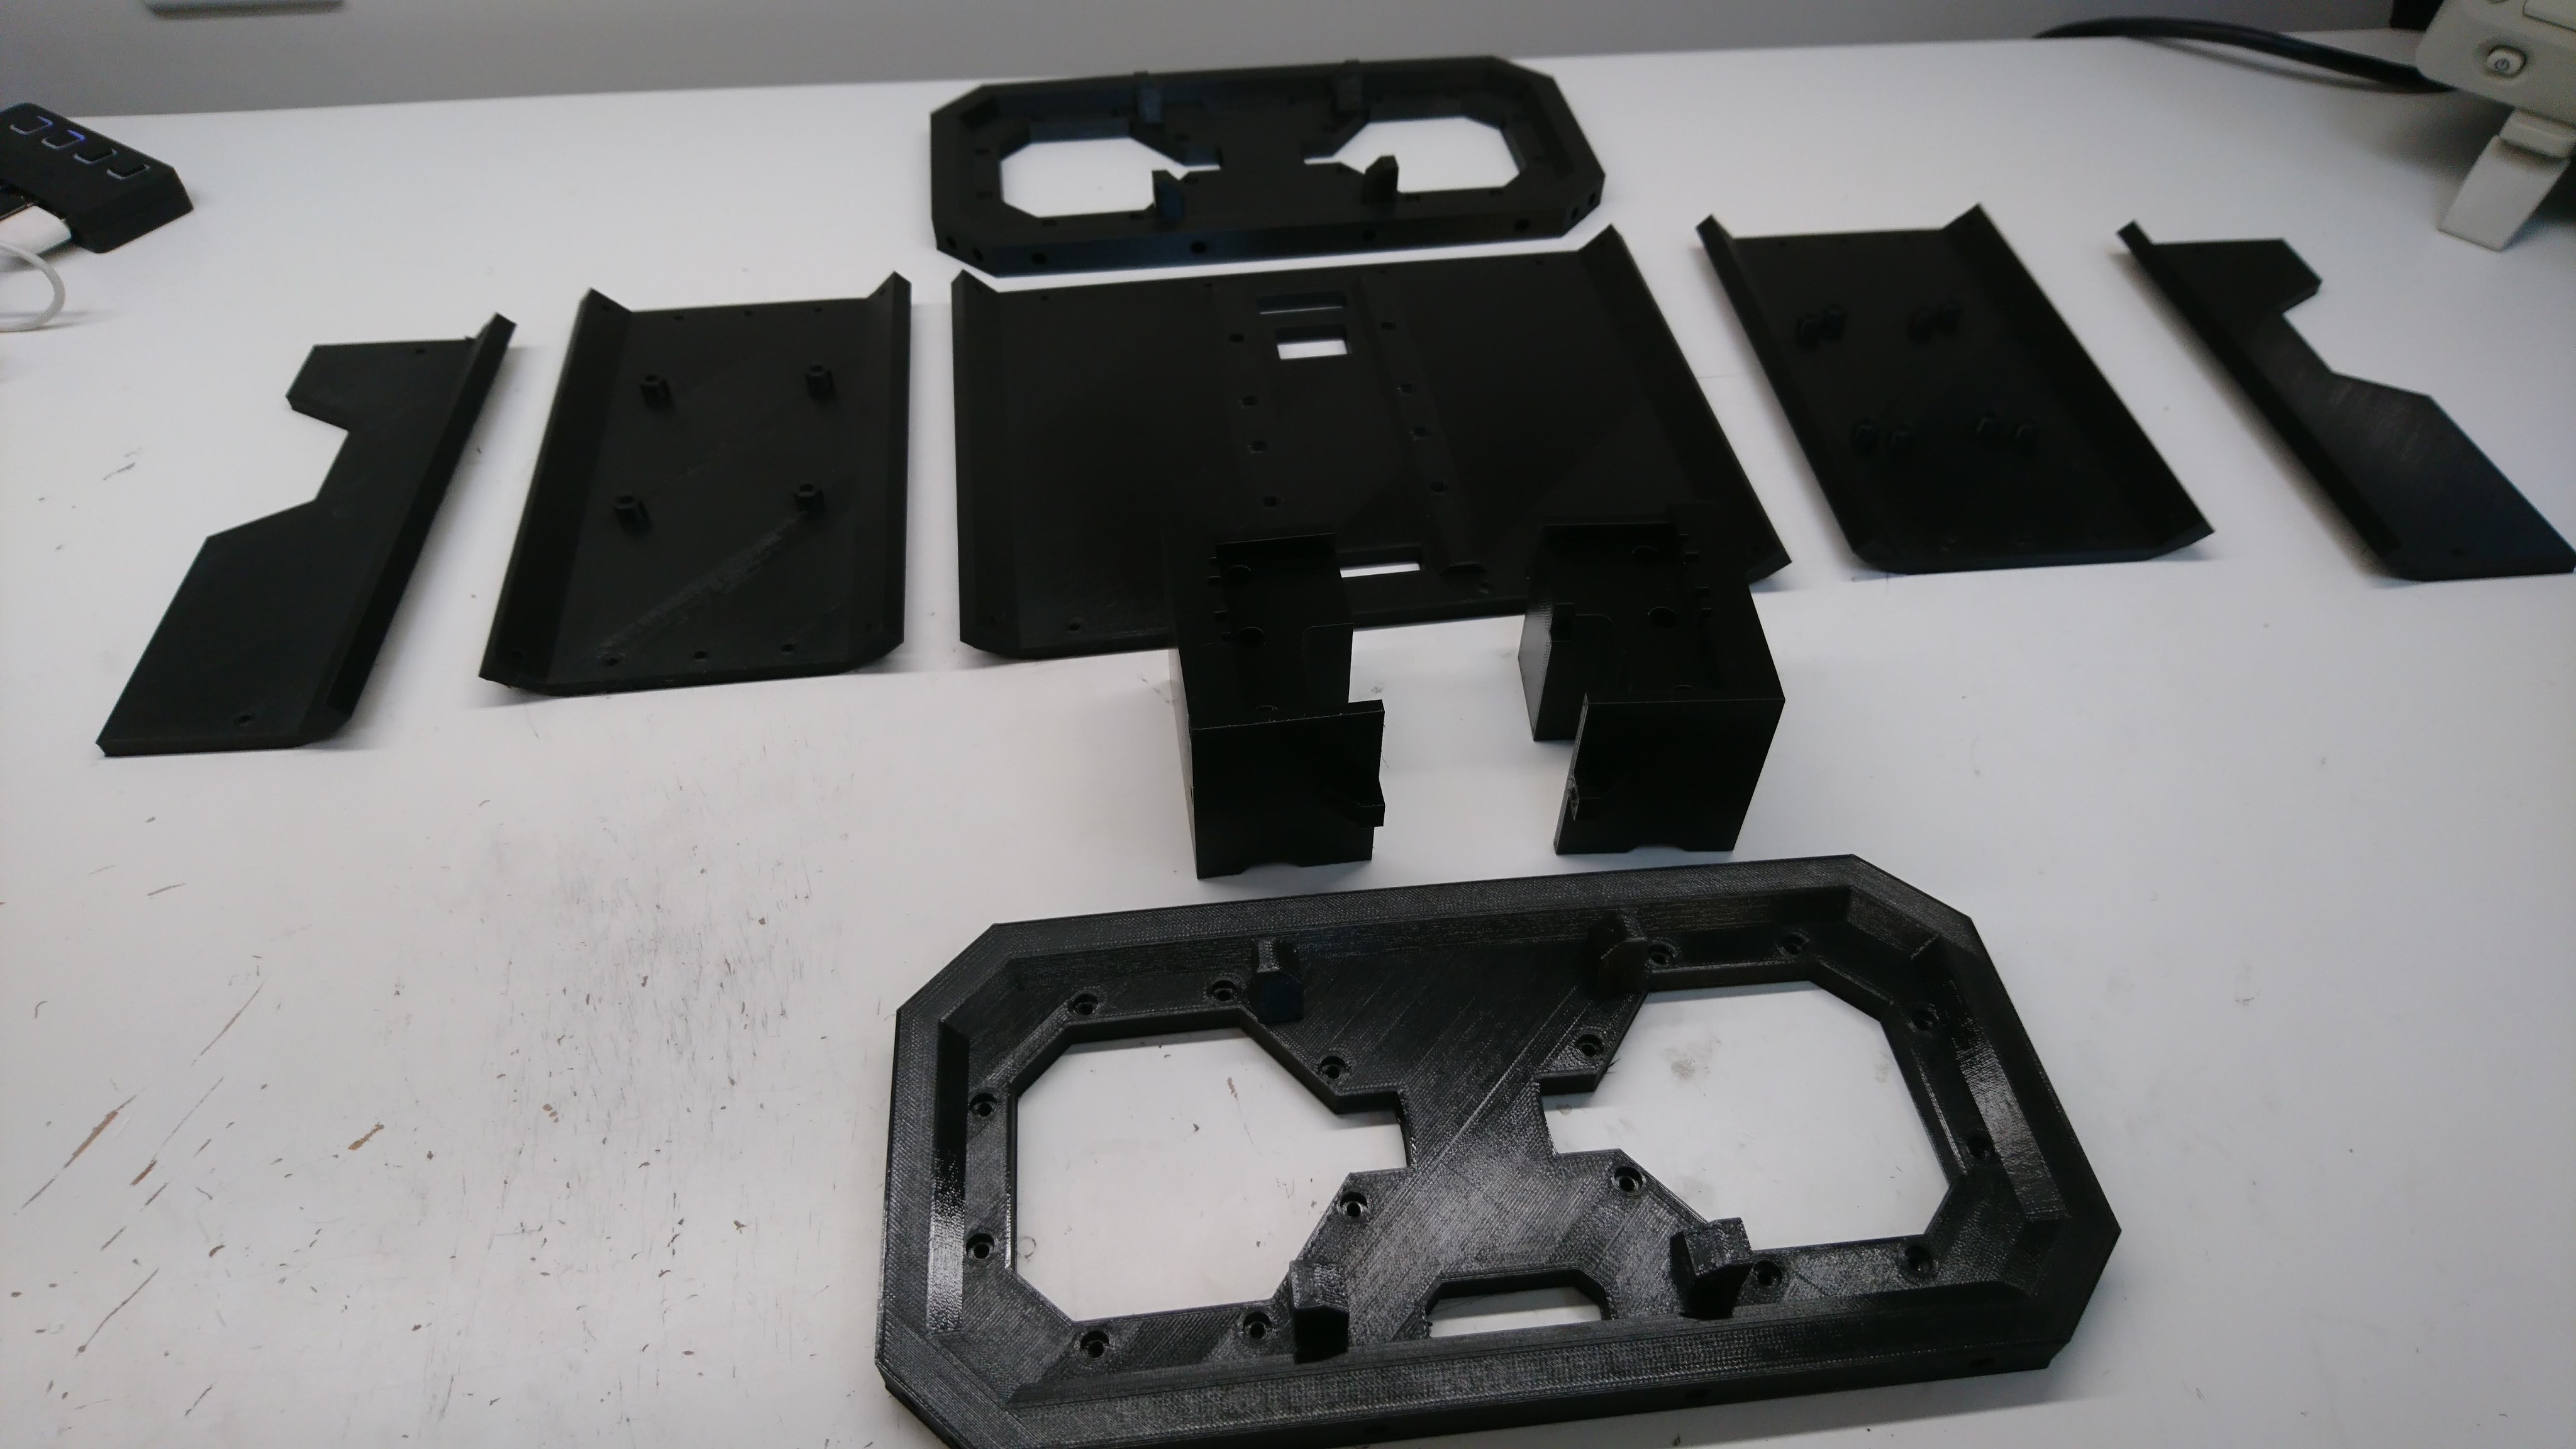
chassis_v2_2019-oct-09_01-54-51pm-000_customizedview10225780210

More than one piece

The old chassis was a single monolithic print that took about 35 hours of print time.  Because of its monolithic nature, there were lots of interference problems during assembly.  For instance, the shoulder motors could only have 4 of the 6 possible bolts installed, and 2 more of the bolts extended beyond the chassis entirely.  I decided to break it up into multiple pieces, which uses a lot more inserts and bolts, but should allow for a feasible order of assembly and manageable repair.