Archives: 3dprint

quad A0 chassis v2 - design

As described in my roadmap, the chassis for the quad A0 was on the verge of failing, or causing the shoulder motors themselves to fail, after only a few hours of walking around.  Also, it was nigh impossible to assemble, disassemble, or change anything about it.  Thus, the chassis v2!
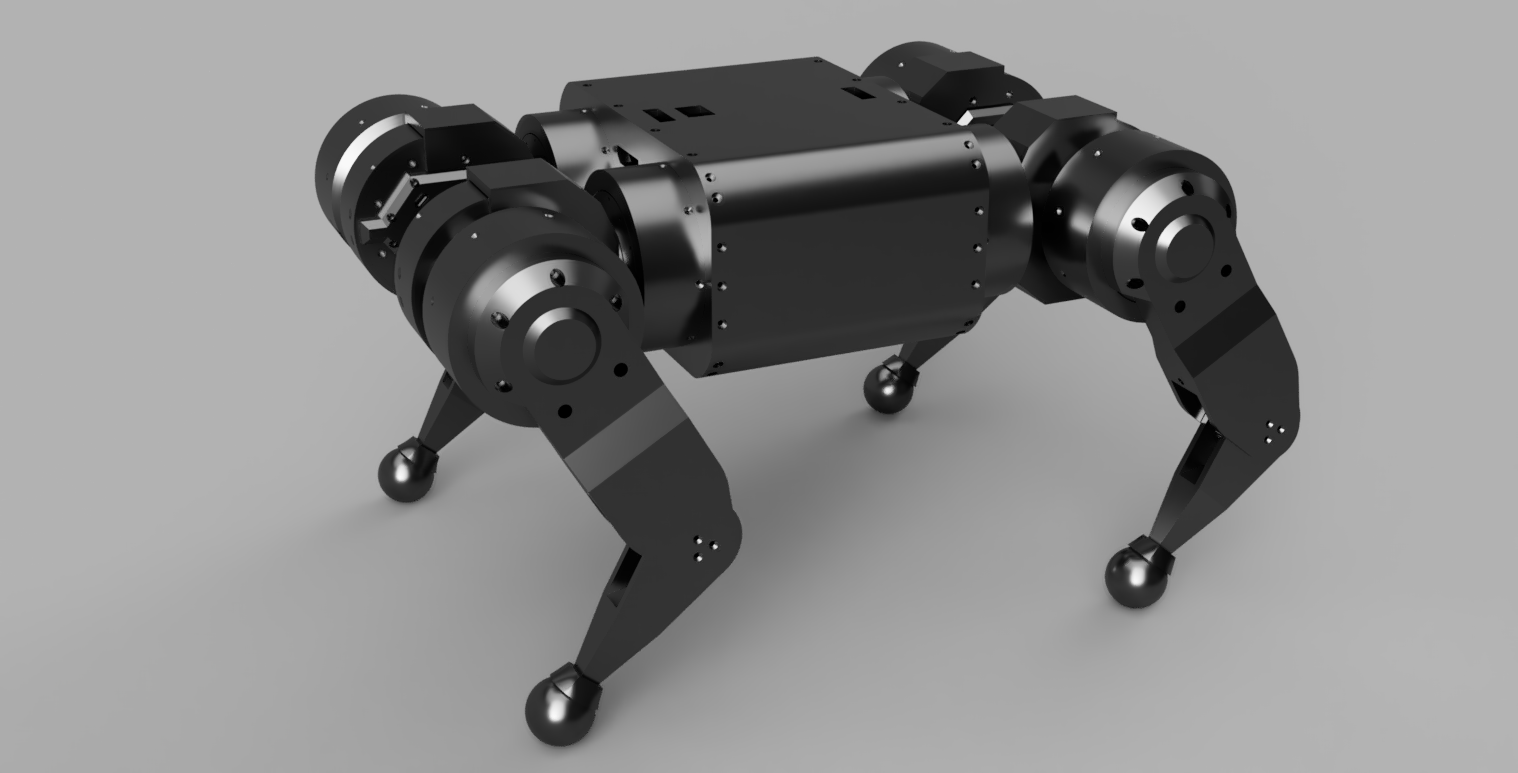
chassis_v2_2019-oct-09_01-54-51pm-000_customizedview10225780210

More than one piece

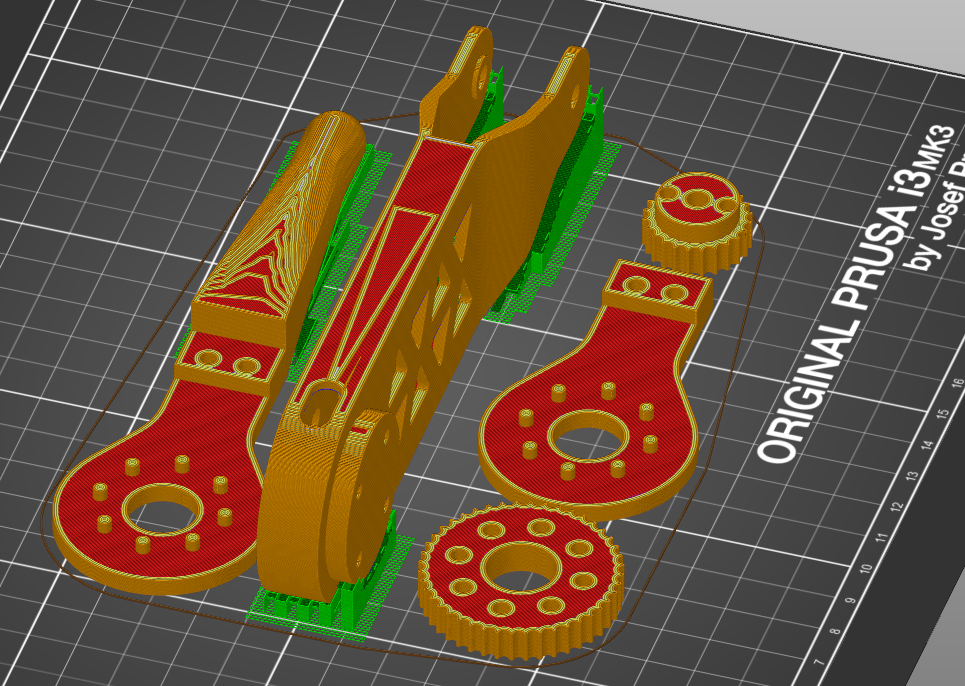
The old chassis was a single monolithic print that took about 35 hours of print time.  Because of its monolithic nature, there were lots of interference problems during assembly.  For instance, the shoulder motors could only have 4 of the 6 possible bolts installed, and 2 more of the bolts extended beyond the chassis entirely.  I decided to break it up into multiple pieces, which uses a lot more inserts and bolts, but should allow for a feasible order of assembly and manageable repair.

New machine day: A second MK3S

As you may have noticed, I’ve been 3d printing a lot!

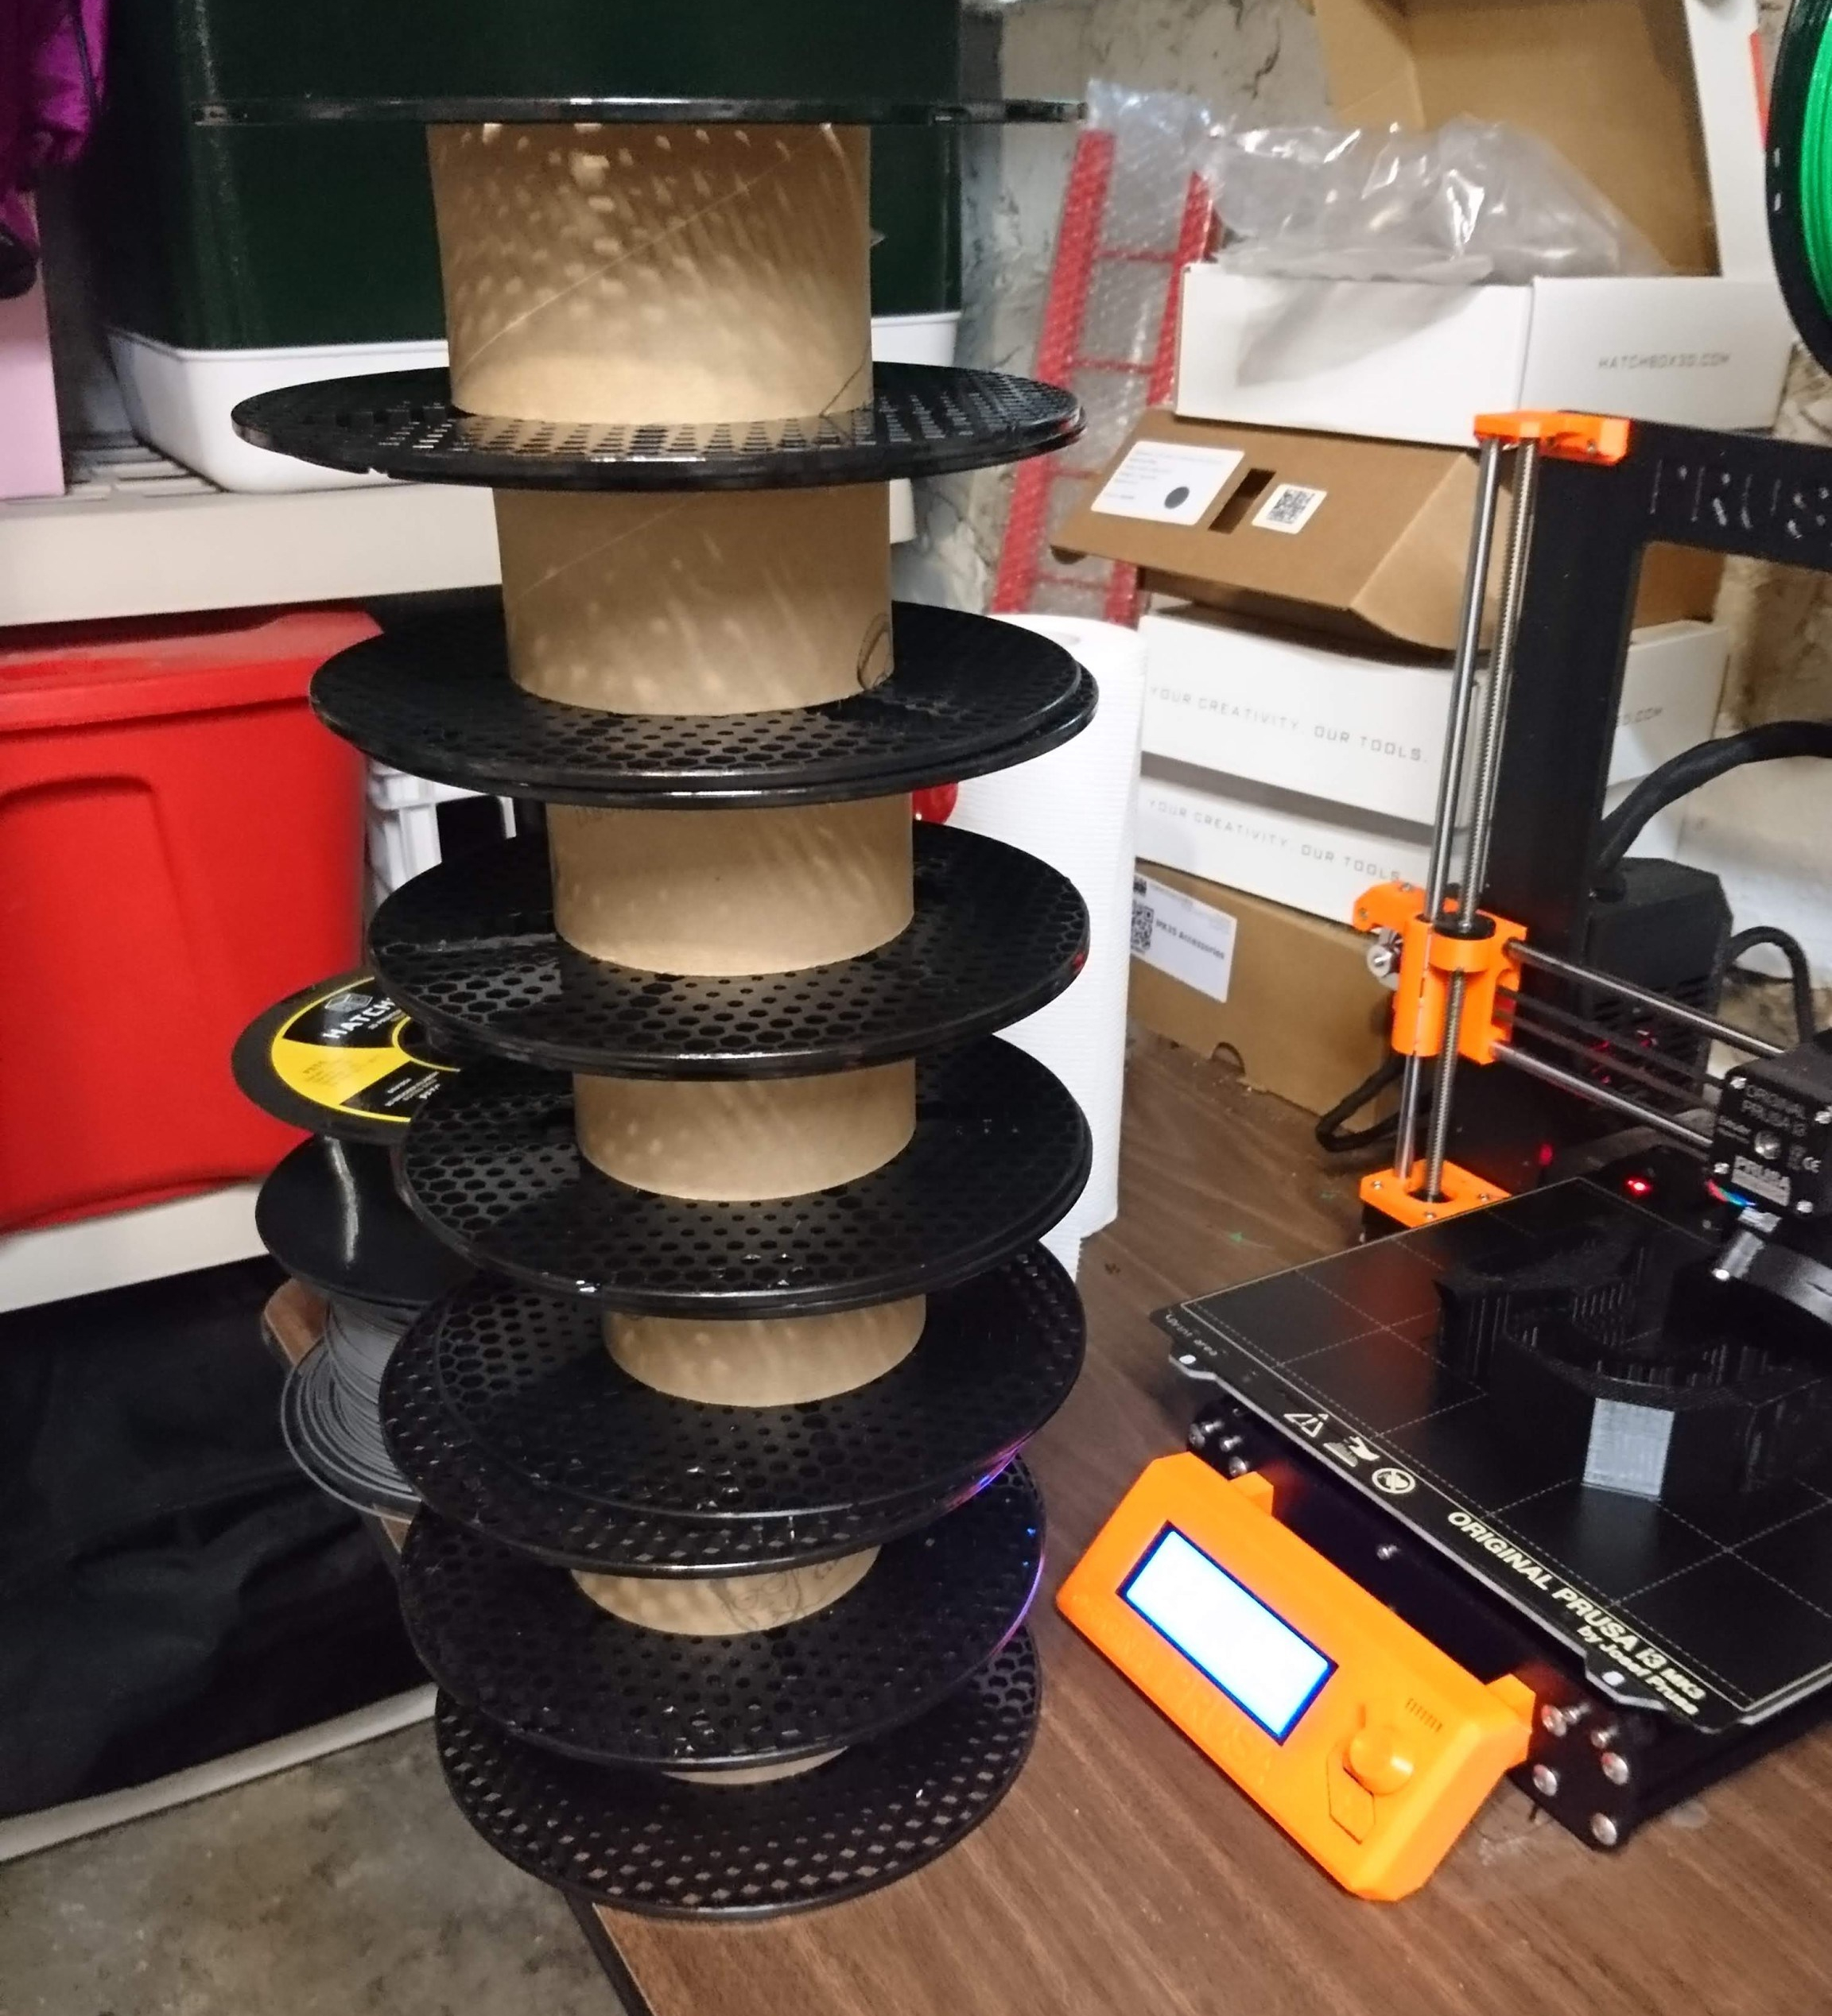
A stack of empty filament rolls

A stack of empty filament rolls

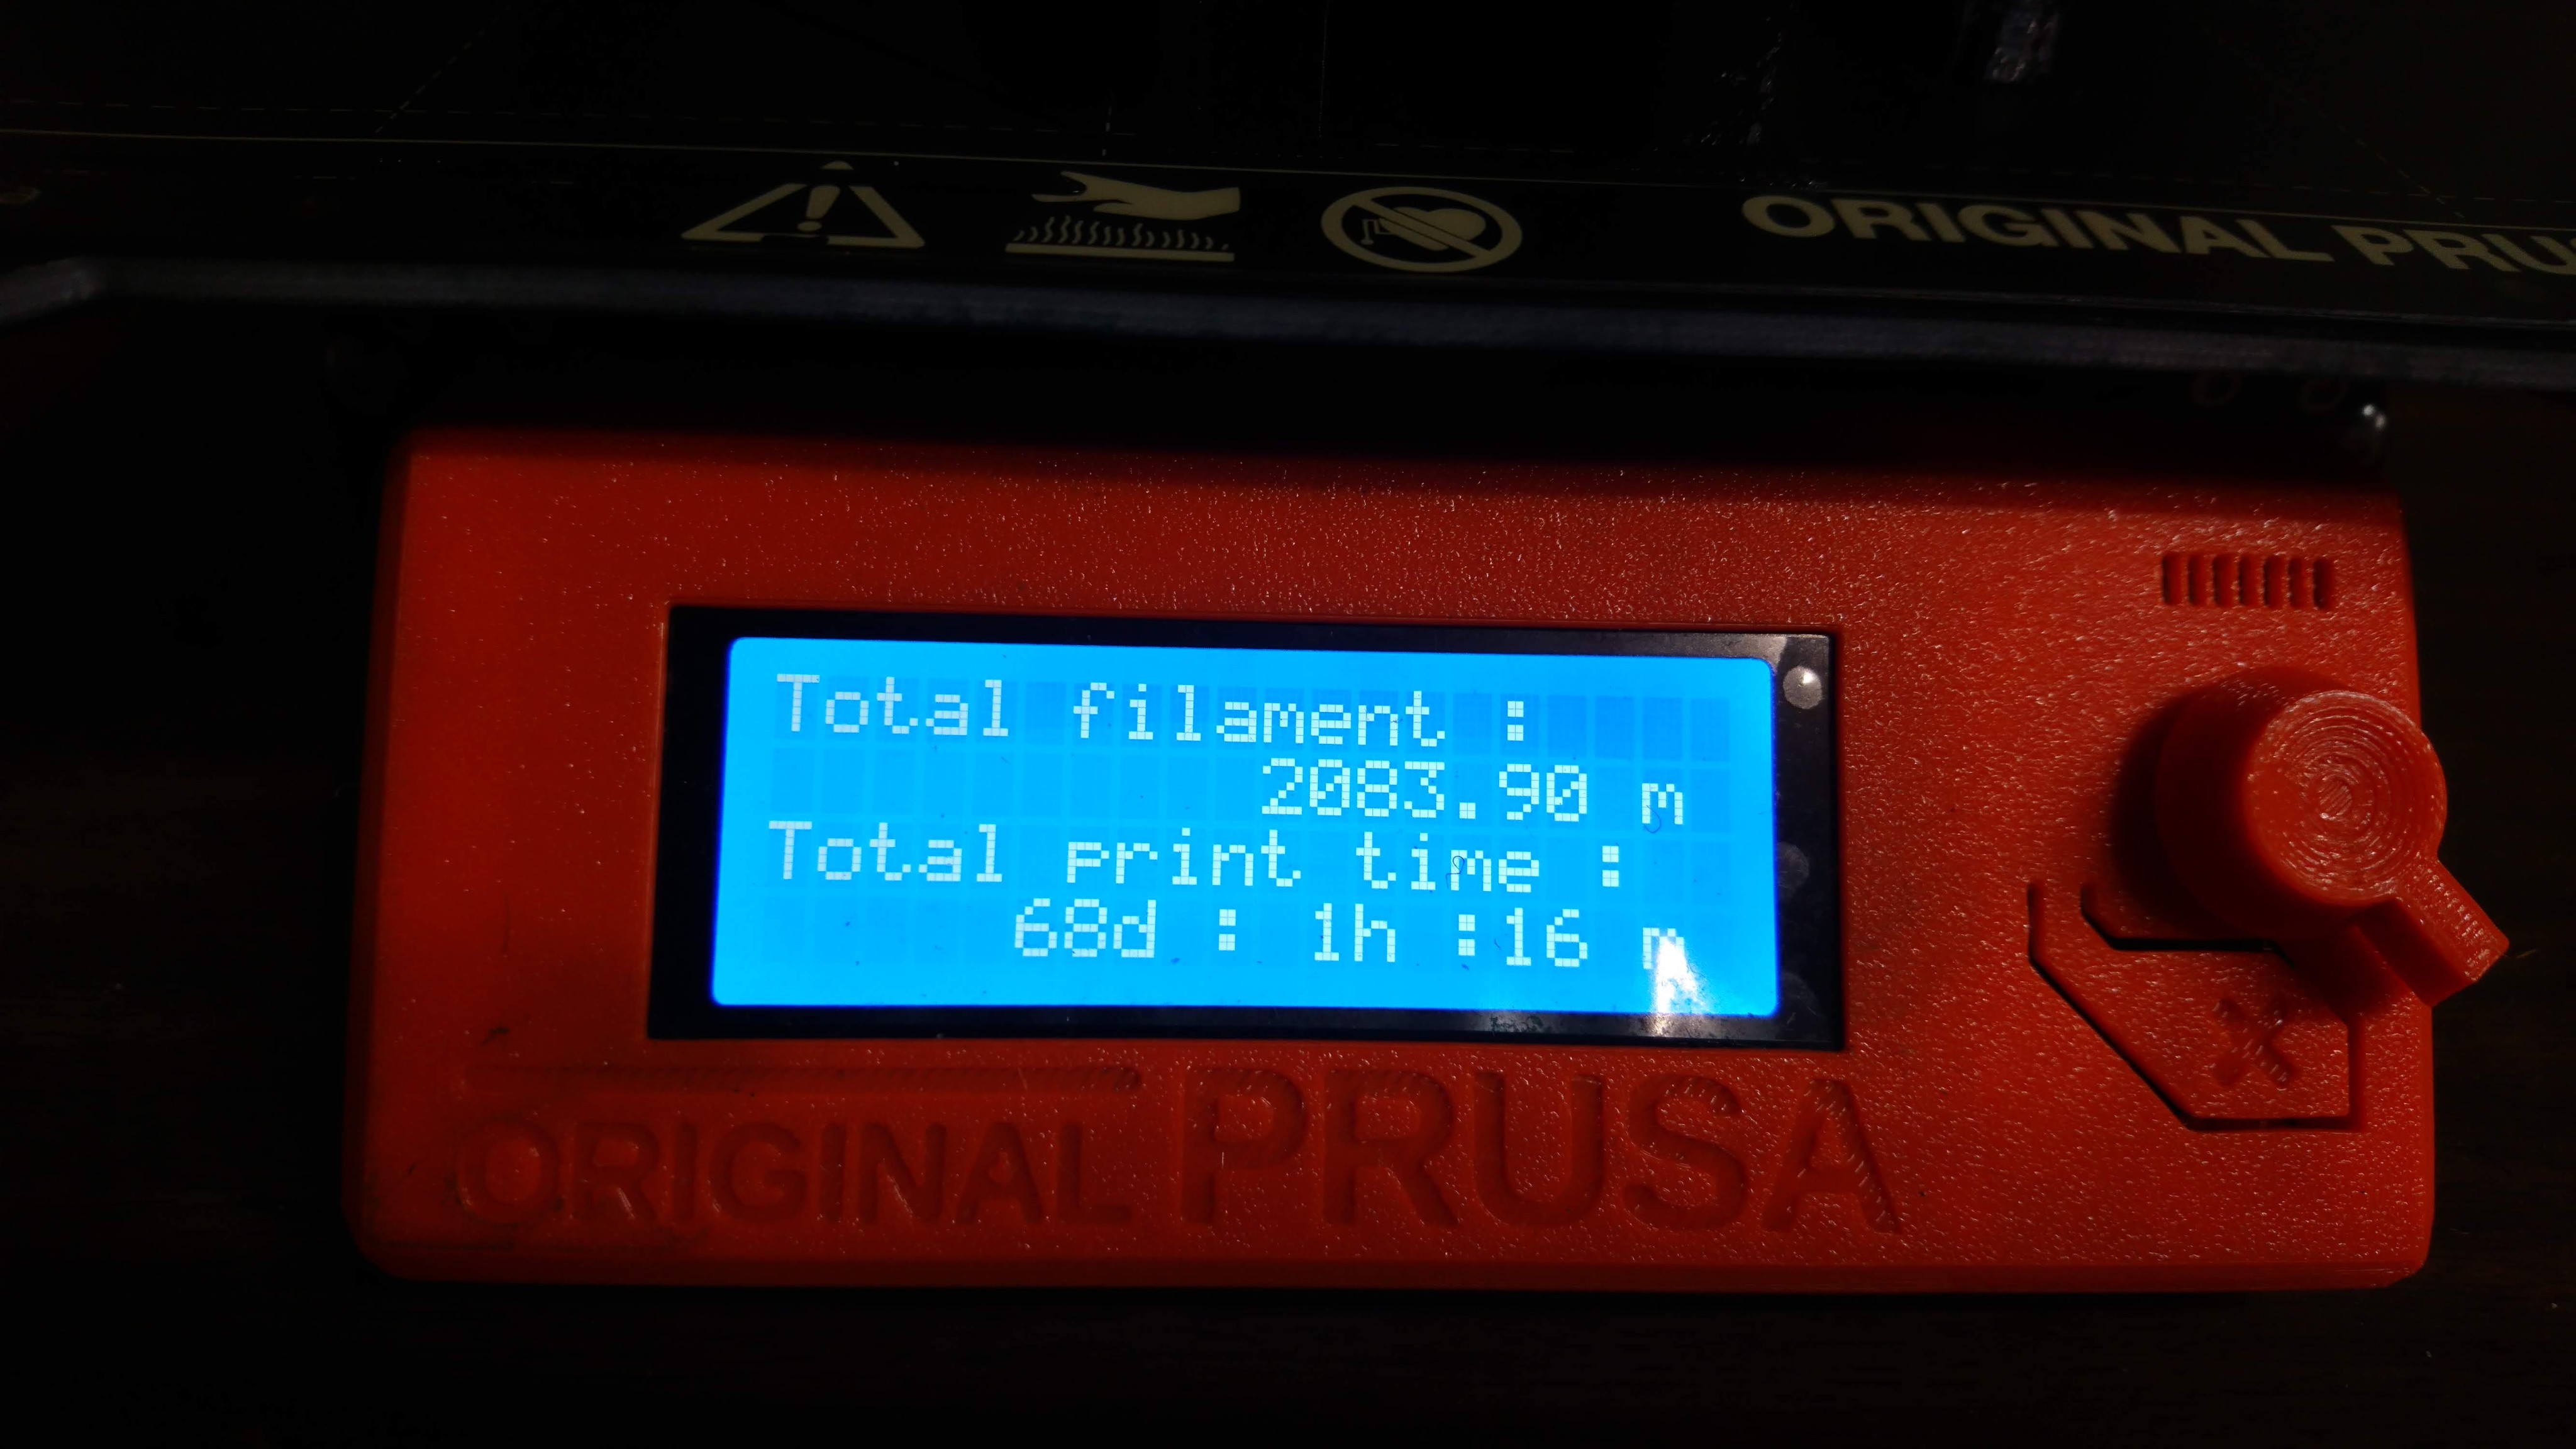
2 kilometers of filament!

2 kilometers of filament!

Moving up to the gearbox motors for my quadruped has only made that problem worse, as all the parts are a bit bigger and heavier.  My first Prusa MK3S has been printing almost non-stop since I got it, so I figured it was time to increase my bandwidth more permanently.  Thus, a second MK3S!

Full rotation leg design

Another of the failure modes observed during the 2019 Maker Faire was in my quickly slapped together leg design.  The shoulder joint was required to squeeze two motors together against a strongly tensioned belt, using nothing but a relatively thin section of printed plastic.  This caused it to deform, leading to belt tooth skipping, and then eventually to fail, leading to delamination of the shoulder joint.

My plan to resolve this is to switch to a leg design where the upper and lower leg are in series rather than opposing one another.  This is more like the Mini-Cheetah design from Ben Katz.  This has the benefit of getting the leg out to the side, so the upper leg is free to rotate 360 degrees, only limited by cable harnessing.  As seems to be my pattern, I’ll try making something out of 3d printed PETG first, optimize it some, and if I fail there, switch to metal.  Here’s a render of the current CAD:

Working around motor shroud failures

As seen at Mech Warfare 2019, the existing gearbox motor shroud isn’t really up to the task of supporting the weight of a 20lb robot.  While I work on a more comprehensive redesign, I’ve got a short term fix in the form of another 3D print.  This is just a simple reinforcing ring, printed at 3mm thick, with the layer lines oriented so that layer separation will not be the primary failure mode.  It is attached to the outer housing via a thin layer of epoxy.

Results from Maker Faire 2019

After a concerted push, I managed to get Super Mega Microbot “Junior” walking, for all of 15 minutes, then packed it up and went off to compete in Maker Faire.  Needless to say, with that much testing, I wasn’t expecting stellar results, and I wasn’t disappointed.  However, I did learn a lot.  Here’s some of the things that went wrong:

Gimbal and Turret EMI

For this new revision of SMMB, I updated the gimbal board to use RS485 and support the 5S system voltage.  I tested it some, but apparently not enough.  While I observed no problems during Thursday or Friday’s testing at the site, during the first Saturday match, after firing the gun a few times, the gimbal went into a fault state and stopped applying power.  The control scheme for SMMB relies on the turret being operational, so this not only made it impossible to aim, but also made it nearly impossible to drive.

The gearbox sprint

As mentioned last time, I needed to build a lot of gearboxes and new leg assemblies in a very short amount of time. So, I got to work.

Machining operations

I made a new fixture for holding stators to be extracted:

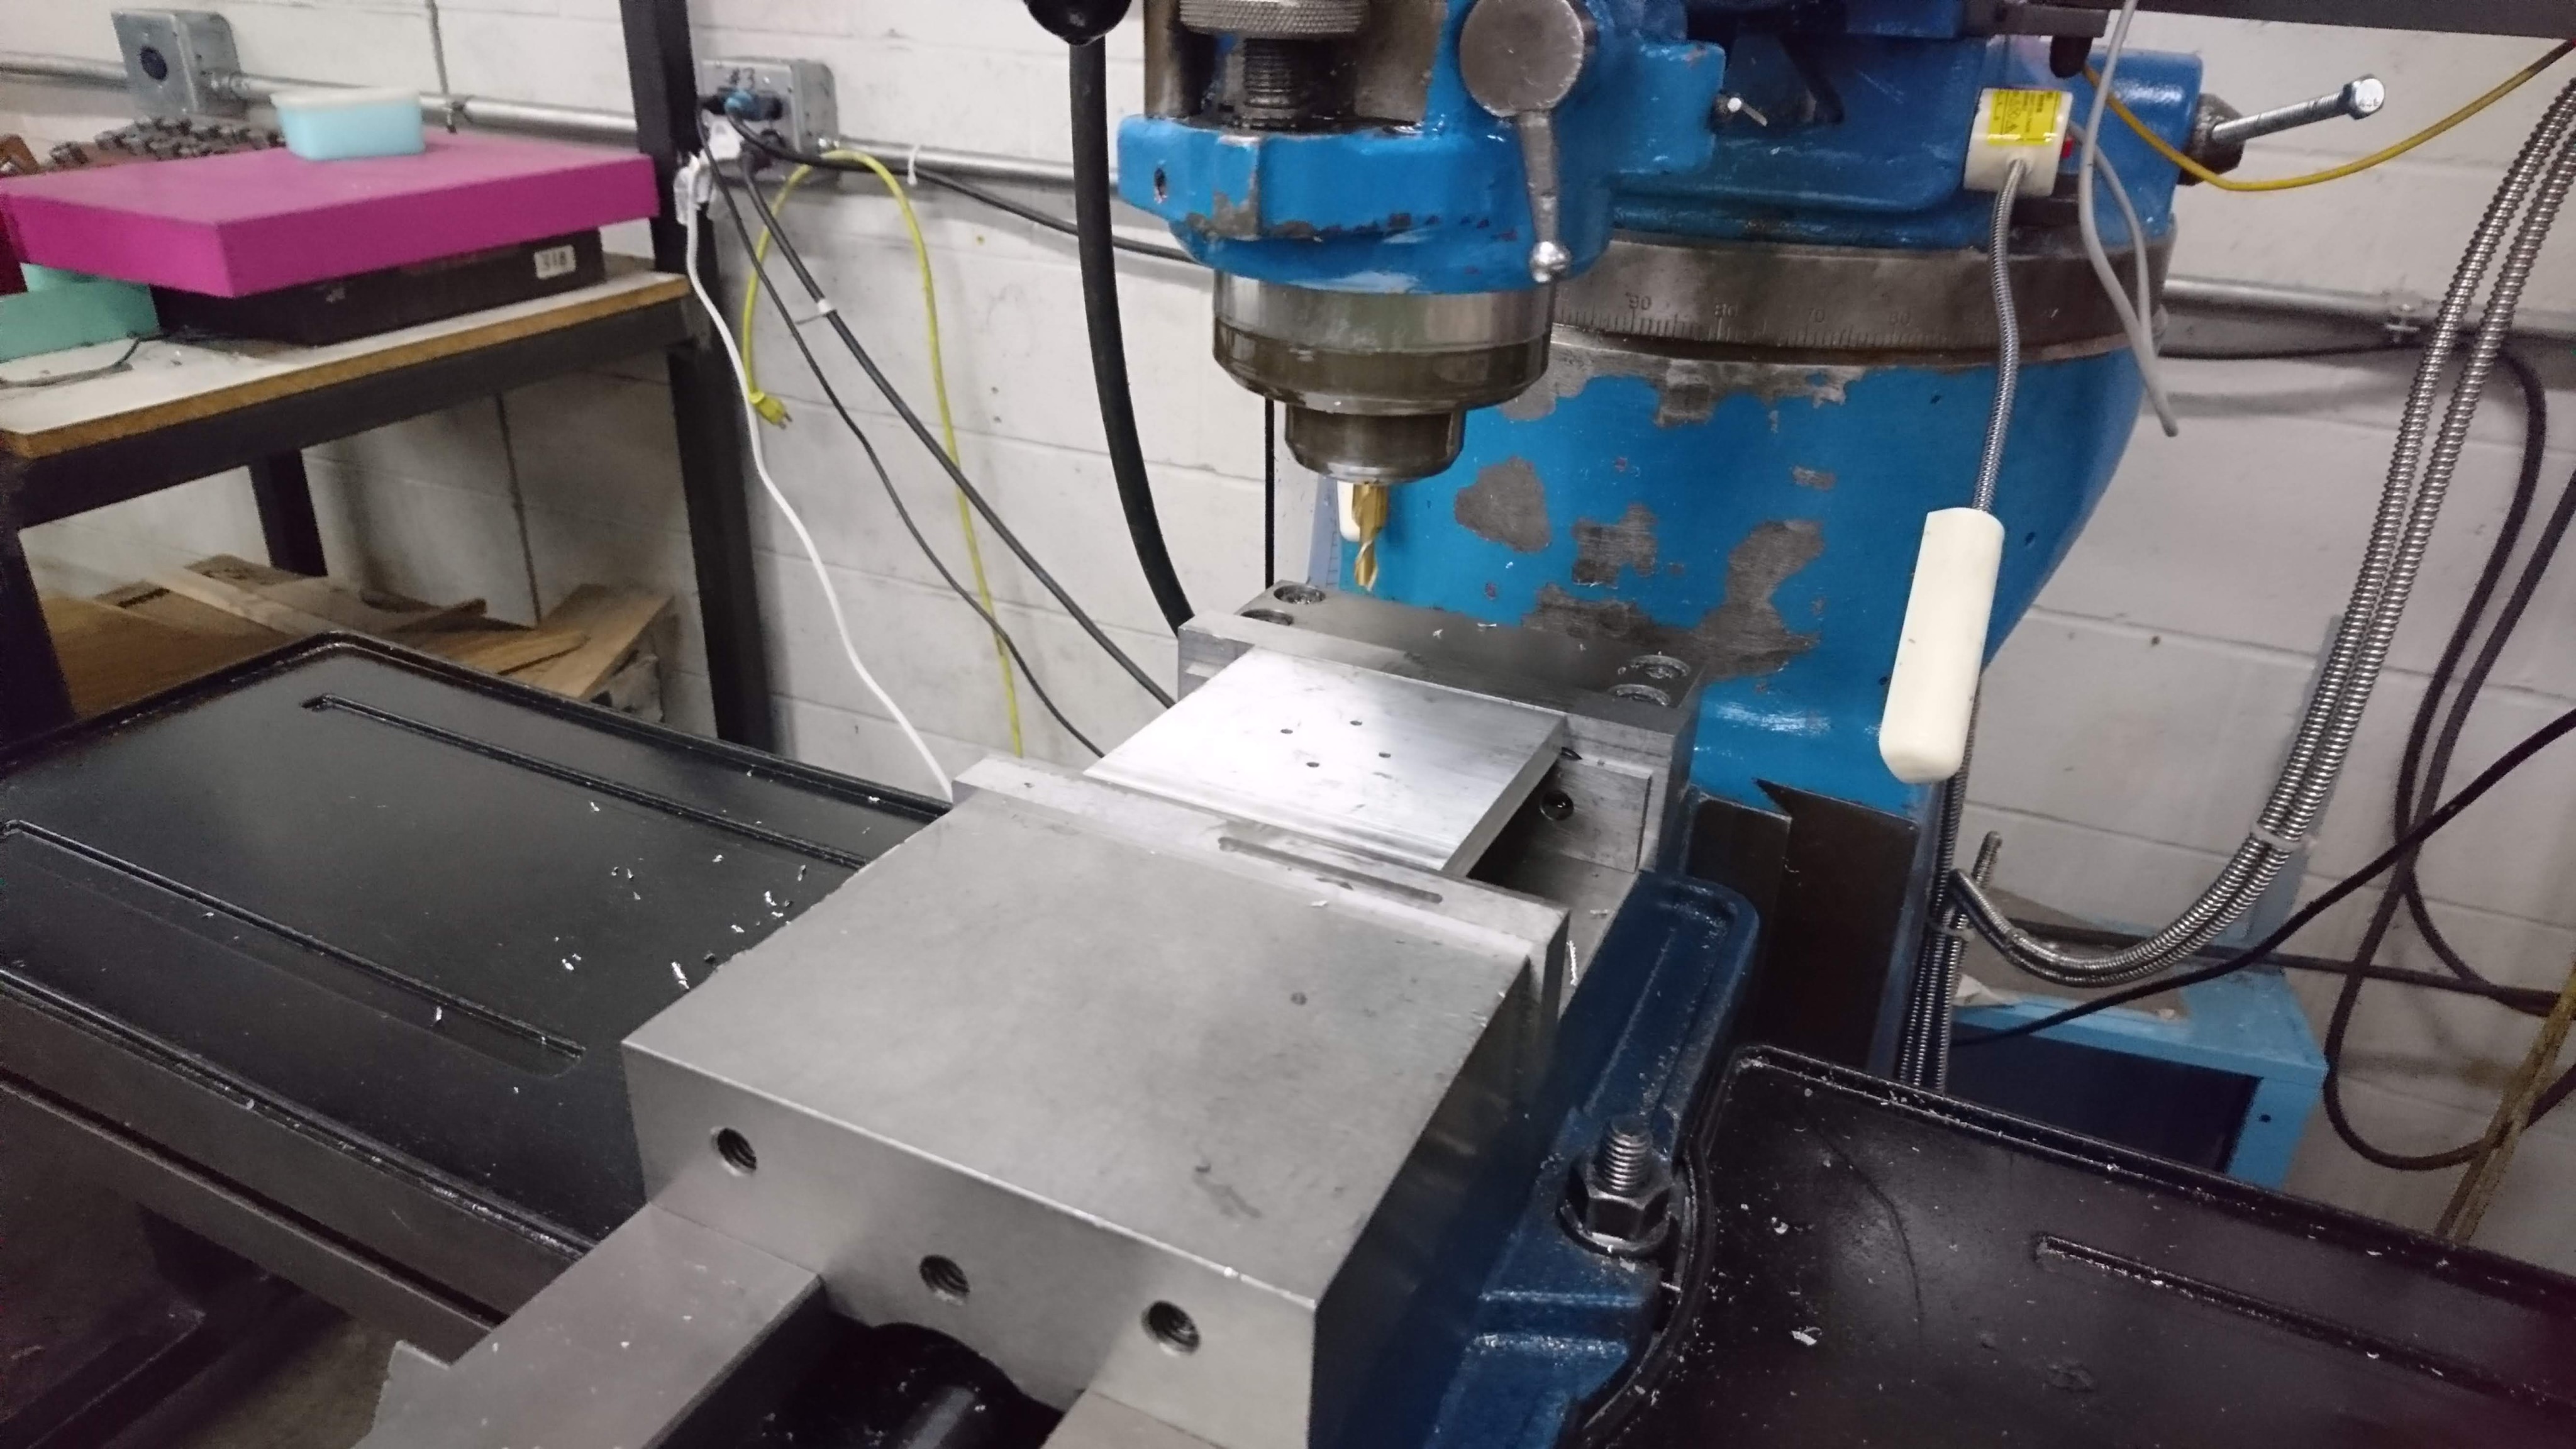
Stock in the vise

Stock in the vise

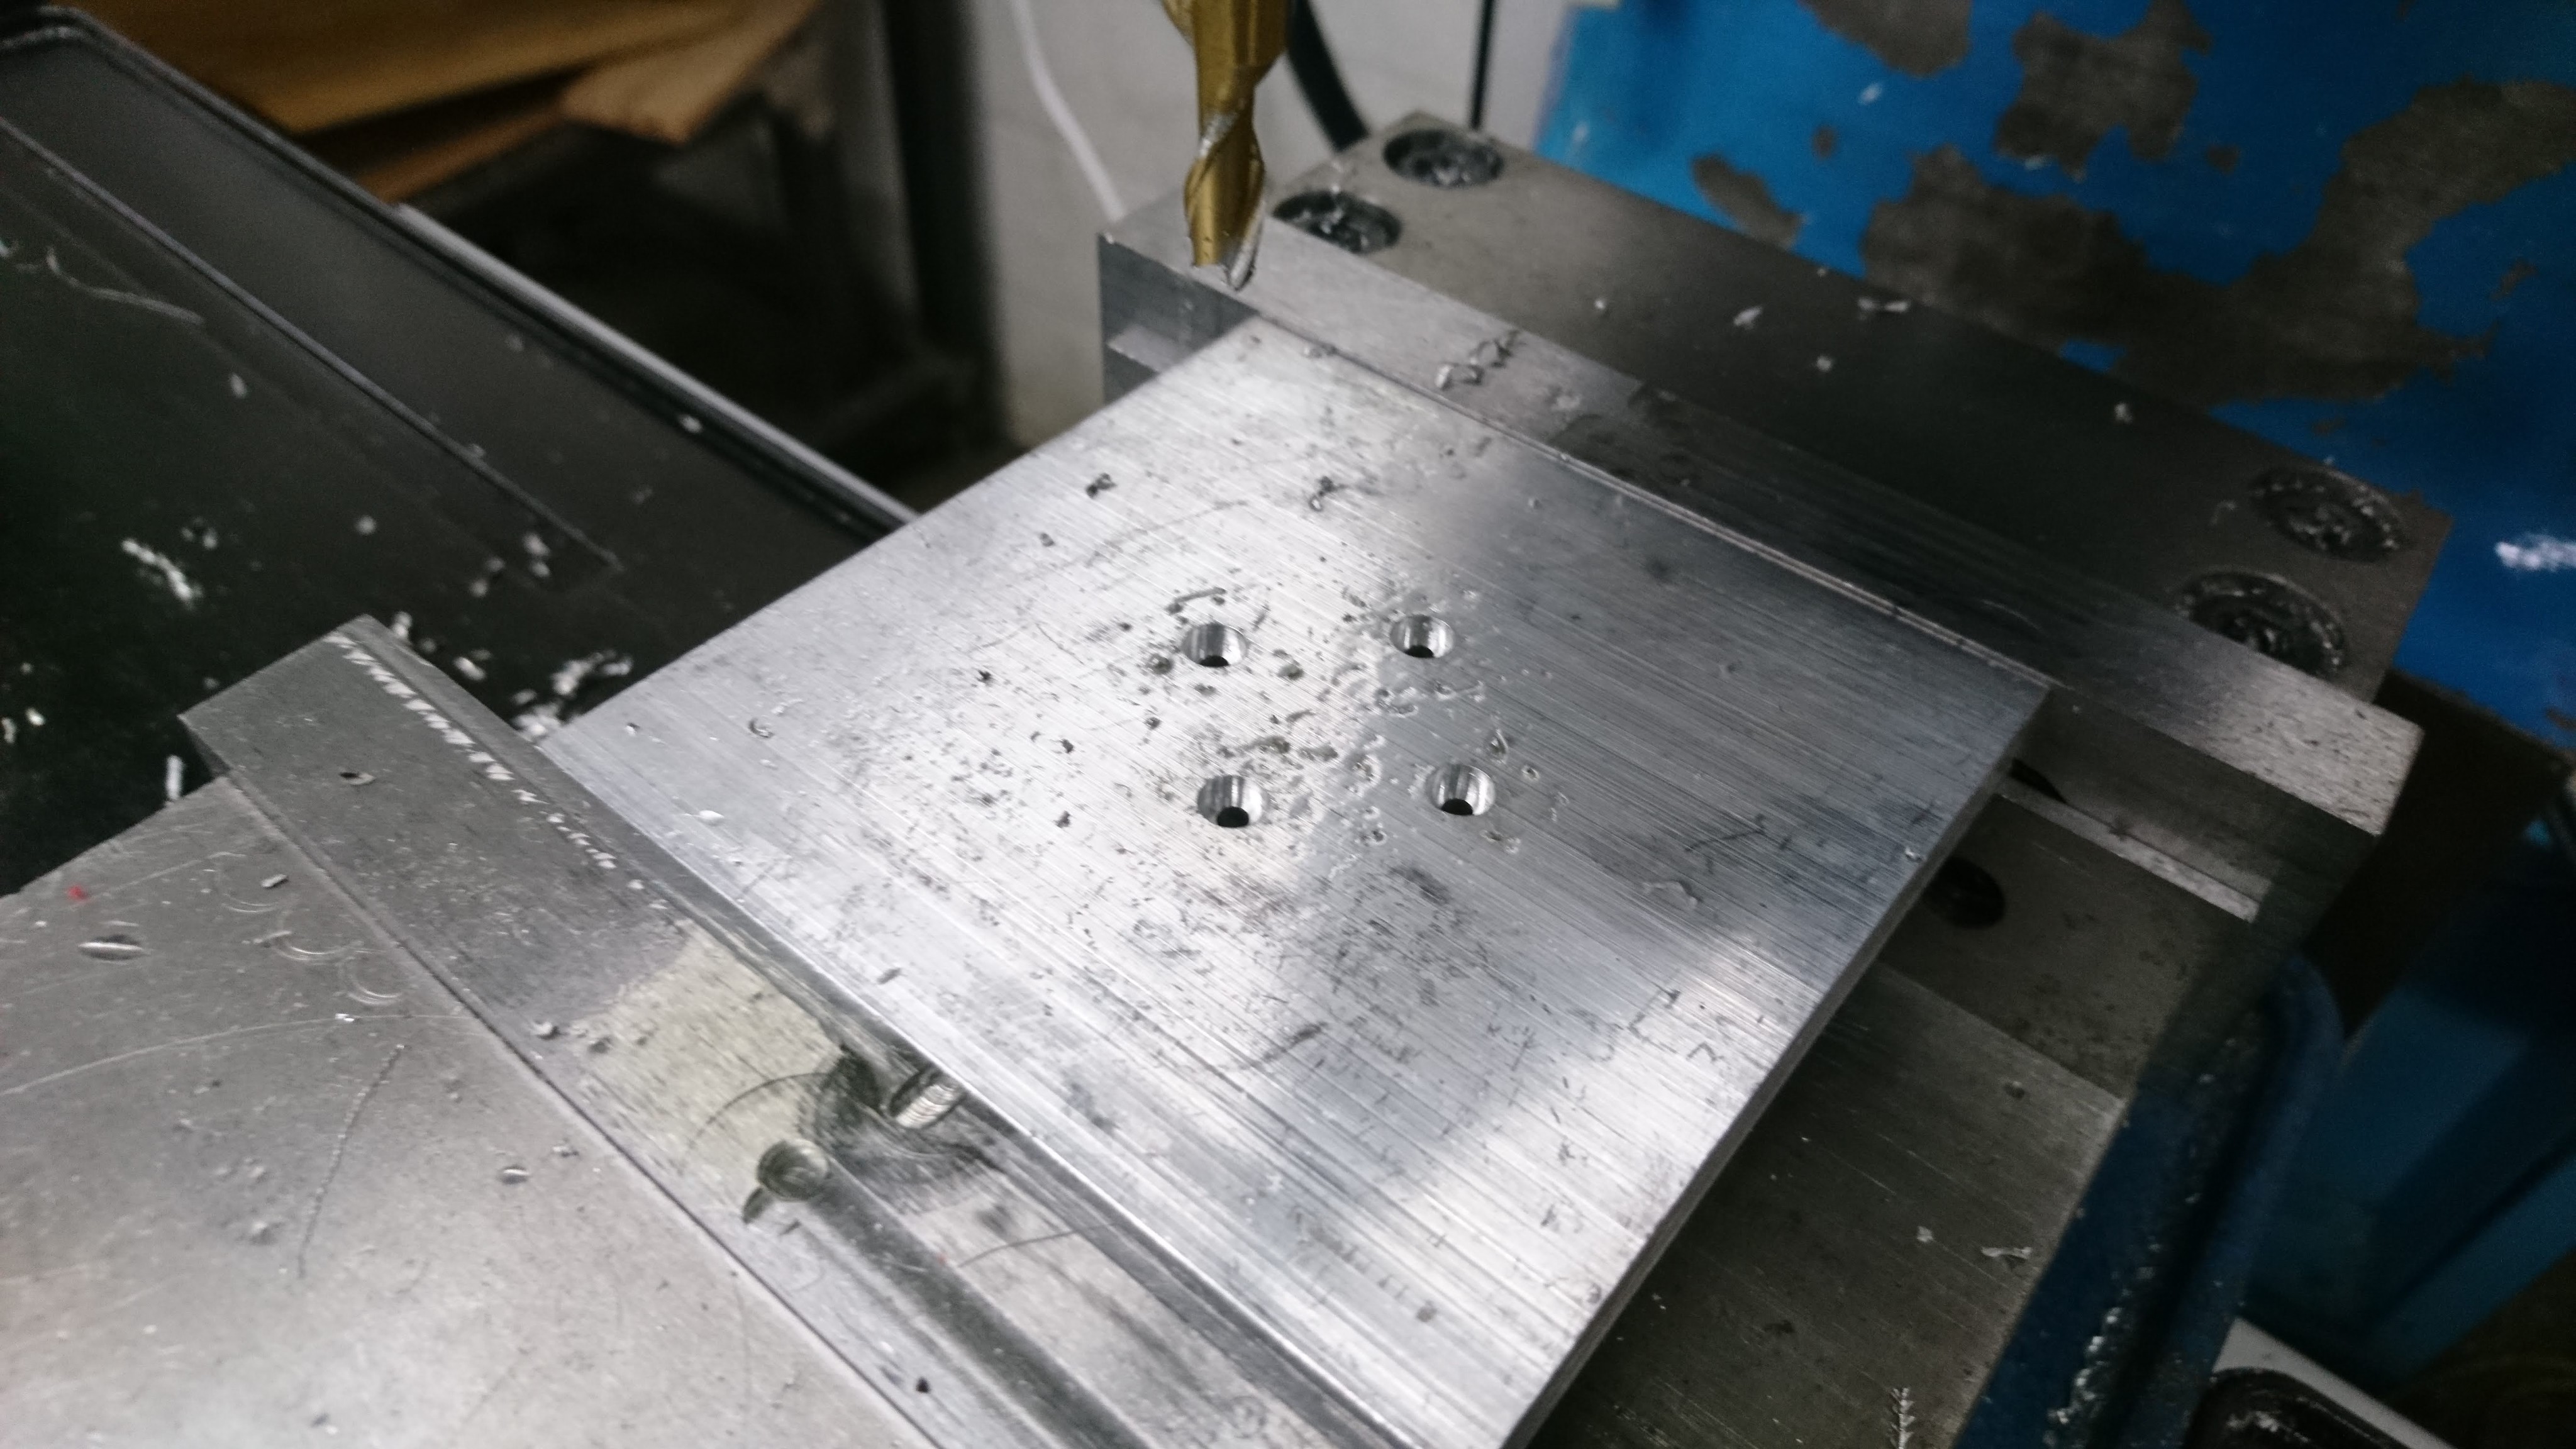
Countersinks milled

Countersinks milled

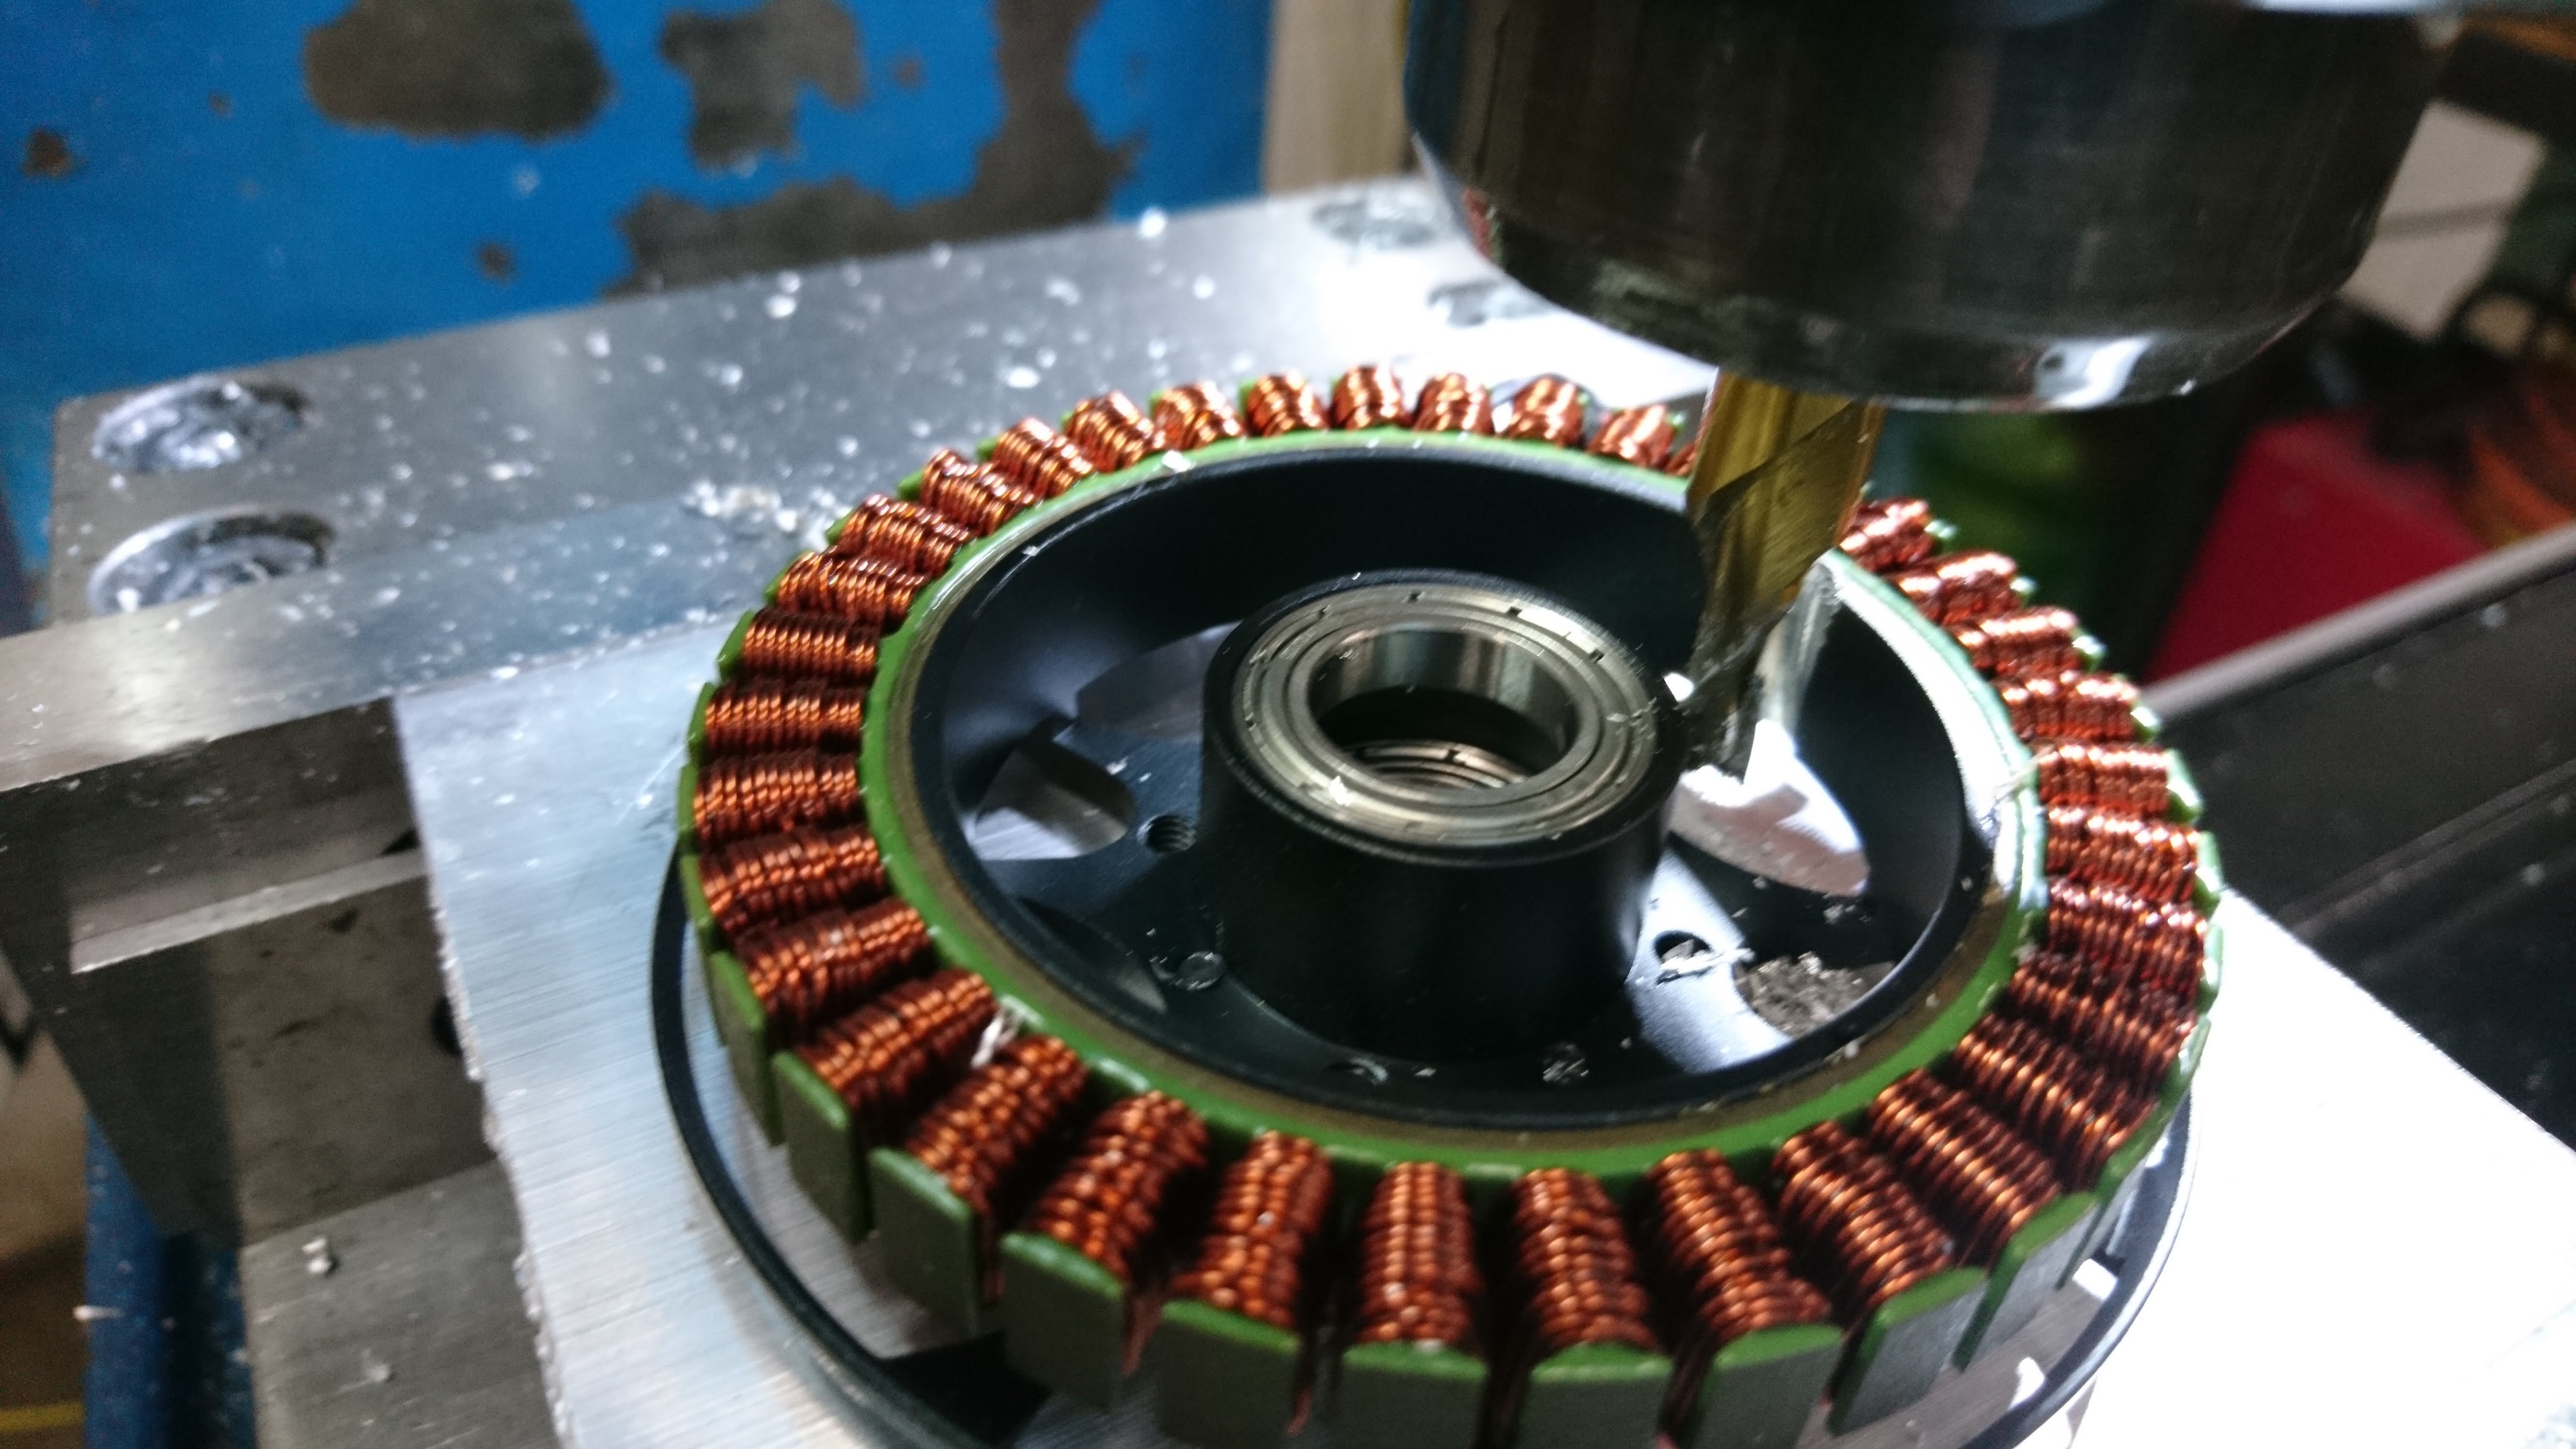
Stator mounted and fractionally machined

Stator mounted and fractionally machined

I turned down 8 more internal gears. To begin with, my mandrel had warped enough from the first gears that I had to add some heat set inserts to hold a cap to keep the gears on. Then on the last 2 gears, I got greedy, went too fast, and my lathe mandrel melted entirely.

Chassis for gearbox based lateral servos

dThe original chassis I had built for the brushless servo quadruped was designed around the aluminum bracket that was used in the Titan XOAR 6008 leg.  For a quadruped that uses the BE8108 gearbox for the lateral mechanism, a new attachment mechanism was necessary.  While I was at it, I made some other improvements as well.

  1. The battery is switched to use an off the shelf cordless power tool battery.
  2. The chassis is a shell, where most wiring can be run inside, including the IMU junction board.
  3. Dedicated inserts are in place on the top for a suspension fixture to be attached.

This was once again a record for the longest print I’ve made on my Prusa mk3s, 31 hours and change.

Mammal geometry leg revision

After getting the first version of the mammal geometry leg working and jumping I worked on a second revision.  At a minimum, I wanted to fix all the problems that required hand machining, however I also decided it was trivial enough to add a reduction ratio to the tibia through the belt drive, that I should just go ahead and do it.  My inverse kinematics calculations showed that this would make a big difference in average power consumption.

New machine day - Prusa i3 MK3S

While designing the improved actuators for SMMB I’ve given Shapeways a lot of business.  I can definitely recommend it, their selective laser sintering (SLS) parts are easy to order, their website gives plenty of control, and you can expedite things to your hearts content.

That said, with the amount of 3d printing I am doing, I could have already paid for a fused deposition modeling printer several times over.  Thus, I recently acquired a Prusa i3 MK3S.  It certainly can’t print everything that you can do with an SLS process, but with slightly tweaks to the models it can do a lot of it.  The biggest upsides of course are the lower per-part costs… something like 20-100x cheaper, and the faster turnaround time.  Nearly anything I care about I can have a draft of overnight.