Archives: Development

Pocket NC 4 jaw chuck workholding

Workholding on the Pocket NC is still, well, a work in progress for me, and it is for many people.  There aren’t a lot of off the shelf solutions.  The machine does come with a mini-vise, which can hold a surprising amount, but it has some limitations.  For one, it isn’t referenced to the axis of rotation of the B axis.  Another, anything held in it can often be far away from the furthest Z travel available, resulting in the need to use extended reach tooling.

First quadruped jump!

To demonstrate the dynamic capability of the full rotation quadruped, I figured I would start by doing some full machine jump tests to a relatively low height, just to show that it was capable.

Thus, I rigged up an open loop script which squatted a small fraction of the available distance, and then powered up at a relatively small fraction of the available maximum speed.  I don’t have the telemetry yet to extrapolate how high this will be able to go at maximum, but I think it should be a fair amount higher.  For now, I want to do some more instrumentation and walking testing (and have more spares) before I manage to break things by jumping really high.

Improved Pocket NC installation

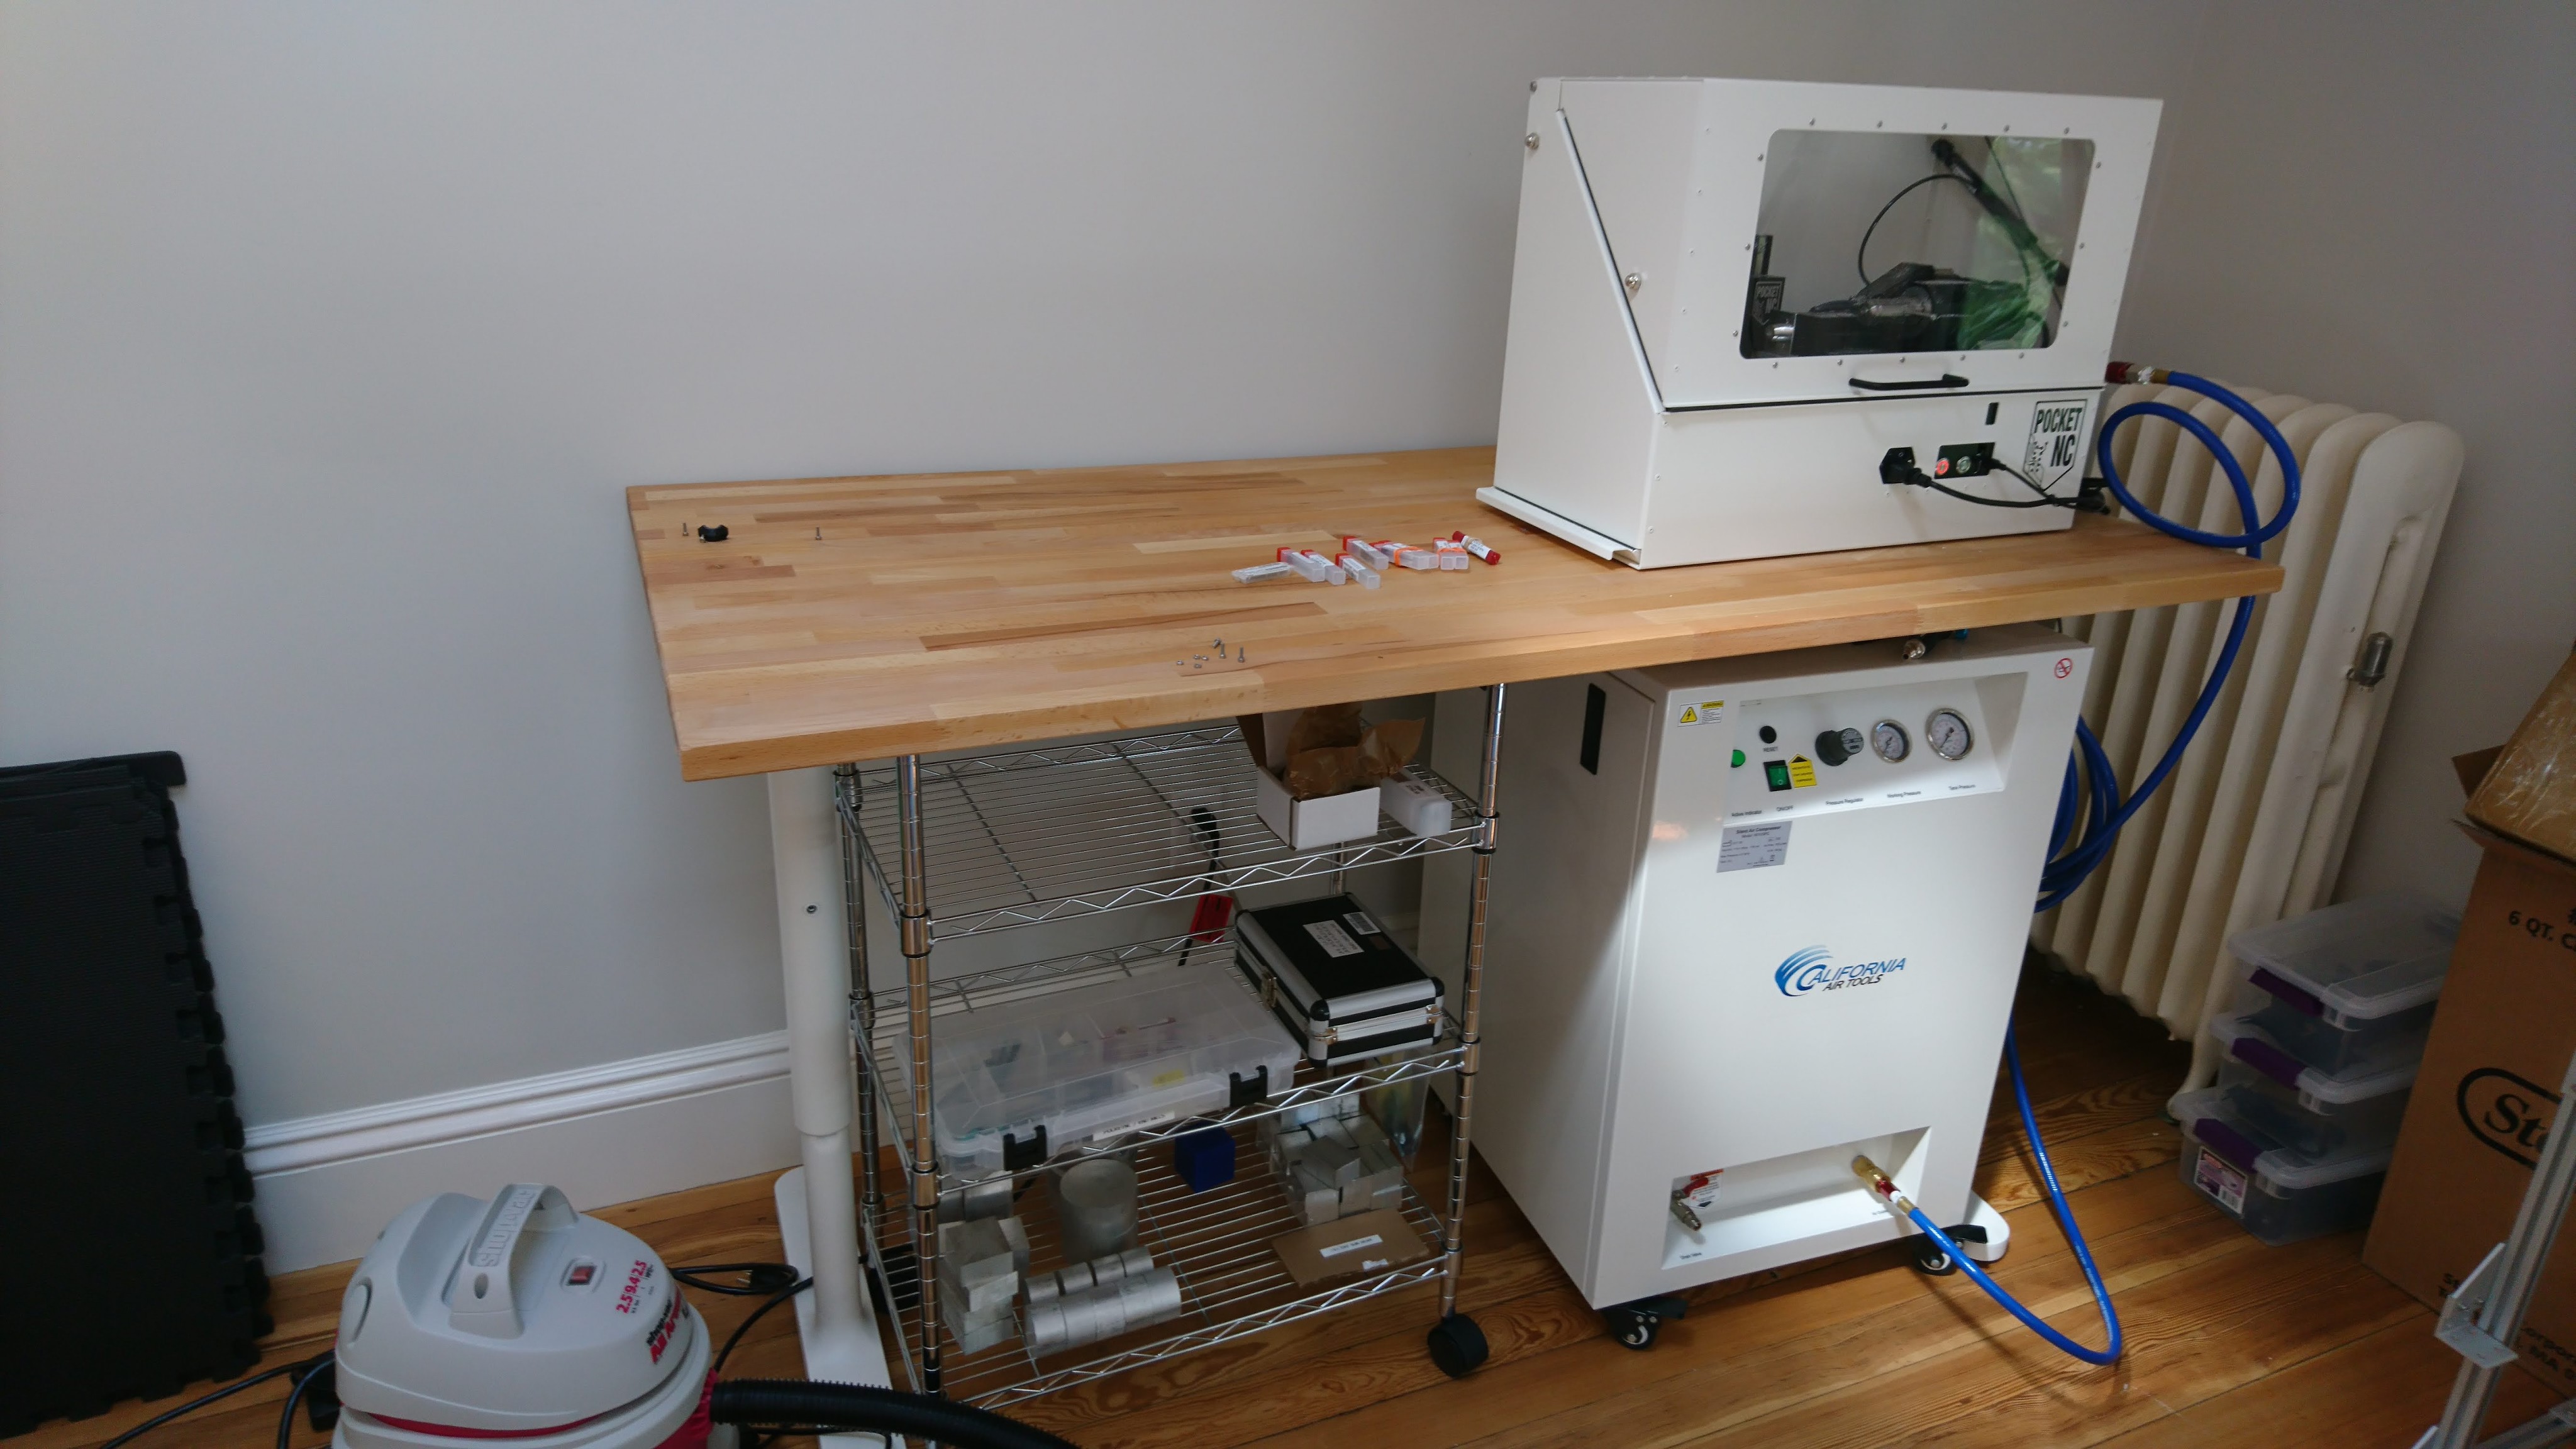
After having used my PocketNC V2-50 for a while just sitting on top of the air compressor, I decided to try and improve its installation a bit.  For one, when the compressor kicked on or off, it would impart a significant vibration to the whole assembly.  Also, I needed a place to hold stock, tools, and intermediate parts.  Here’s a picture of my new setup.

dsc_1449

The table isn’t particularly rigid, but at least it is now decoupled from the compressor.  The wire shelving below satisfies my storage requirements for now.

First walking on the full rotation quad

Last time, I had finished physically assembling all the motors for the updated quadruped with legs that can rotate freely 360 degrees.  After the long summer break, I powered up and configured all the servos.  Then, after setting up the gait engine for the new configuration (for which there are still a TODOs when the lateral shoulder offset is non-trivial as in this configuration), I was able to achieve some amount of walking.  Here is one of the first videos I took, without much in the way of tuning or work.  The control is a little wobbly still, but so far there are no signs of any mechanical failures as with the older design.

Fusion 360 3D adaptive and thin walls

I have been trying to improve the tool paths for the BE8108 gearbox sun gear holder.  The first time, I ended up slowing things down a lot and actually took some of the initial adaptive passes in several iterations as I fixed problems, so it wasn’t clear that any one iteration would be functional from start to finish.

So,  I tried it on a fresh piece of stock, with settings that I thought would resolve the pullout issues I had seen earlier.  Lo and behold, what did I find but more pullout!  It appeared to happen in exactly the same situations as before.  The adaptive clearance would leave a thin sliver of material, then “round it off” very rapidly, resulting in a large chunk of sliver hitting the mill at once.  Increasing the minimum cutting radius and tolerance helped reduce the problems some, but didn’t get rid of them entirely.

Machining a sun gear holder on the Pocket NC v2-50

After doing my first cuts in aluminum, I wanted to actually try and make a real part, to prove that the Pocket NC v2-50 was capable of making things that I can actually use.  My first attempt, was the same part I did my first aluminum cuts in, the sun gear holder from the BE8108 planetary gearbox.

This part attaches to the rotor, the sun gear, the position sense magnet, and has bearing interfaces to the planet input and the back housing.  While not terribly big, the number of features and mating surfaces is relatively large.

Stripping the coaxial quadruped for parts

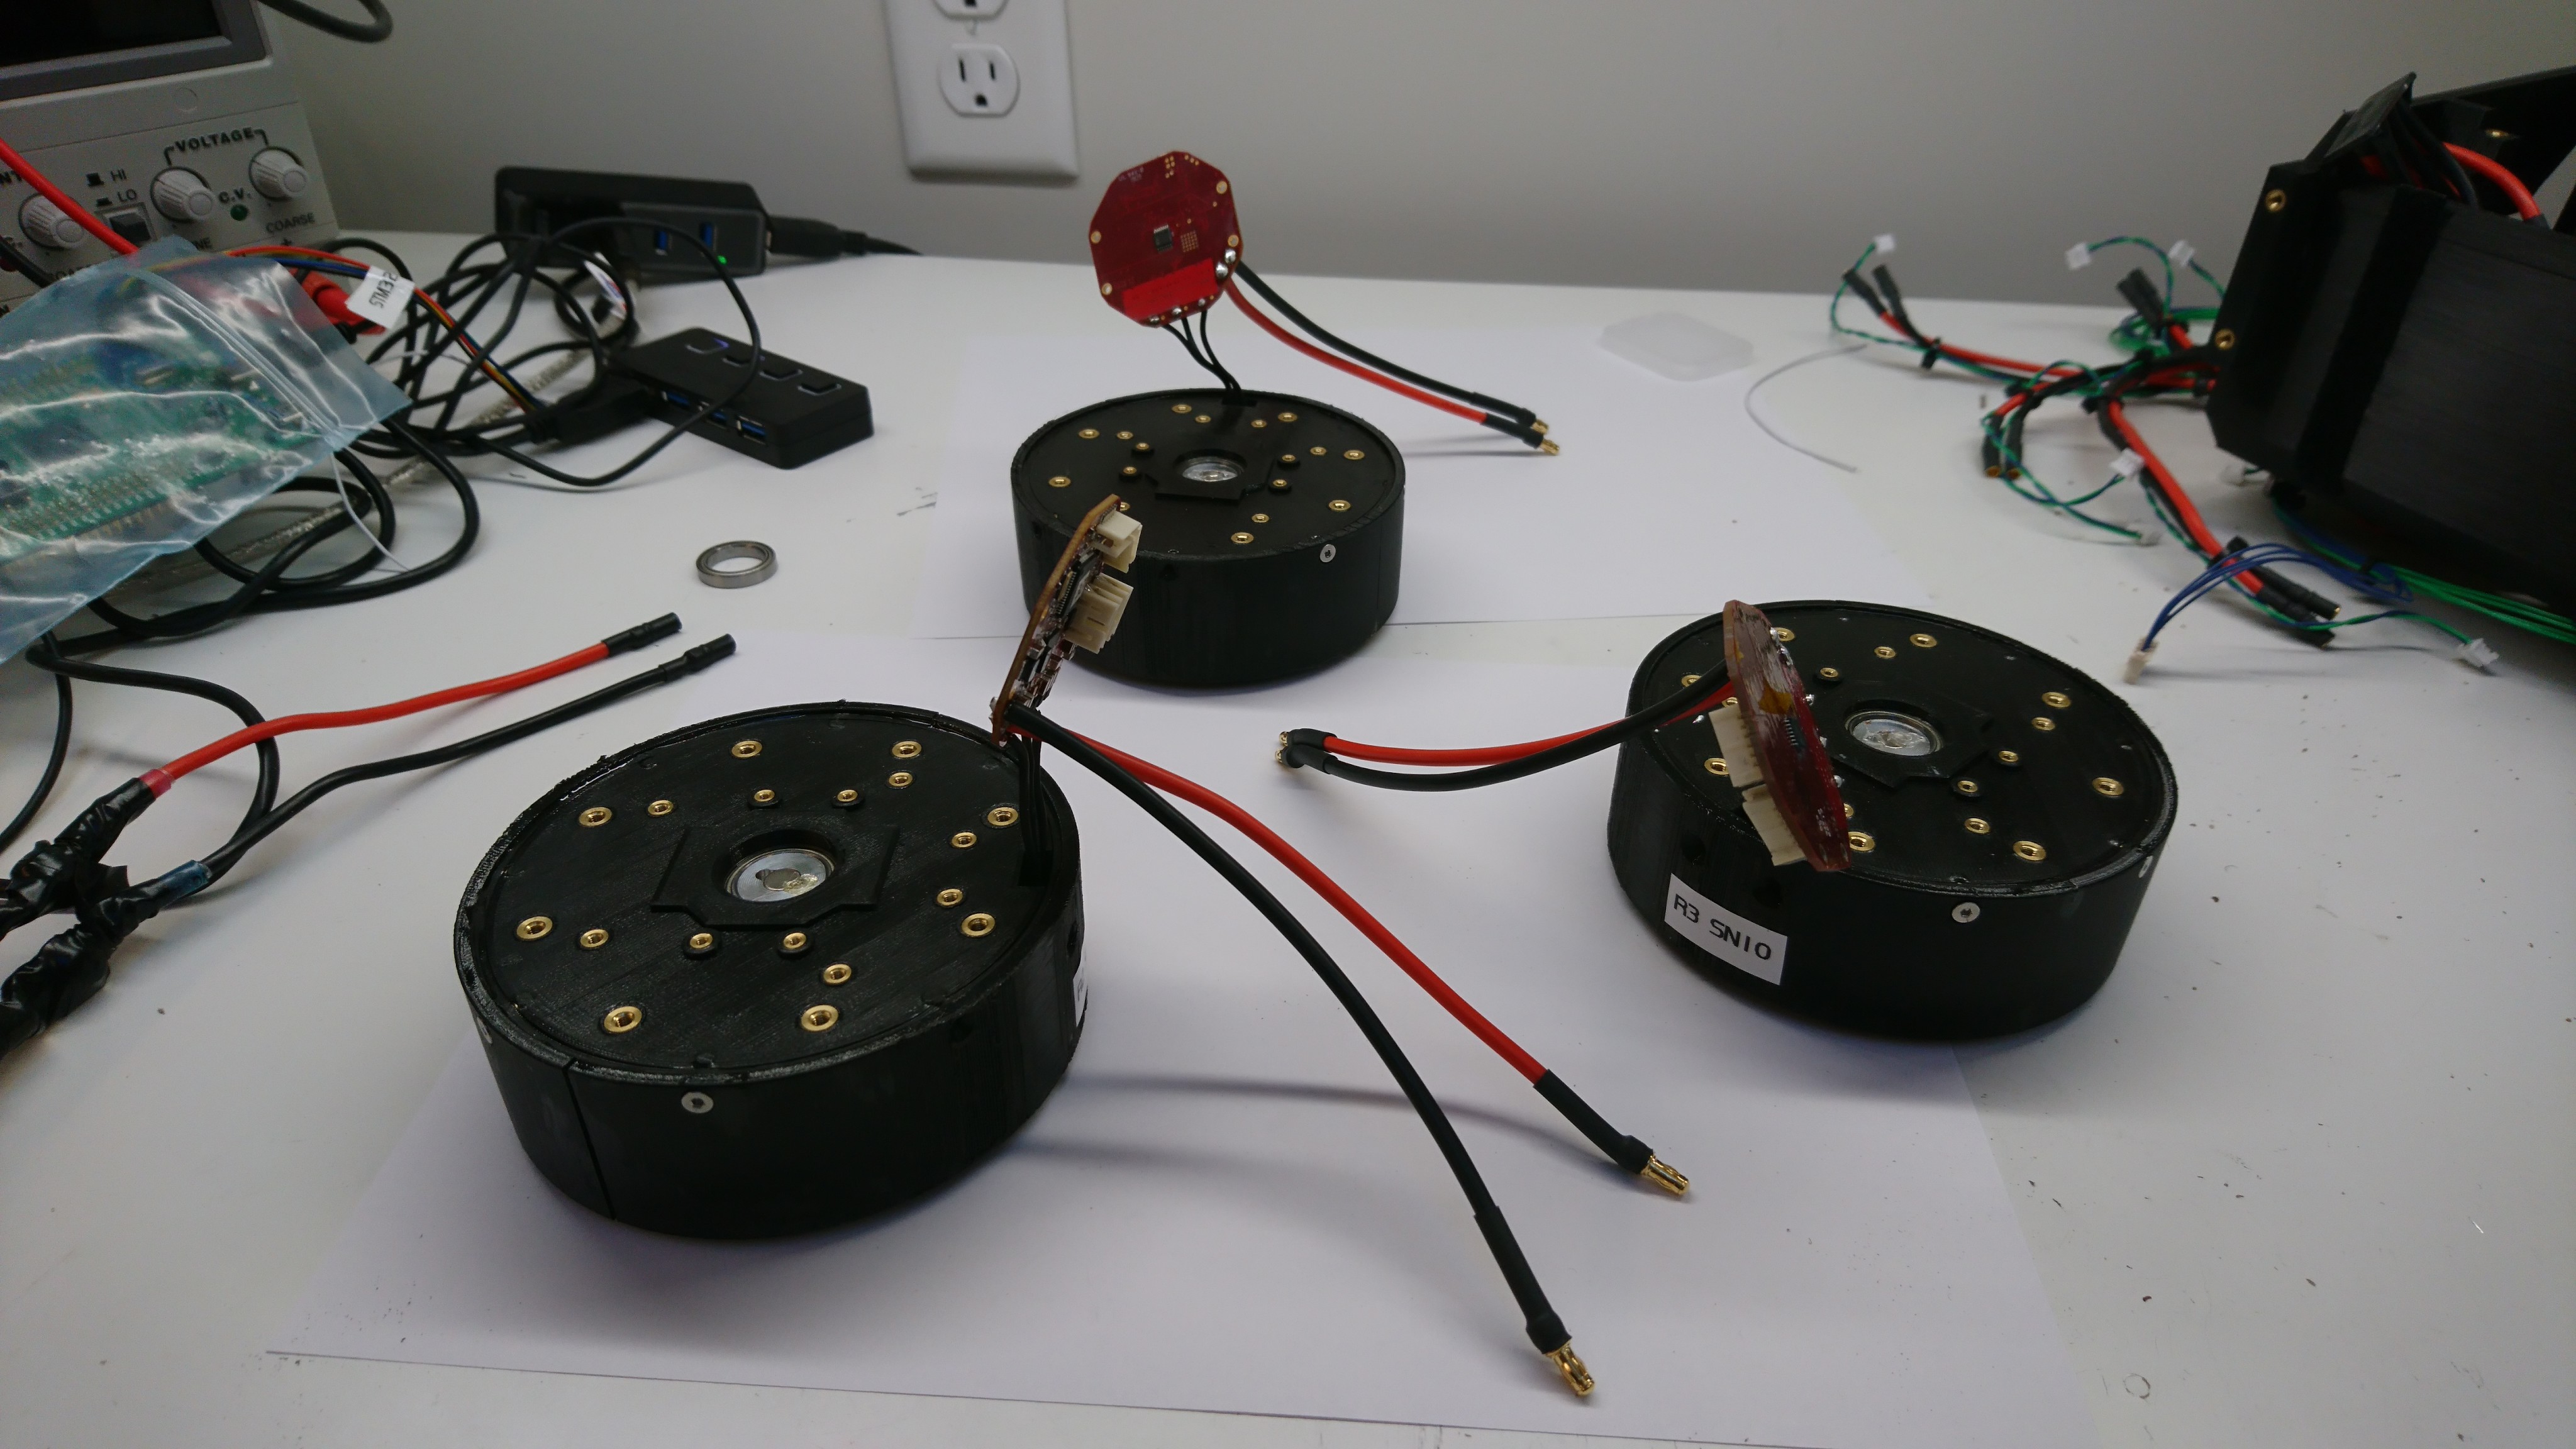
To switch to the full rotation gear design, I needed to get all my gearbox motors, some bearings, and a lot of other bits and pieces disassembled and ready for re-use.

The remaining 3 non-broken legs from Maker Faire

The remaining 3 non-broken legs from Maker Faire

Taking everything apart took a surprising amount of time, nearly a full day.  Each leg resulted in quite a collection of fasteners.  Seeing them all in one place made me realize how complex this has become!

First aluminum cut on Pocket NC

Now that I made a cut in wax, my next step with the PocketNC was doing basically the same thing but in aluminum.  There is of course less room for error with the harder (but I suppose by no means actually hard) material.  It seems that I managed to use up a bit more luck than I expected, but still not too terribly costly so far.  My “learning moments” errr… goofs, so far:

New machine day: A second MK3S

As you may have noticed, I’ve been 3d printing a lot!

A stack of empty filament rolls

A stack of empty filament rolls

2 kilometers of filament!

2 kilometers of filament!

Moving up to the gearbox motors for my quadruped has only made that problem worse, as all the parts are a bit bigger and heavier.  My first Prusa MK3S has been printing almost non-stop since I got it, so I figured it was time to increase my bandwidth more permanently.  Thus, a second MK3S!