Mounting the RLS 32mm ring magnet to a GL80 motor
I’ve been exploring how to add low cost off-axis encoder support into moteus, see part 1, and part 2. In this part, I’ll look at a magnet and how to get it installed on the test motor.
To start, this method of operation will require a diametrically magnetized ring magnet, i.e. one where the axis of magnetization is through the diameter rather than through its depth.
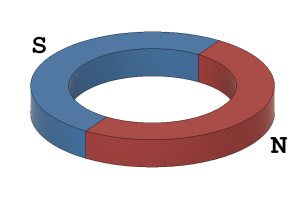
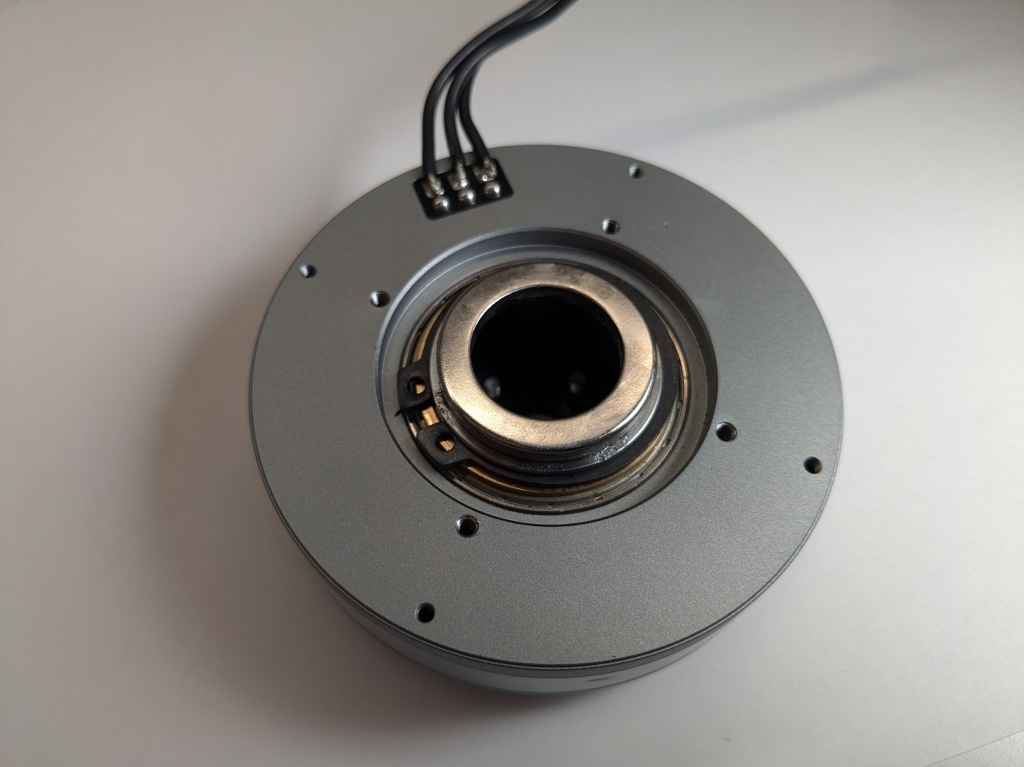
That is not a terribly common magnet configuration, but there are some vendors. For this experiment, I used a 32mm OD ring magnet from RLS that is intended for use with their Orbis line of encoders, part number BM220C320A1ABA00. The motor I am using for this test is a T-Motor GL80, which has a hollow shaft. To mate the magnet to the motor, I 3d printed a fixture (purple) which slipped over the bearing surfaces of the GL80 (pink), and captured the magnet (red).
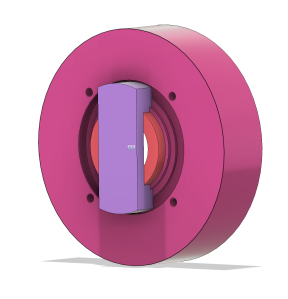
Then cyanoacrylate gel was used to bond the magnet to the GL80 itself.
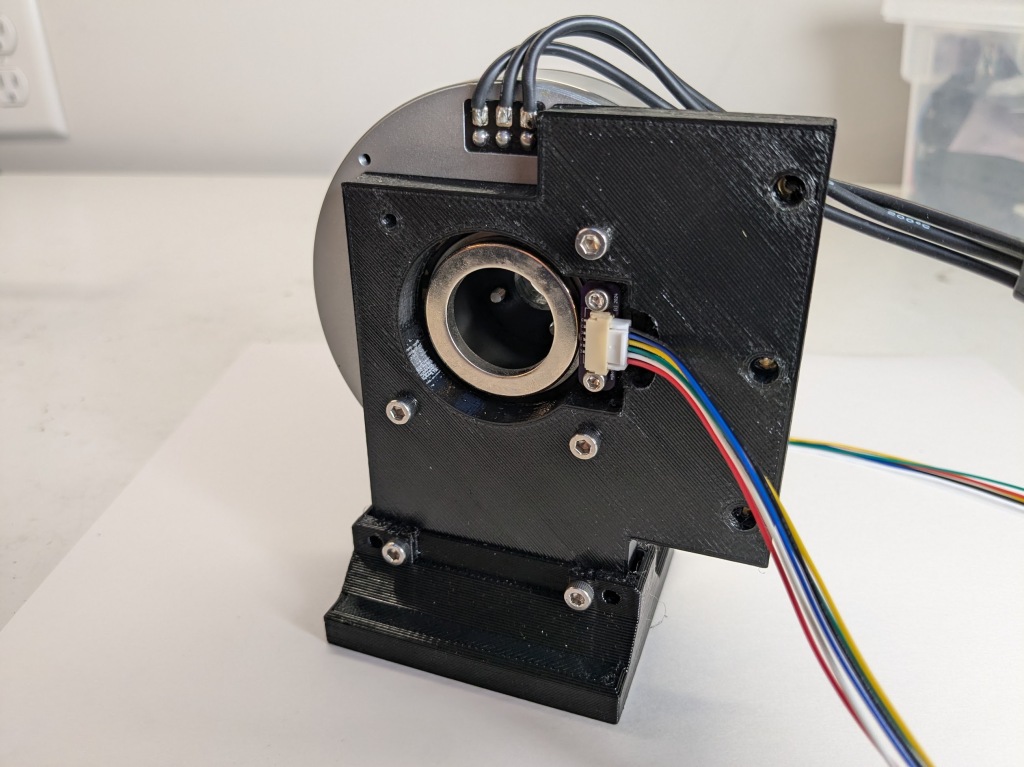
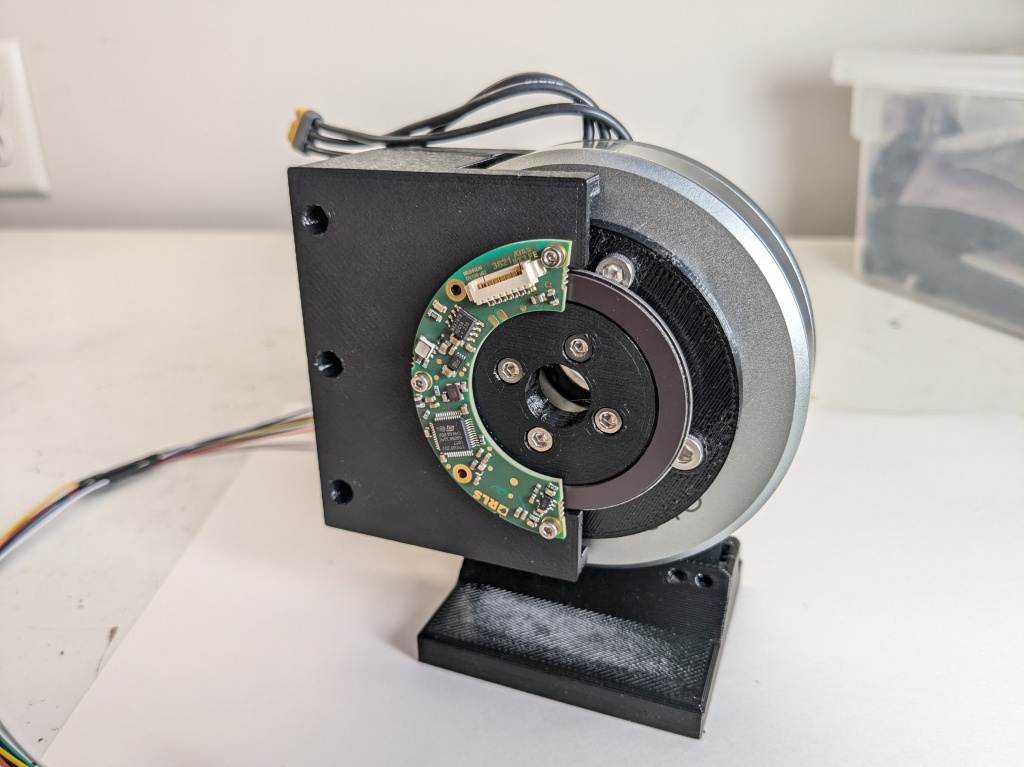
Finally, I made a 3d printed stand to hold the motor + magnet, the encoder breakout, and an optional front plate to hold future “reference measurement” work. Despite this being something like the 4th version of this print, it still has dremel marks to accommodate the right angle connector on the 2nd and 3rd version of the breakout board!

Here is the test fixture with a MA600 breakout board installed in the mounting location.
And for good measure, it can hold an AksIM-2 magnet and reader on the other side of the motor. That way we can do some “ground truth” tests with the presumably much less accurate single pole off-axis encoder.
Next, I’ll take a look at what kind of readings we get from the MA600 in this configuration, and techniques for getting it into a usable state!