Archives: 2019

Improving the moteus update rate, part 3

Back in part 1 and part 2, I looked at problems that limited the rate at which the host computer could command the full quadruped and some of the solutions.  Now, in part 3, I’ll cover more of the solution.

More solution steps

Previously, I switched to using PREEMPT_RT, switched bridging strategies, and optimized the turnaround of the individual servo.  Now, I’ll move on to optimizing the host software.

4. Host C++ software micro-optimizations

The primary contributor in the host software to the overall update rate is the time it takes to turn around from receiving a reply from one servo, to sending the next command.  I first did some easy micro-optimizations which came up in profiling.

Improving the moteus update rate, part 2

Back in part 1, I looked at the driving factors that limited the update rate of the full quadruped.  Now in part 2, I’ll cover the first half of the solution.

Background

To begin with, there were two major paths that I could take based around the network topology.  In one path, I would remove the active bridging capability from the junction board, and rely on the Raspberry Pi to drive all the servos directly, and in the other the active bridge would stick around.  There were a number of key disadvantages to both approaches:

Improving the moteus update rate, part 1

The moteus brushless controller I’ve developed for the force controlled quadruped uses an RS485 based command-response communication protocol.  To complete a full control cycle, the controlling computer needs to send new commands to each servo and read the current state back from each of them.  While I designed the system to be capable of high rate all-system updates, my initial implementation took a lot of shortcuts.  The result being that for all my testing so far, the outgoing update rate has been 100Hz, but state read back from the servos has been more at like 10Hz.  Here I’ll cover my work to get that rate both symmetric, and higher.

Revisiting machining the sun gear holder

My very first sun gear holder I machined myself was something of an artistic feat.  Each operation was re-run many times, and as a result the part was largely a one-off.  The final part properties were not really indicative of the final program.  My next step in my learning adventure was to up my Pocket NC game and get to a single reproducible program that would emit a part that I could use, then be able to run it over and over again.

Improved lighting for Pocket NC

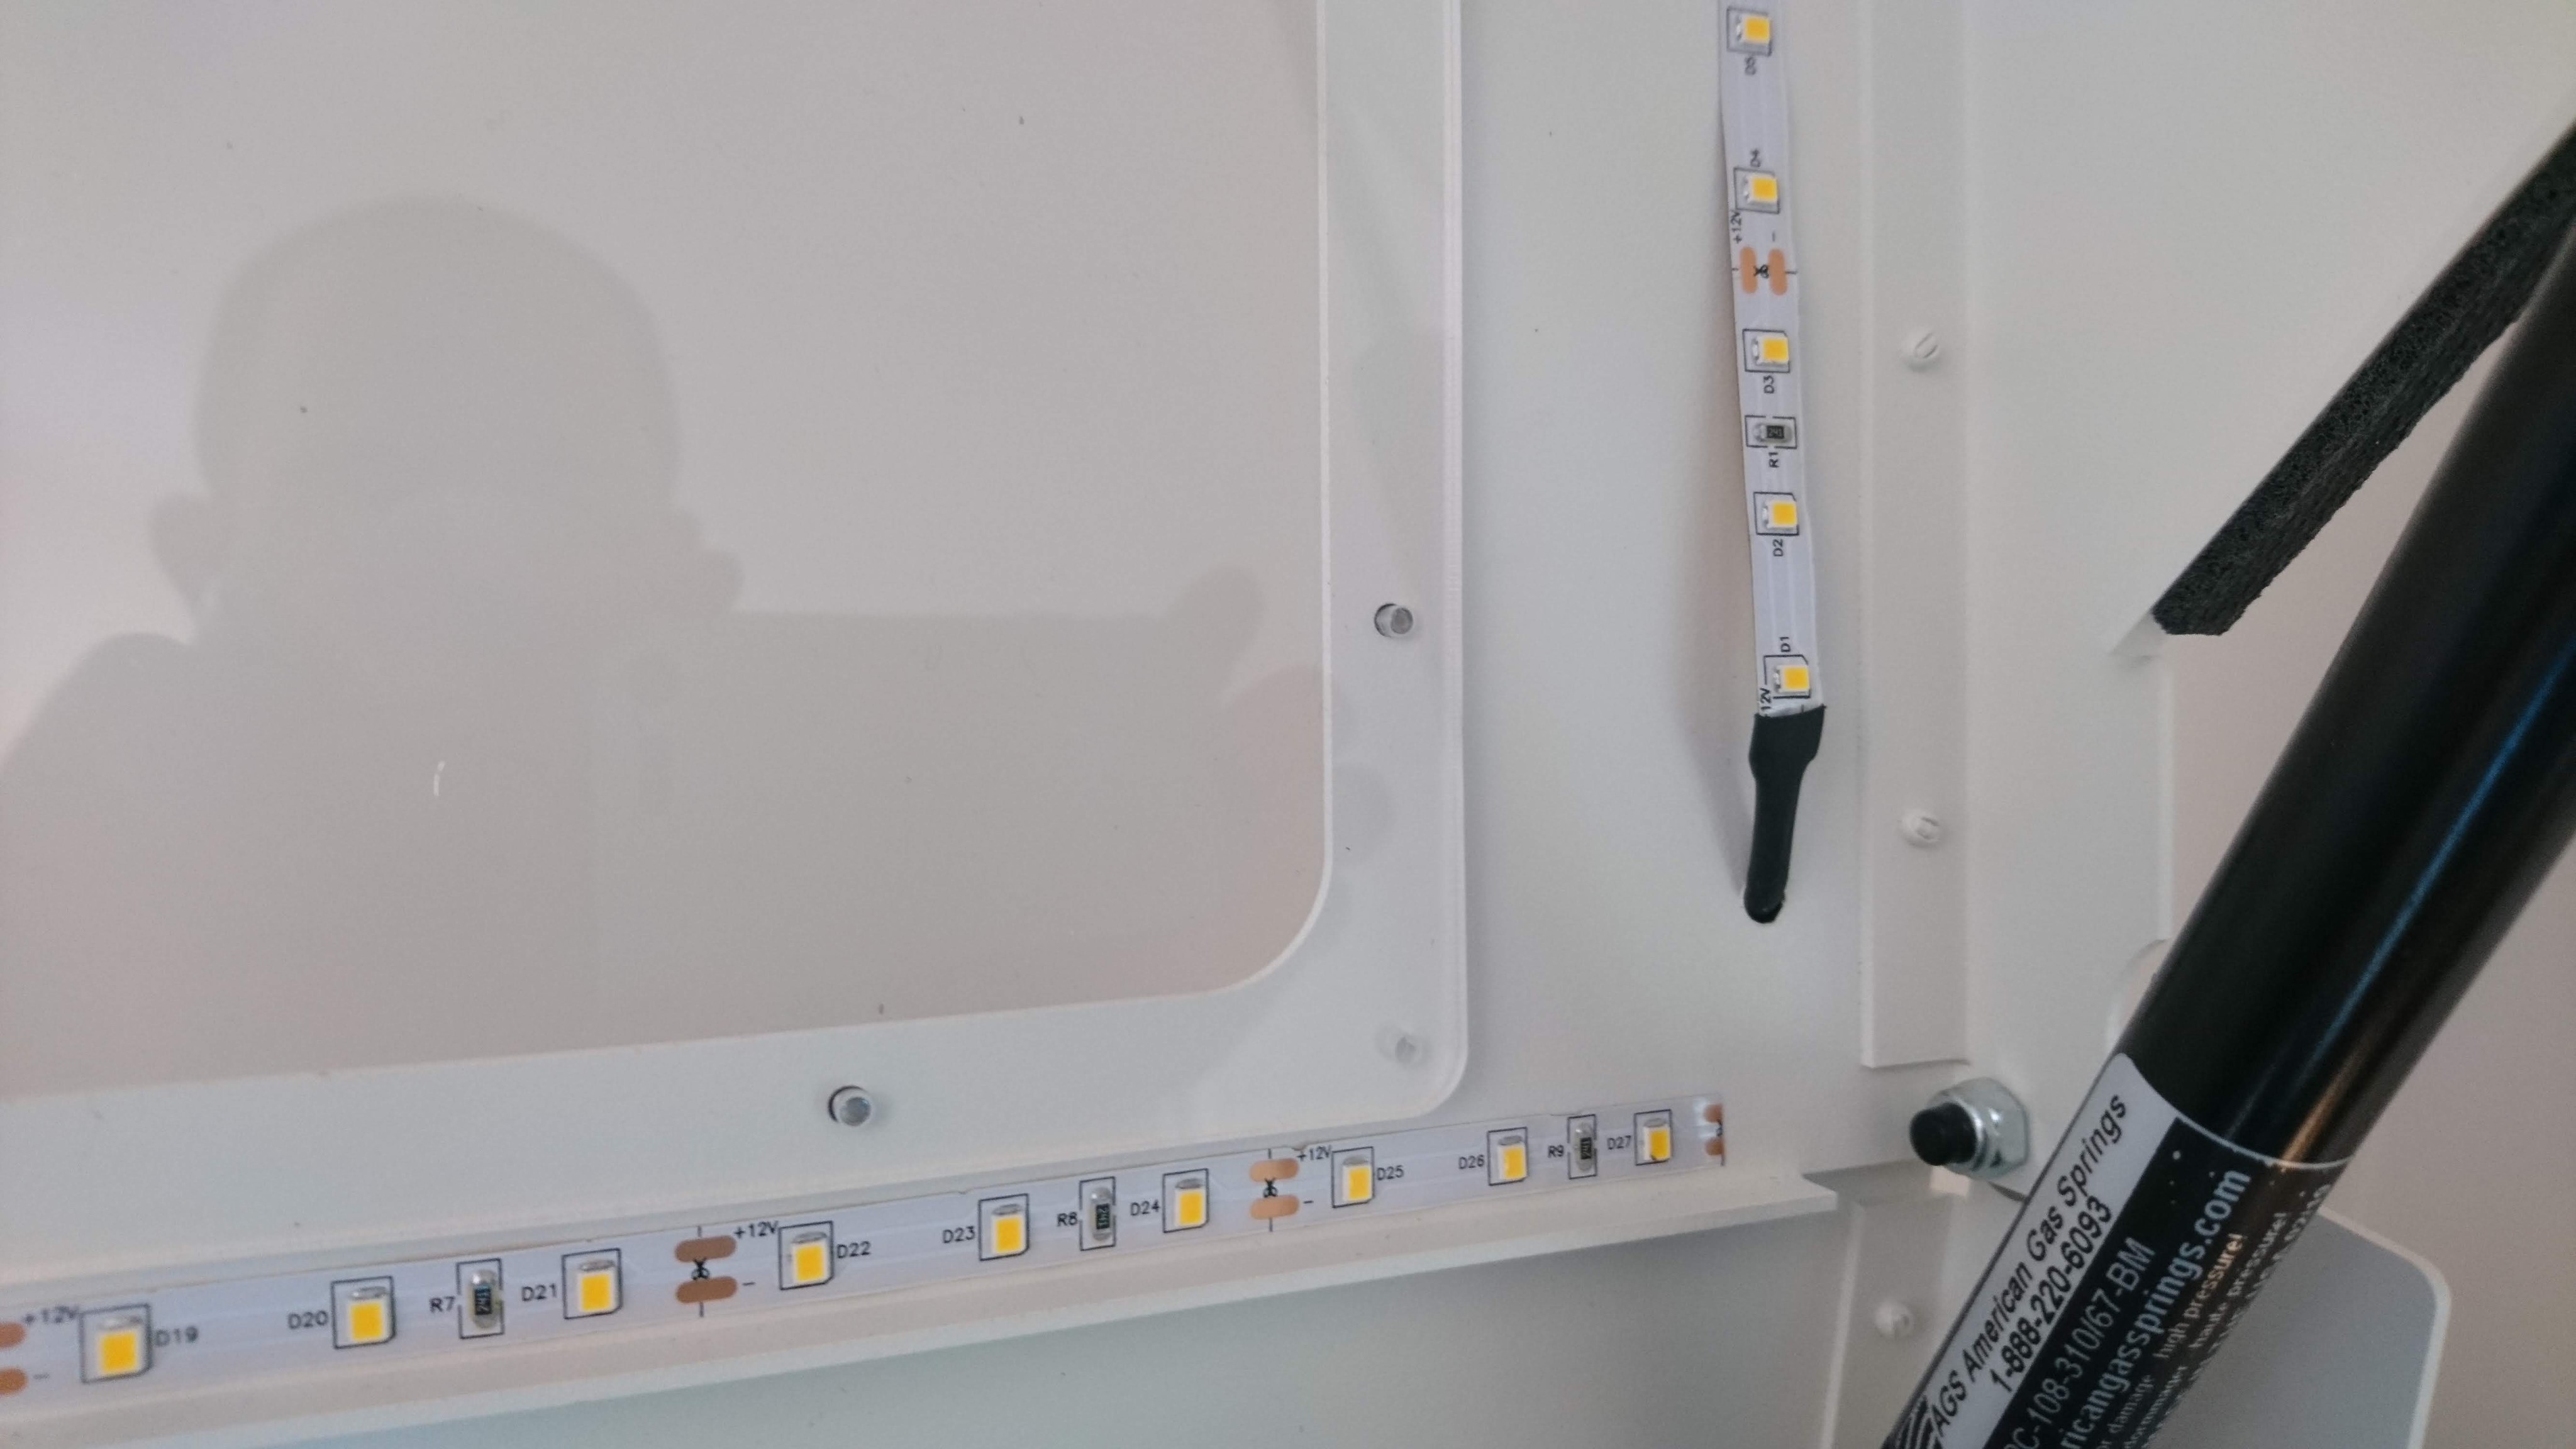
Now that I’m making a lot of videos of machining with my Pocket NC, it was getting annoying setting up lighting for each one.  Thus I rigged up some LED strips in the interior of the enclosure.  Now I can shoot 60fps video any time of the night without having to set up external lighting!  Here’s to hoping a chip doesn’t short it out.

The strip enters through a small drilled hole

The strip enters through a small drilled hole

Pocket NC 4 jaw chuck workholding

Workholding on the Pocket NC is still, well, a work in progress for me, and it is for many people.  There aren’t a lot of off the shelf solutions.  The machine does come with a mini-vise, which can hold a surprising amount, but it has some limitations.  For one, it isn’t referenced to the axis of rotation of the B axis.  Another, anything held in it can often be far away from the furthest Z travel available, resulting in the need to use extended reach tooling.

First quadruped jump!

To demonstrate the dynamic capability of the full rotation quadruped, I figured I would start by doing some full machine jump tests to a relatively low height, just to show that it was capable.

Thus, I rigged up an open loop script which squatted a small fraction of the available distance, and then powered up at a relatively small fraction of the available maximum speed.  I don’t have the telemetry yet to extrapolate how high this will be able to go at maximum, but I think it should be a fair amount higher.  For now, I want to do some more instrumentation and walking testing (and have more spares) before I manage to break things by jumping really high.

Improved Pocket NC installation

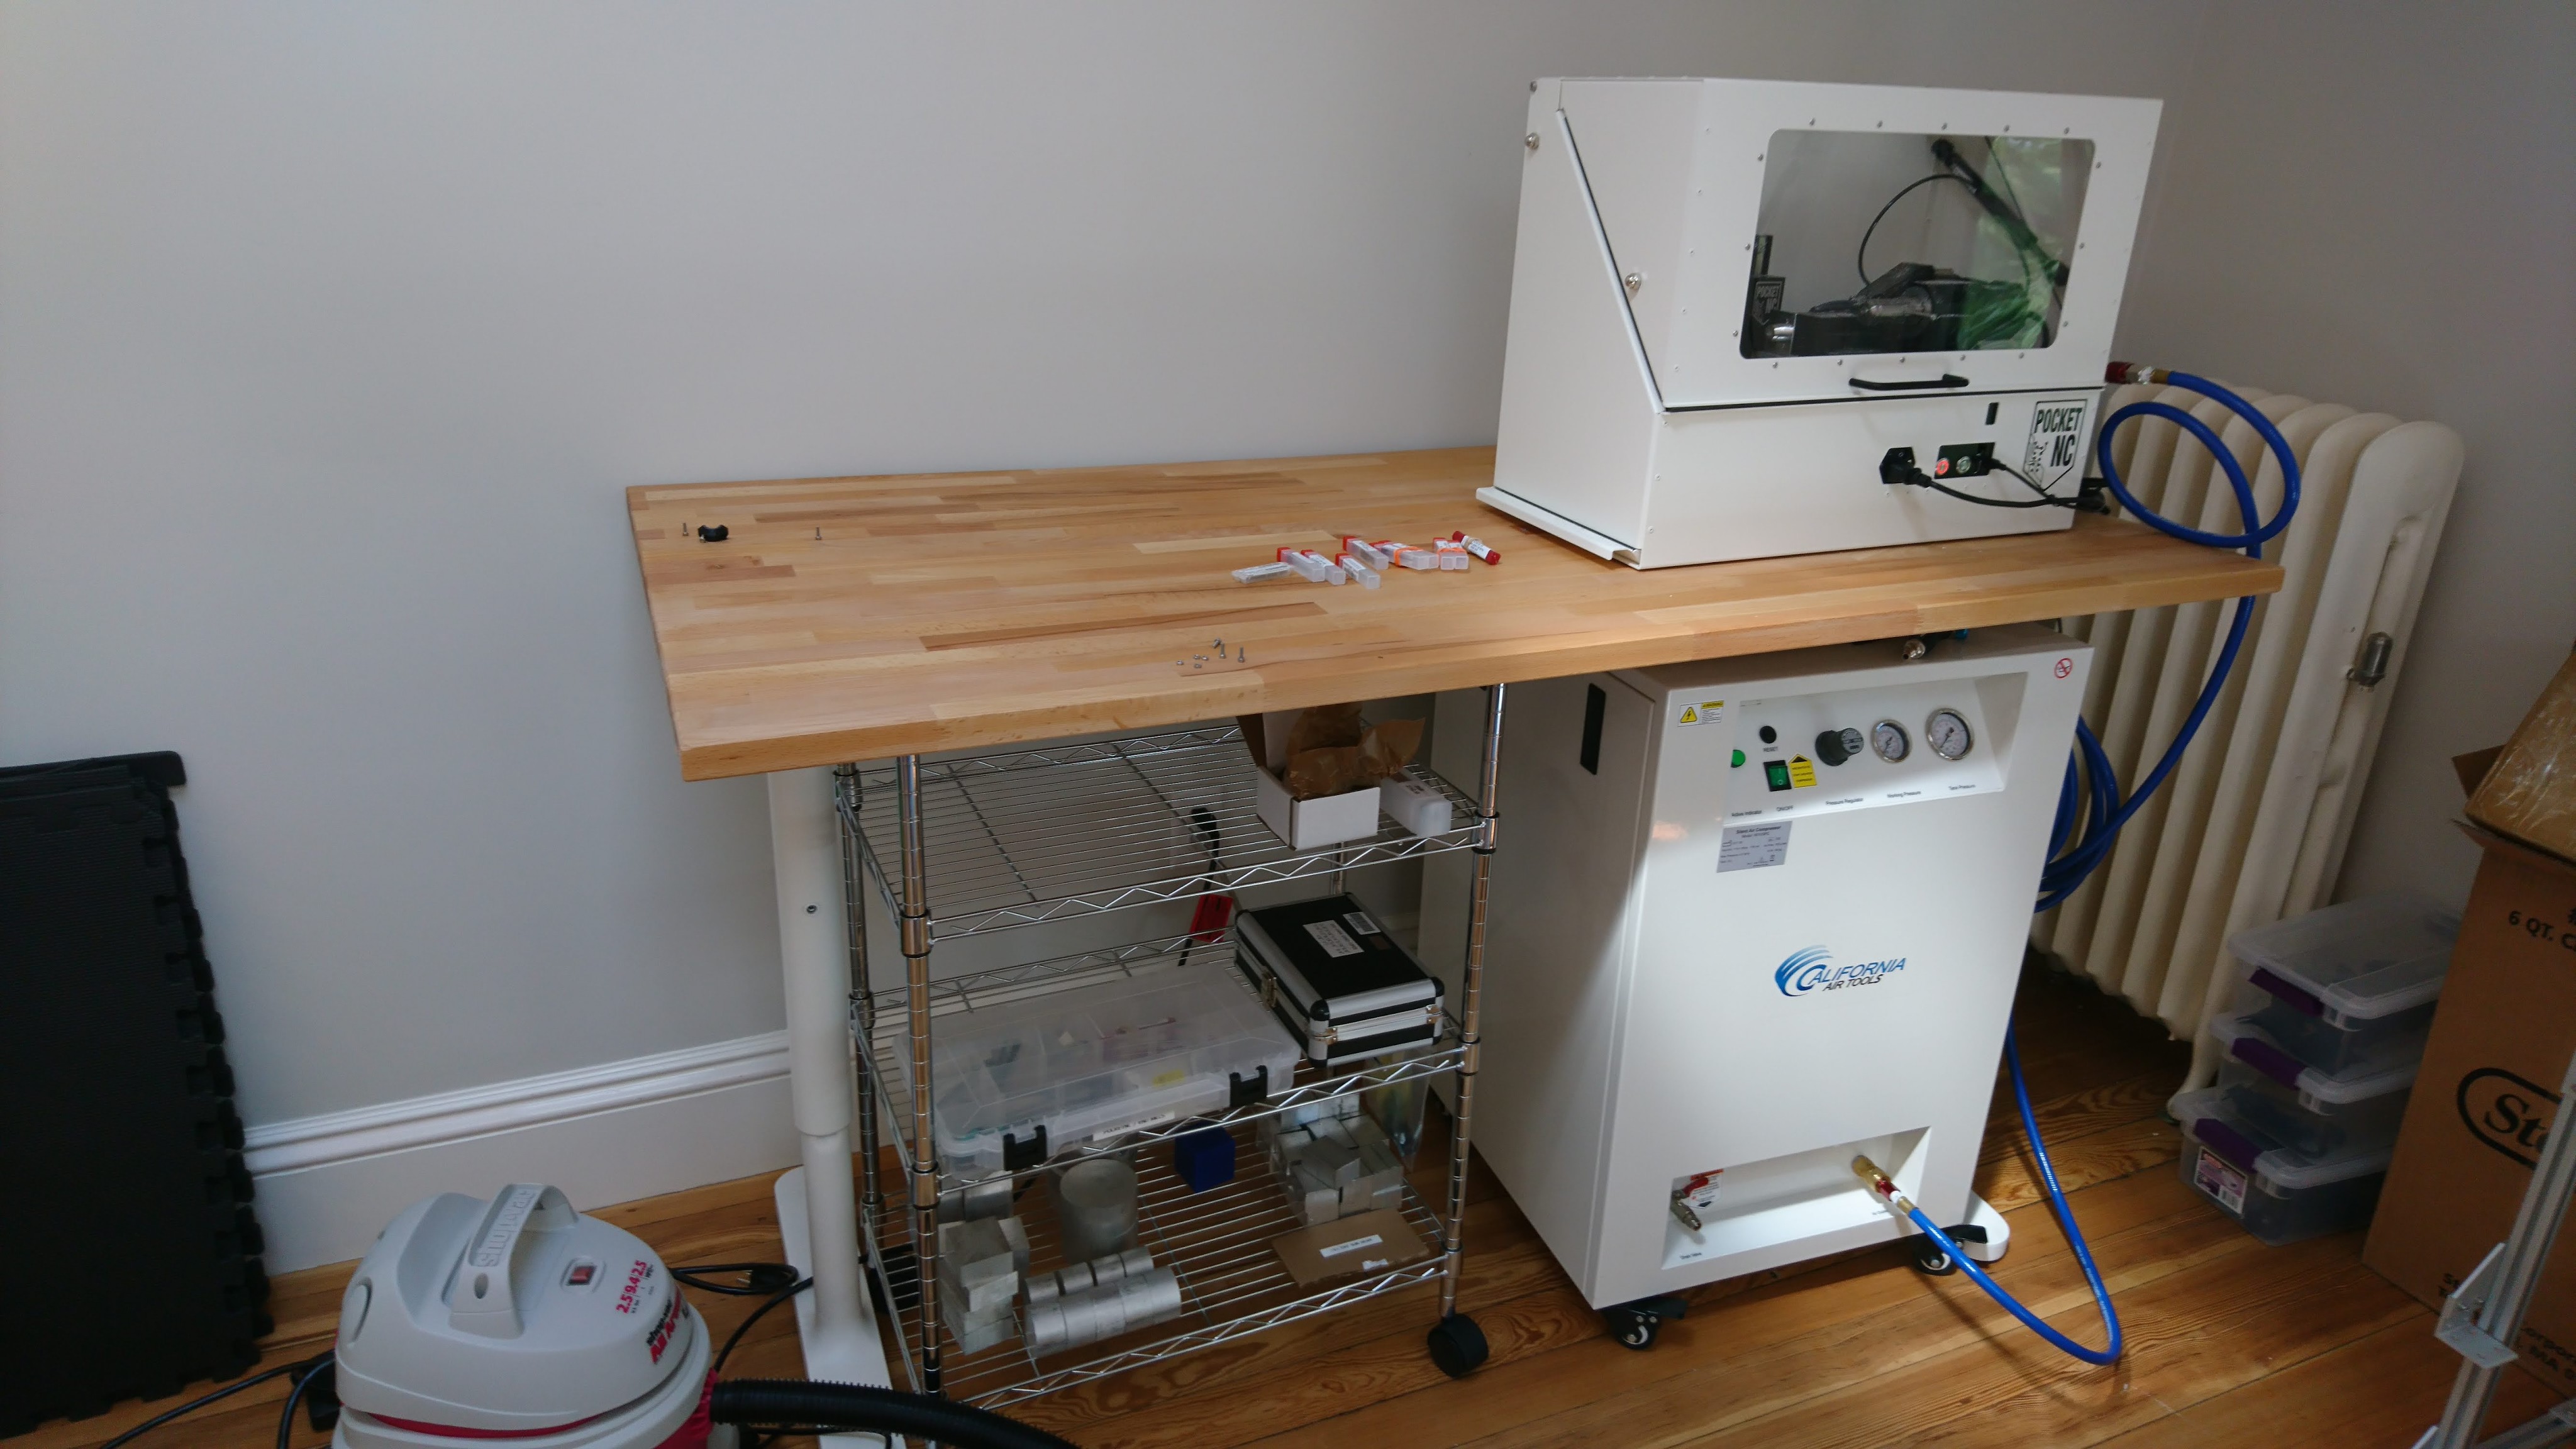
After having used my PocketNC V2-50 for a while just sitting on top of the air compressor, I decided to try and improve its installation a bit.  For one, when the compressor kicked on or off, it would impart a significant vibration to the whole assembly.  Also, I needed a place to hold stock, tools, and intermediate parts.  Here’s a picture of my new setup.

dsc_1449

The table isn’t particularly rigid, but at least it is now decoupled from the compressor.  The wire shelving below satisfies my storage requirements for now.

First walking on the full rotation quad

Last time, I had finished physically assembling all the motors for the updated quadruped with legs that can rotate freely 360 degrees.  After the long summer break, I powered up and configured all the servos.  Then, after setting up the gait engine for the new configuration (for which there are still a TODOs when the lateral shoulder offset is non-trivial as in this configuration), I was able to achieve some amount of walking.  Here is one of the first videos I took, without much in the way of tuning or work.  The control is a little wobbly still, but so far there are no signs of any mechanical failures as with the older design.